
There’s something magical about the smell of freshly baked bread filling your home. But if you’ve ever felt intimidated by kneading, proofing, or measuring just right—don’t worry. Making homemade bread doesn’t have to be complicated. With a few simple techniques and a forgiving recipe, anyone can bake soft, golden loaves that taste better than store-bought.
Gather Your Simple Ingredients
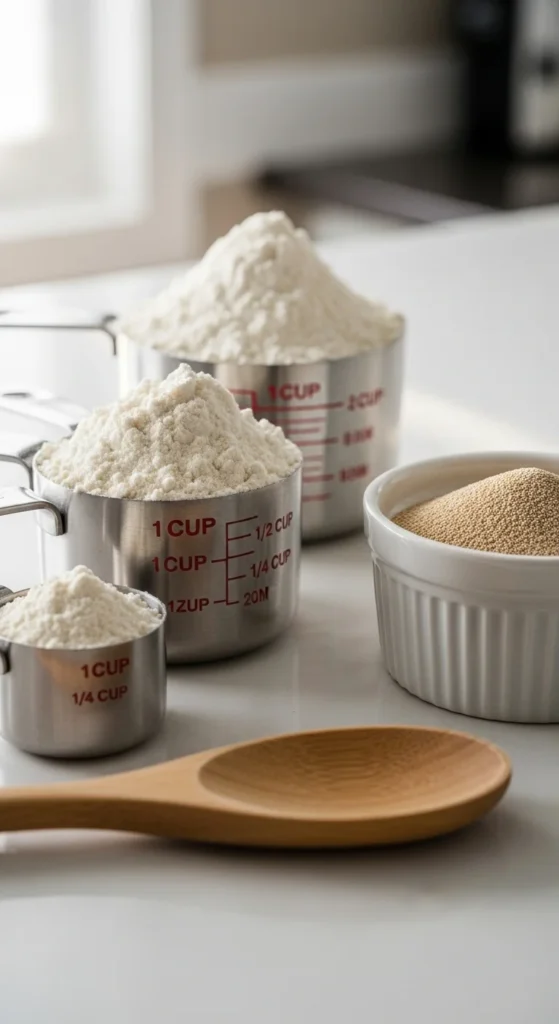
You don’t need a pantry full of fancy ingredients to make great bread. In fact, the best loaves start with just a few basics:
- 3 cups all-purpose or bread flour
- 2 teaspoons instant yeast
- 1 ½ teaspoons salt
- 1 tablespoon sugar or honey
- 1 cup warm water (not hot!)
- 1 tablespoon olive oil or melted butter
These pantry staples come together beautifully. Just make sure your yeast is fresh—expired yeast won’t rise properly.
Step 1: Mix and Rest (No Fancy Equipment Needed)
In a large mixing bowl, combine the flour, yeast, salt, and sugar. Slowly pour in warm water and olive oil, stirring with a spoon or your hands until a rough dough forms.
It’s okay if it looks messy—bread dough starts out shaggy and sticky. Cover the bowl with a clean towel and let it rest for 10–15 minutes. This short rest (called autolyse) helps the flour absorb moisture, making kneading easier later.
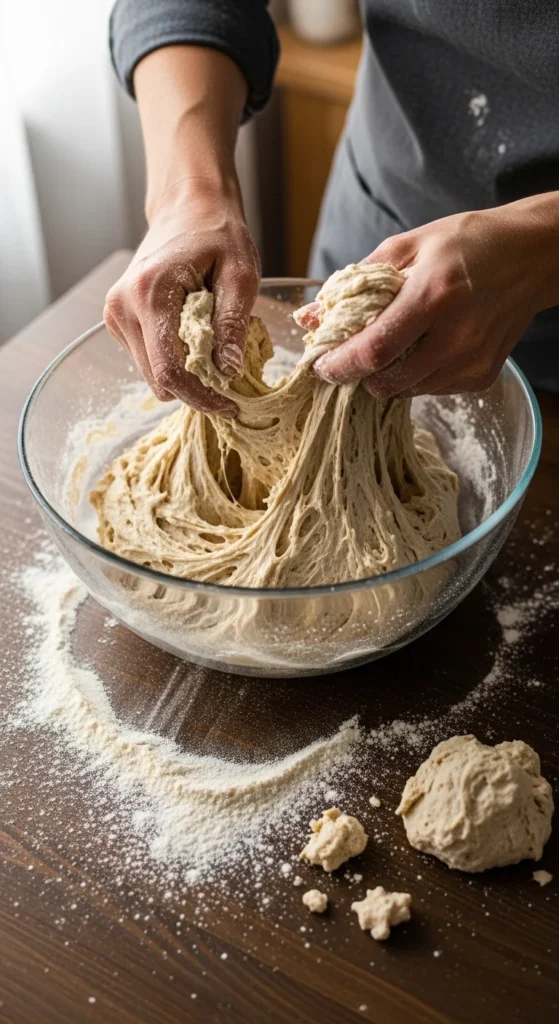
Step 2: Knead Gently — or Skip It Altogether
If you enjoy hands-on baking, knead the dough on a floured surface for 8–10 minutes until it’s smooth and elastic. But if kneading isn’t your thing, here’s a secret: you can skip it!
Try the no-knead method:
- After mixing, let the dough rest for 8–12 hours (overnight works best).
- During this time, the gluten develops naturally.
- The result? A chewy, rustic loaf with almost no effort.
Whether you knead or not, your dough should feel soft and slightly springy before the first rise.
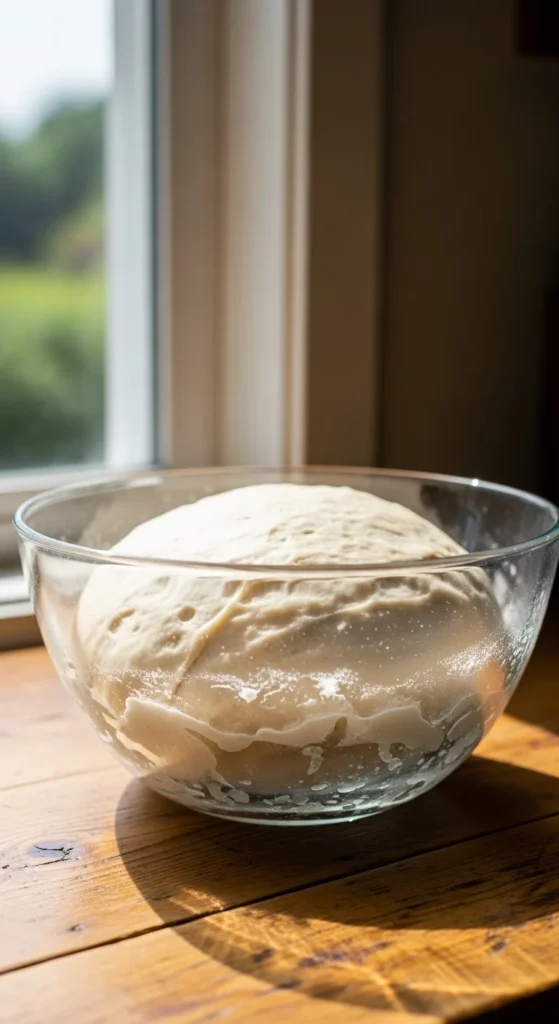
Step 3: Let It Rise and Double
Transfer your dough to a clean, lightly oiled bowl. Cover it with a towel and let it rise in a warm, draft-free spot for about 1–2 hours—or until it doubles in size.
Pro Tip: If your kitchen is cool, place the bowl inside your oven with the light on (but the oven off). The gentle warmth helps the yeast thrive.
Once the dough has doubled, gently press down to release air bubbles. Don’t over-handle—it’s ready to shape!
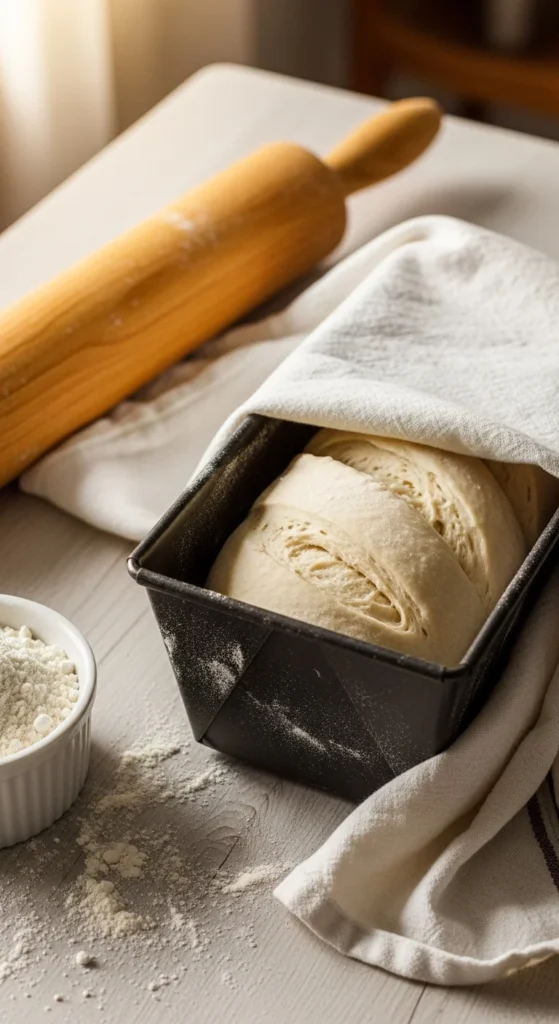
Step 4: Shape and Prepare for Baking
Turn your dough out onto a lightly floured surface. Shape it into a round or oval loaf, or place it in a greased loaf pan for a classic sandwich bread shape.
Cover it again and let it rise a second time for 30–45 minutes. During this stage, the dough develops its final structure and texture.
Optional: Brush the top with a bit of olive oil or melted butter for a glossy finish.
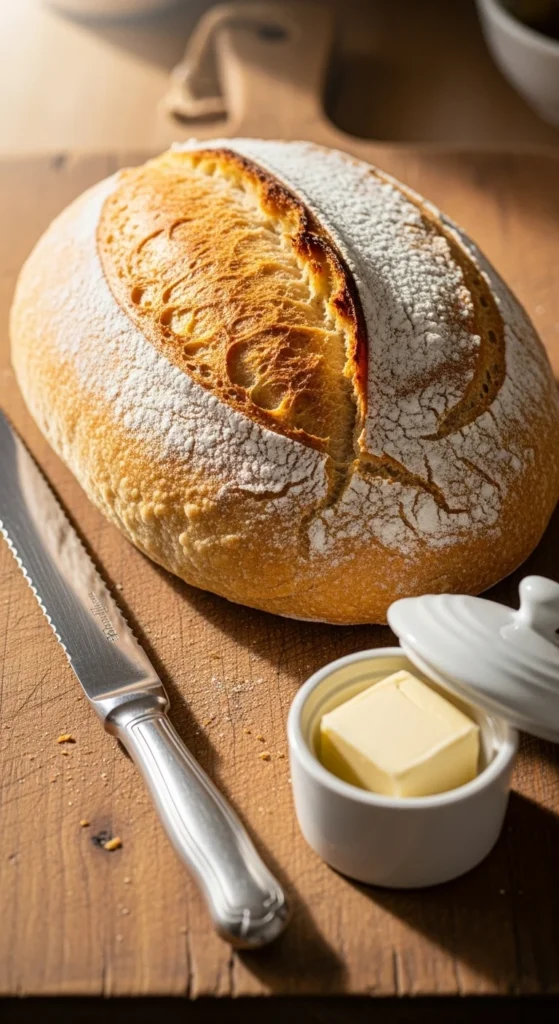
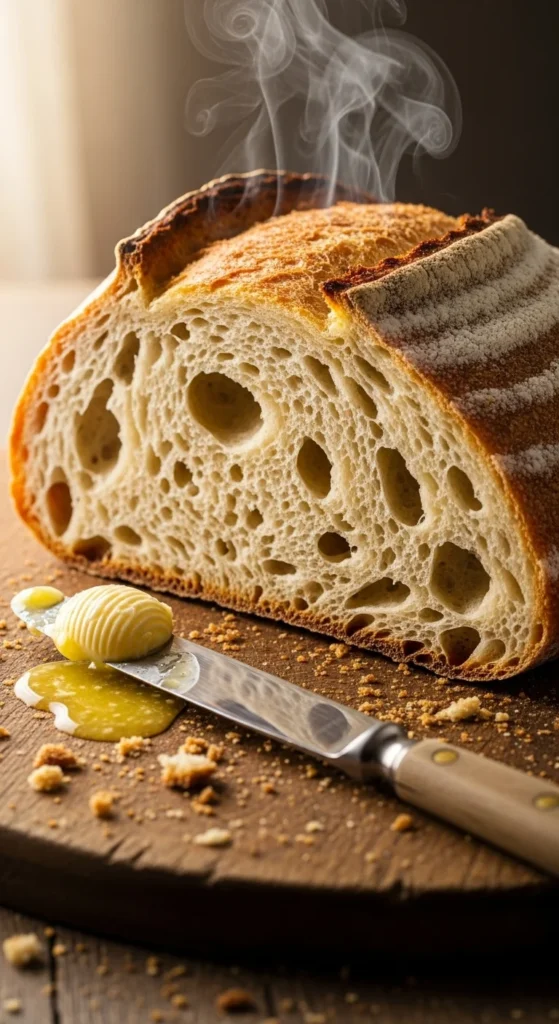
Step 5: Bake to Golden Perfection
Preheat your oven to 375°F (190°C). Once hot, bake your bread for 25–30 minutes (for loaves) or 40 minutes (for larger artisan-style rounds).
You’ll know it’s done when:
- The crust turns golden brown.
- It sounds hollow when tapped on the bottom.
- Your kitchen smells absolutely heavenly.
Cool the bread on a wire rack before slicing—it helps the inside set properly.
Tips for Fuss-Free Success
Even seasoned bakers have little tricks that make bread easier:
- Use instant yeast instead of active dry to skip proofing.
- Add herbs or seeds (like rosemary, sesame, or flax) for flavor and texture.
- Store it right: Wrap cooled bread in a towel or airtight bag—it stays fresh for up to three days.
- Freeze extra loaves: Slice before freezing so you can toast pieces anytime.
Conclusion: Fresh Bread, Zero Stress
Baking homemade bread doesn’t need to feel like a science project. With this easy method, you’ll have warm, crusty bread that feels straight from a bakery—without the fuss.
So grab your flour and get started today. Your kitchen is about to smell incredible!
Save this recipe for later—and share it with a friend who loves warm, fresh bread!

Leave a Reply