
Ever watched a perfectly frosted cake and thought, “How do they make it look so flawless?” Cake decorating might seem like something only expert bakers can master, but the truth is—you can do it too! With a few simple tools, a steady hand, and a little creativity, you can transform any plain cake into a show-stopping dessert.
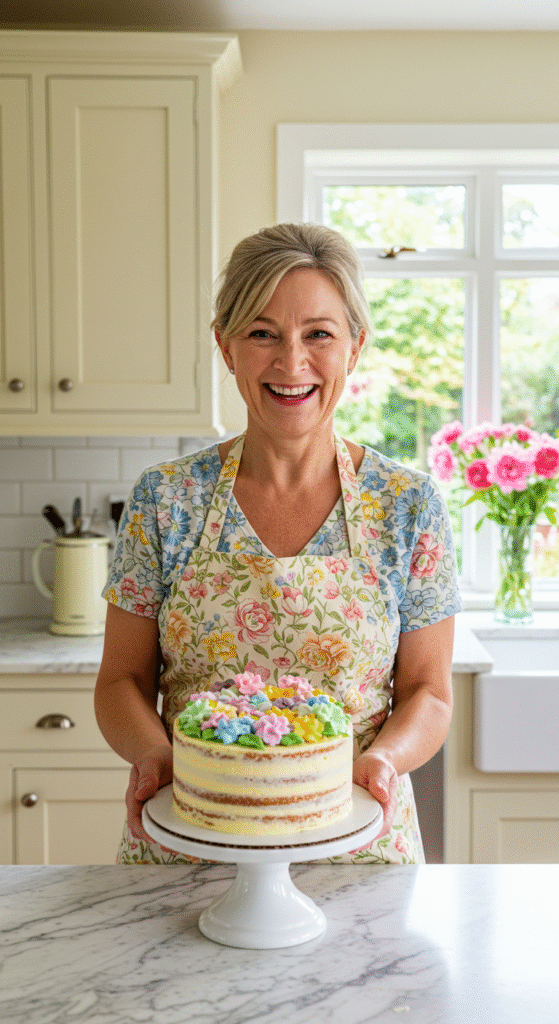
Whether you’re celebrating a birthday, hosting a dinner, or simply want to impress your family, these five easy steps will help you decorate cakes like a true pro—without the stress or the mess.
Step 1: Start With a Smooth Foundation
Before you even touch a piping bag, you need the perfect canvas. A clean, smooth surface will make all your decorations look polished and intentional.
- Level your cake layers using a serrated knife or a cake leveler. Uneven layers can cause your frosting to slide or crack.
- Apply a crumb coat, a thin layer of frosting that locks in crumbs. Chill the cake for 15–20 minutes to set it before the final coat.
- Use an offset spatula and bench scraper for an even, professional-looking finish.
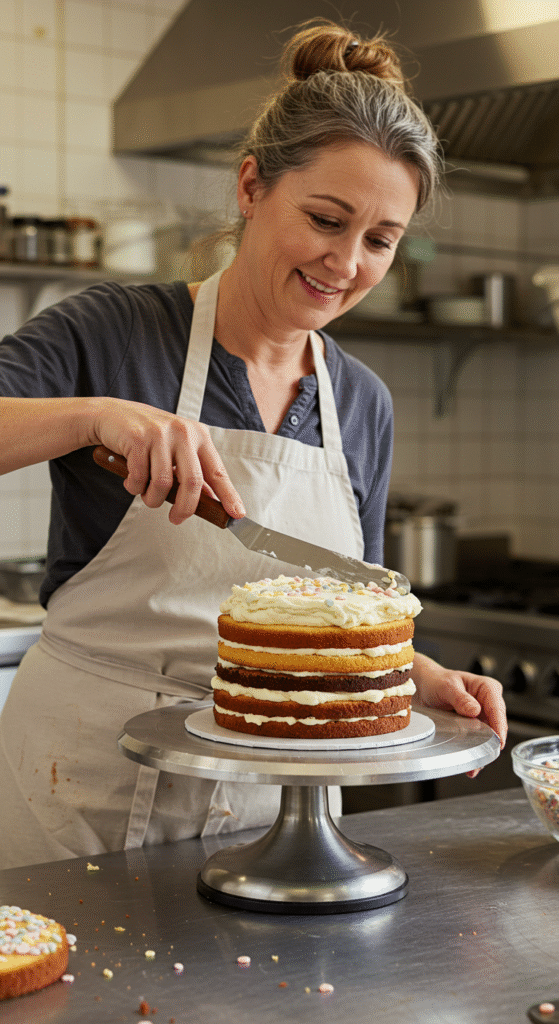
Pro Tip: Rotate your cake on a turntable while smoothing the sides—it gives you that clean, bakery-perfect finish with minimal effort.
Step 2: Choose the Right Frosting
The secret to a professional-looking cake often lies in the frosting texture.
- Buttercream is smooth, creamy, and easy to work with. Perfect for beginners.
- Whipped cream gives a lighter, airy look but needs refrigeration.
- Ganache or cream cheese frosting adds richness but requires careful handling in warm rooms.
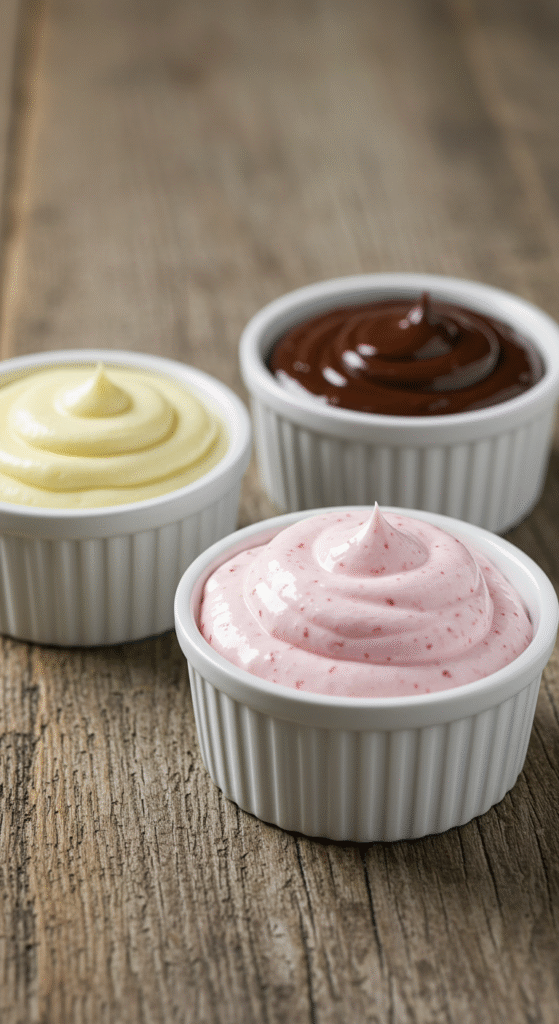
Pro Tip: For silky-smooth buttercream, beat it on medium speed for a few minutes after adding all ingredients—this removes air bubbles and gives a soft, velvety texture.
Step 3: Master the Art of Piping
Piping turns an ordinary cake into a masterpiece. Once you get comfortable with your piping bag, the design possibilities are endless.
- Use the right tips: A star tip for rosettes, a round tip for dots, and a leaf tip for floral designs.
- Practice on parchment paper first to test pressure and flow.
- Hold your piping bag at a 45-degree angle and squeeze gently for smooth, even designs.
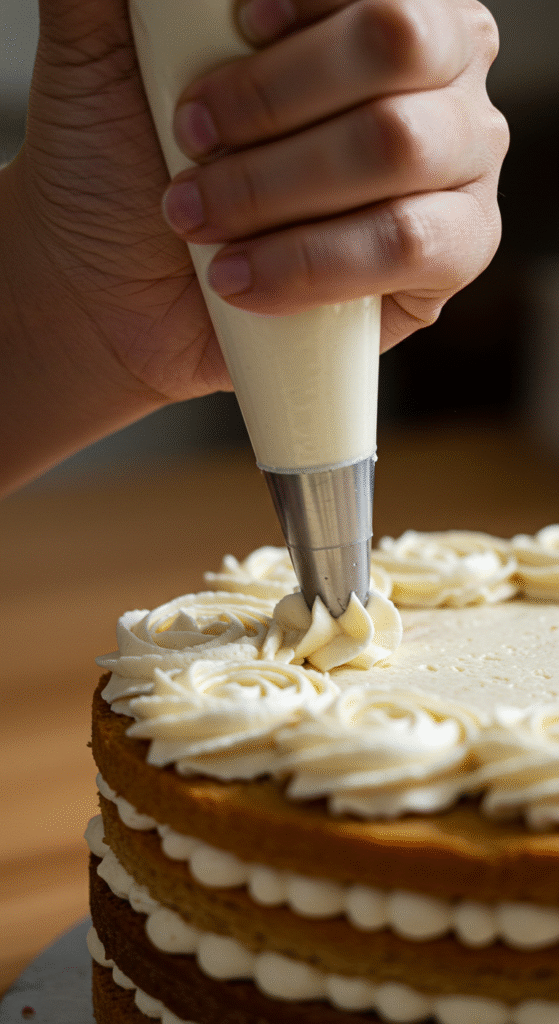
Try this: Create a border of rosettes or shells around the edges of your cake—it instantly elevates your design with minimal skill needed.
Step 4: Add Color and Texture
Now it’s time to let your personality shine! Color and texture bring your cake to life.
- Use gel food coloring for vibrant hues that don’t water down your frosting.
- Play with textures by adding edible pearls, chocolate shavings, sprinkles, or fruit.
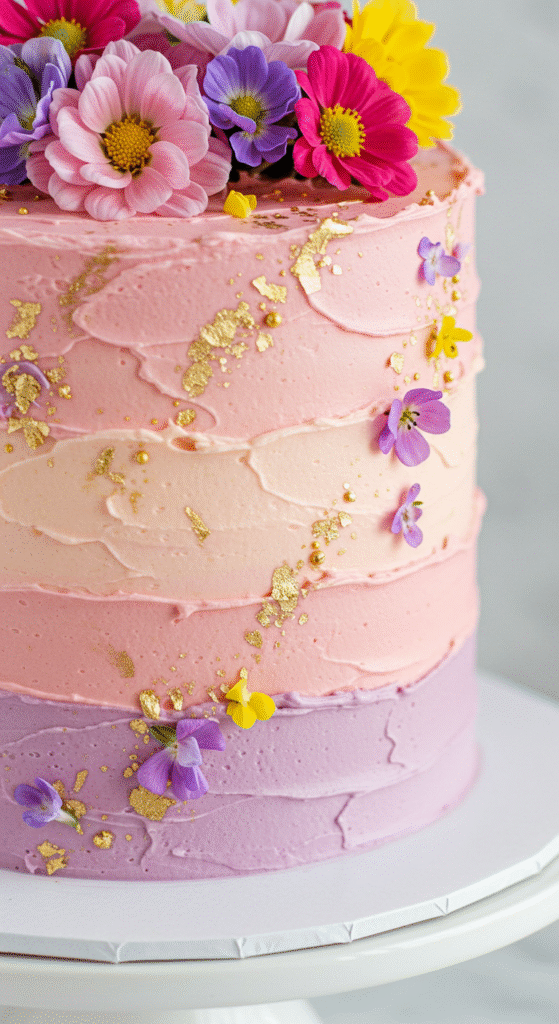
- Go for ombré or watercolor effects by blending two or more frosting shades together.
Pro Tip: Less is often more. Stick to a color palette of two or three tones to keep your cake visually balanced.
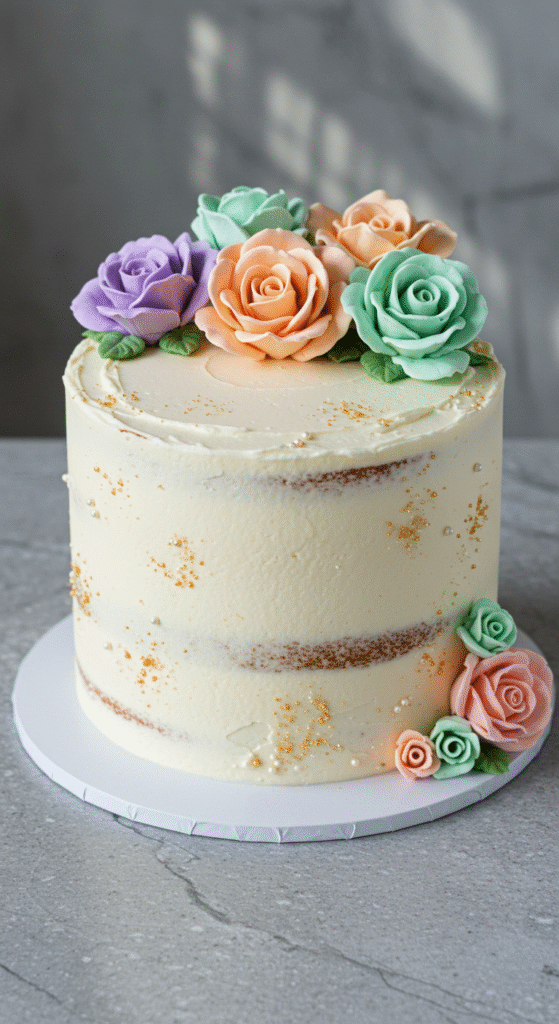
Step 5: Finish With Beautiful Toppings
The finishing touches are what make your cake unforgettable. You don’t need to go overboard—simple, elegant toppings often look best.
Here are a few ideas:
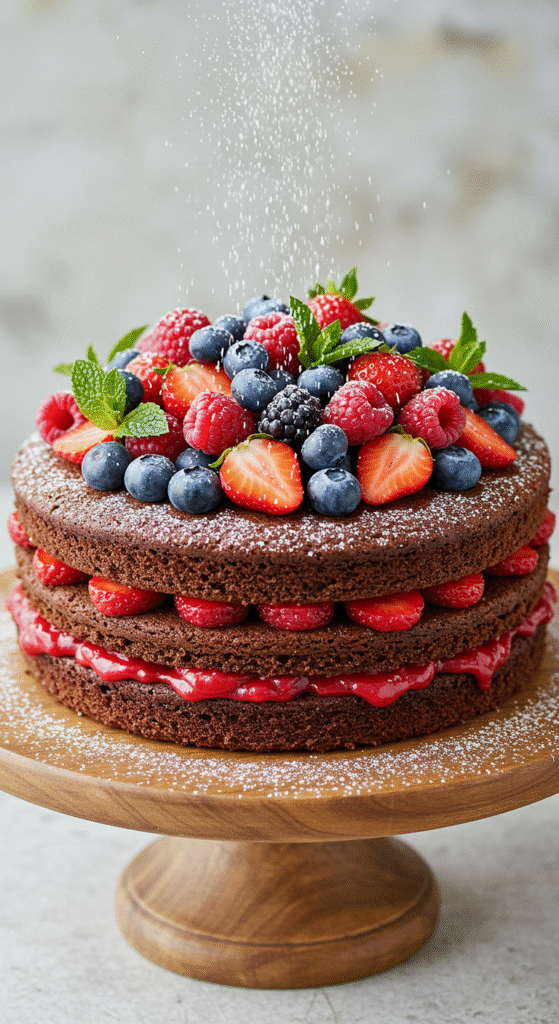
- Fresh fruit: Strawberries, blueberries, or figs add freshness and color.
- Edible flowers: Roses, pansies, and lavender create a natural, romantic look.
- Chocolate drips or shards: Add a touch of drama and elegance.
- Minimalist touches: A few gold flakes or a dusting of powdered sugar can make all the difference.
Pro Tip: Step back and look at your cake from all angles before adding more decorations. Sometimes a single centerpiece, like a flower cluster or fruit arrangement, is enough.
Final Thoughts
Cake decorating isn’t about perfection—it’s about creativity and confidence. With these five steps, you’ll not only learn to decorate cakes like a pro but also discover how fun and relaxing the process can be.
So grab your piping bag, your favorite colors, and a little inspiration, and start decorating! You’ll be amazed at how quickly your skills improve with a bit of practice.
Save this guide for later and share your stunning cake creations with friends and family—they’ll never believe you did it yourself!

Leave a Reply