
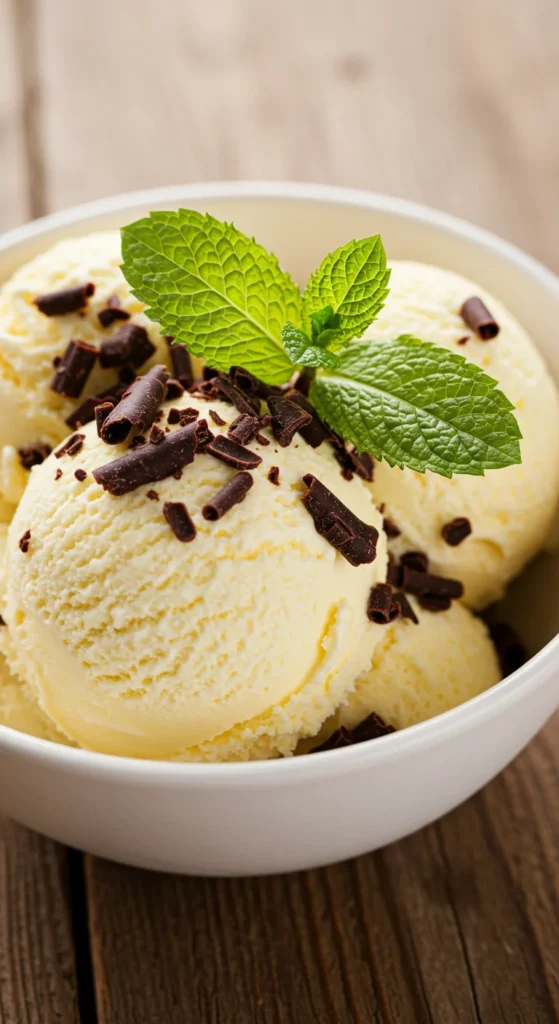
There’s nothing quite like the taste of rich, creamy homemade ice cream — especially when you realize you don’t need an expensive ice cream maker to enjoy it! Whether it’s a hot summer afternoon or you’re craving a sweet treat after dinner, this easy no-churn method will give you a smooth, scoopable ice cream every single time.
Step 1: Gather Your Simple Ingredients
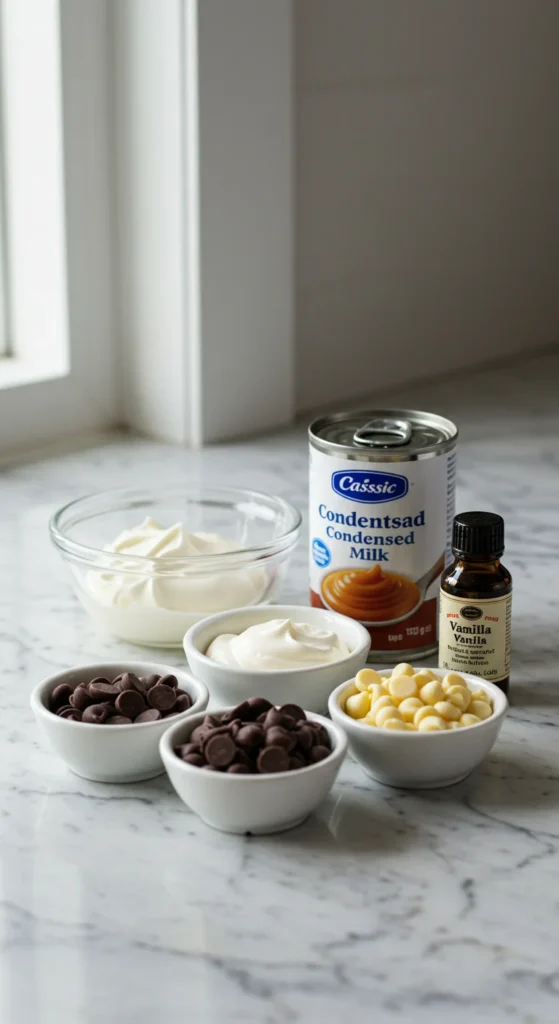
You’ll be surprised by how few ingredients you need to make ice cream from scratch — and no fancy tools required!
You’ll need:
- 2 cups heavy whipping cream (cold)
- 1 can (14 oz) sweetened condensed milk
- 1 teaspoon pure vanilla extract
- A pinch of salt
- Optional mix-ins: crushed cookies, chocolate chips, berries, caramel swirls, or nuts
This combination creates a perfect base that’s both rich and fluffy once frozen.
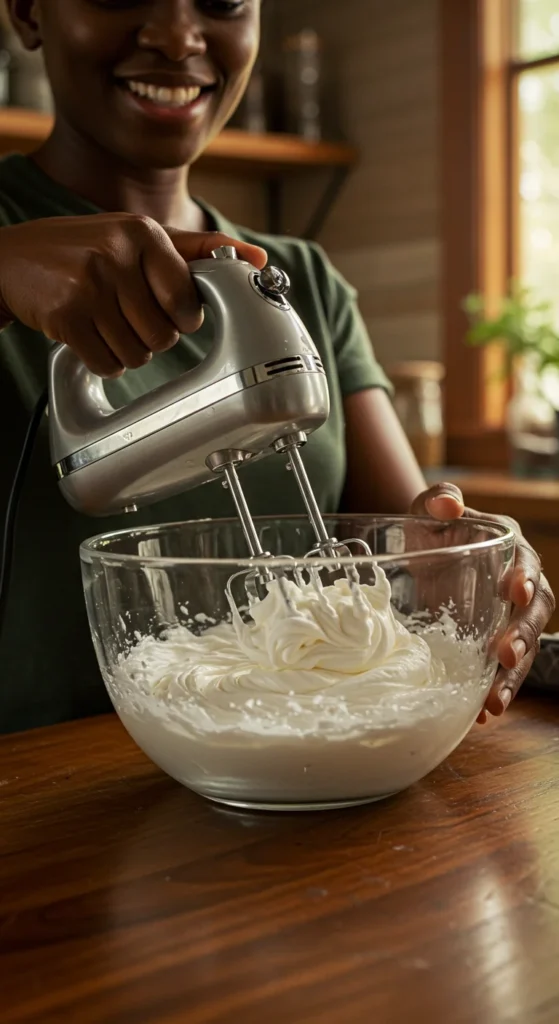
Step 2: Whip the Cream Until Fluffy
Start by pouring the cold heavy cream into a large mixing bowl. Using a hand mixer or stand mixer, beat the cream on medium-high speed until stiff peaks form. You’re looking for a texture that’s thick but still soft — kind of like whipped cream you’d top on a dessert.
Tip: Chill your mixing bowl and beaters for 10 minutes before whipping. It helps the cream whip faster and hold its shape longer.
Step 3: Combine with Condensed Milk and Flavorings
In another bowl, stir together the sweetened condensed milk, vanilla extract, and a pinch of salt. This mixture adds sweetness and prevents your ice cream from turning icy.
Now, gently fold the whipped cream into the condensed milk mixture using a spatula. Don’t stir too aggressively — you want to keep the air in the whipped cream for a light, fluffy texture.
Flavor Variations to Try:
- Chocolate: Add 2 tablespoons of cocoa powder and chocolate chips.
- Strawberry: Fold in 1 cup of mashed fresh strawberries.
- Cookies & Cream: Crush 8–10 chocolate sandwich cookies and stir them in.

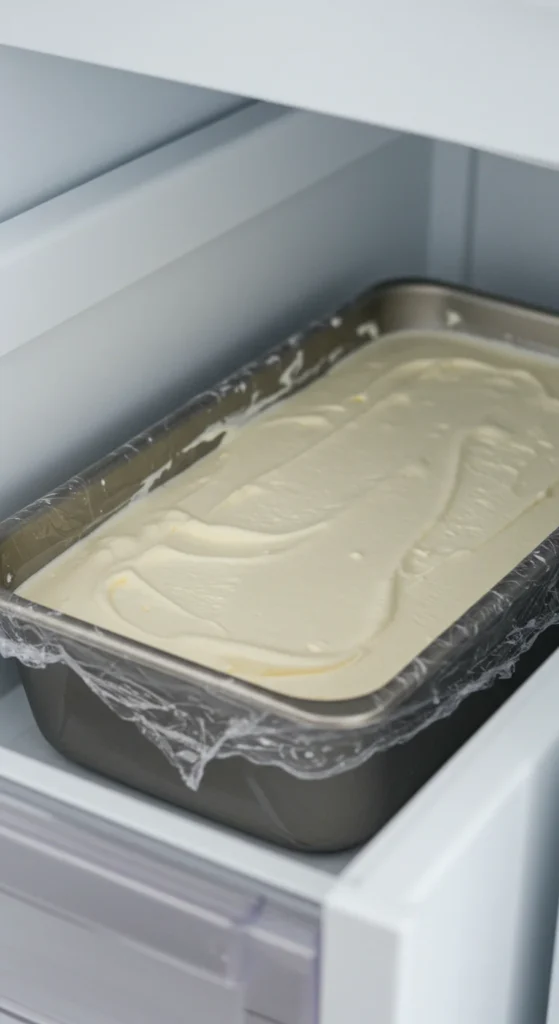
Step 4: Freeze It Right
Pour your mixture into a loaf pan or a freezer-safe container. Smooth the top with a spatula and cover tightly with plastic wrap or a lid. This helps prevent ice crystals from forming on the surface.
Freeze for at least 6 hours, but overnight is best for that firm, scoopable texture.
Pro Tip: After a few hours of freezing, give the mixture a gentle stir to break up any ice crystals that might have formed — it’ll make your ice cream even smoother.
Step 5: Scoop, Serve, and Enjoy!
Once frozen, remove your ice cream from the freezer and let it sit at room temperature for 5–10 minutes before scooping — this makes it easier to serve.
Scoop it into bowls or cones and add your favorite toppings: chocolate syrup, fruit slices, caramel drizzle, or sprinkles. The texture will be creamy, rich, and surprisingly professional — no machine needed!

Bonus Tips for Perfect Homemade Ice Cream
- Use full-fat cream — it’s the secret to smoothness.
- Don’t over-whip the cream; stop as soon as stiff peaks form.
- Try creative add-ins like peanut butter swirls, crushed pretzels, or fruit purees for extra flavor.
- Store properly: Keep your ice cream in an airtight container to prevent freezer burn. It’ll stay fresh for up to two weeks.
Final Scoop
Making creamy, dreamy ice cream at home doesn’t have to be complicated. With just a few ingredients and a bit of patience, you can create your own custom flavors right in your kitchen — no churning, no machine, no fuss.
So grab your favorite mix-ins, whip it up, and treat yourself to a scoop (or three).
Save this recipe for later and surprise your friends with your homemade ice cream magic!

Leave a Reply