
There’s something unforgettable about a bakery-style chocolate chip cookie—thick centers, crisp golden edges, and pools of melted chocolate in every bite. The good news? You don’t need professional equipment or secret ingredients to get that result at home. With a few smart techniques and the right balance of ingredients, your kitchen can turn out cookies that look and taste like they came straight from a display case.
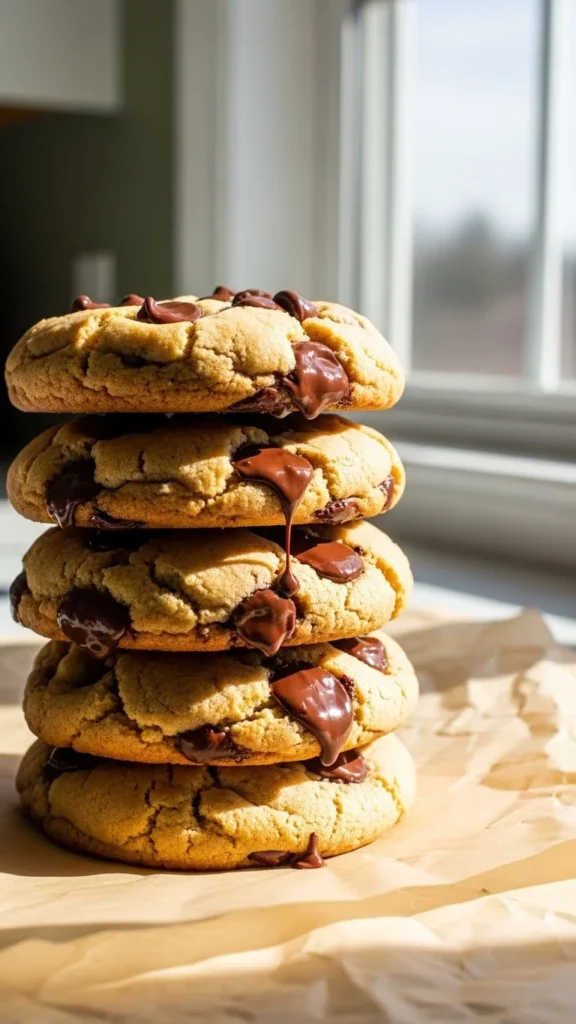
Below is a step-by-step guide to help you bake cookies that are rich, chewy, and irresistibly impressive.
What Makes Cookies “Bakery-Style”?
Bakery-style cookies aren’t just bigger—they’re built differently. The texture is intentional, the shape is tall, and the flavor is deeper.
Here’s what sets them apart:
- Thicker dough portions that bake upward instead of spreading flat
- Higher moisture in the center for a soft bite
- Layered sweetness, not just sugar-forward flavor
- Visible chocolate chunks for visual appeal
Once you understand these details, the process becomes simple and repeatable.
Ingredients That Create That Bakery Look
Before mixing anything, it helps to know why each ingredient matters.
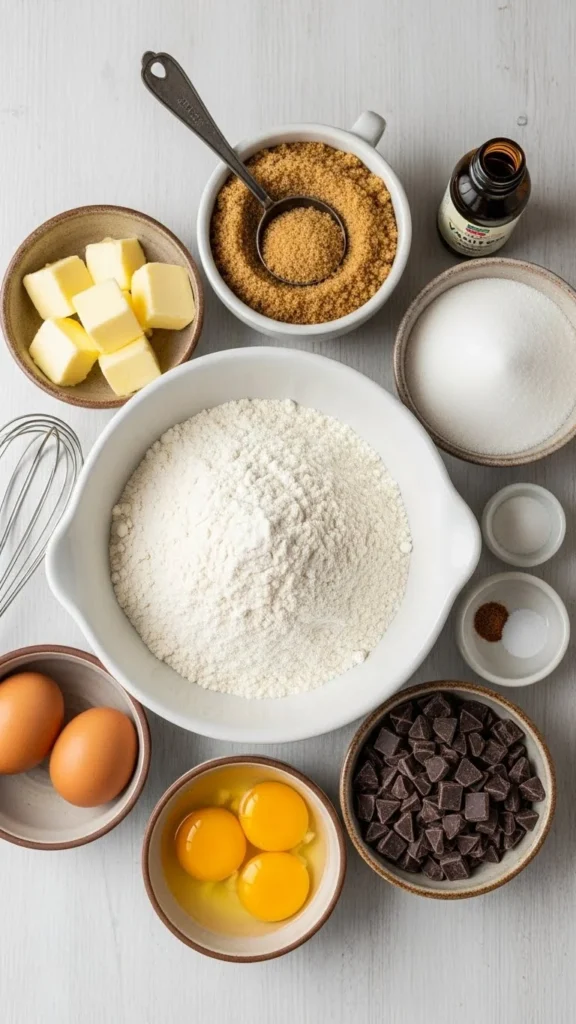
Key ingredient choices:
- All-purpose flour for structure without heaviness
- Brown sugar + white sugar for chewiness and crisp edges
- Cold or cool butter to prevent over-spreading
- Large eggs for richness and binding
- Vanilla extract for warm depth
- Baking soda for lift
- Chocolate chunks or discs instead of small chips
Tip: Larger chocolate pieces melt into pockets, which instantly makes cookies look bakery-made.
Mixing the Dough the Right Way
The mixing stage is where many cookies go wrong. The goal is controlled blending, not speed.
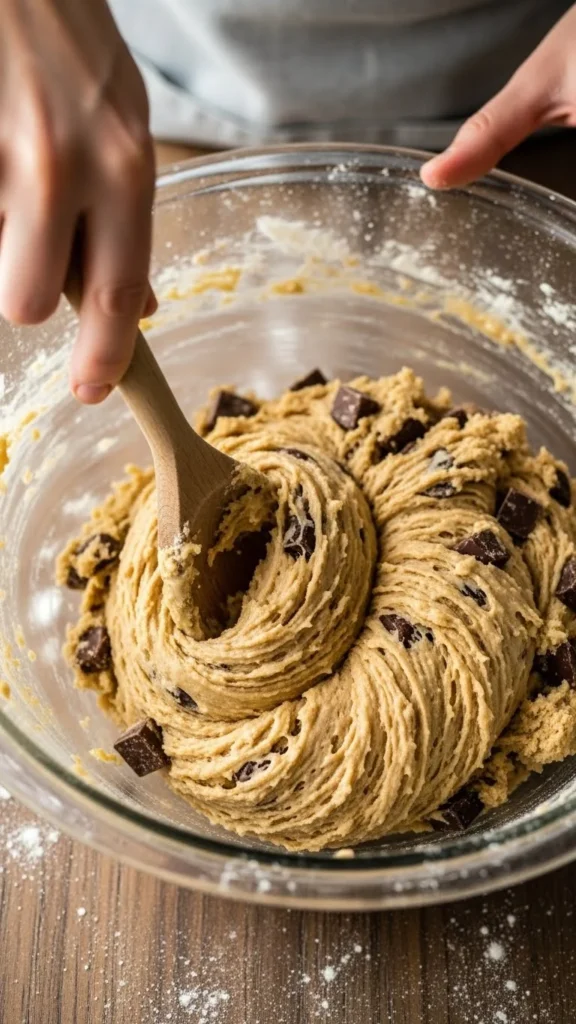
Follow these steps:
- Cream butter and sugars just until combined and fluffy
- Add eggs one at a time, mixing gently
- Stir in vanilla
- Fold in dry ingredients until no dry flour remains
- Gently mix in chocolate chunks
Avoid overmixing—too much air leads to flat cookies.
Chill for Thickness (Don’t Skip This)
Chilling is non-negotiable if you want bakery-style height.
Why it works:
- Firms the butter so cookies bake upward
- Concentrates flavor
- Creates thicker centers
Chill the dough for at least 30–60 minutes, or up to overnight for even better texture.
Shortcut tip: Scoop dough into balls before chilling to save time later.
Shaping Cookies Like a Bakery
This is a small step that makes a big difference.
Instead of rolling dough into smooth balls:
- Tear each dough ball in half
- Stack the halves with rough sides facing up
- Press lightly together
This creates those cracked, uneven tops you see in professional cookies.
Baking for Perfect Texture
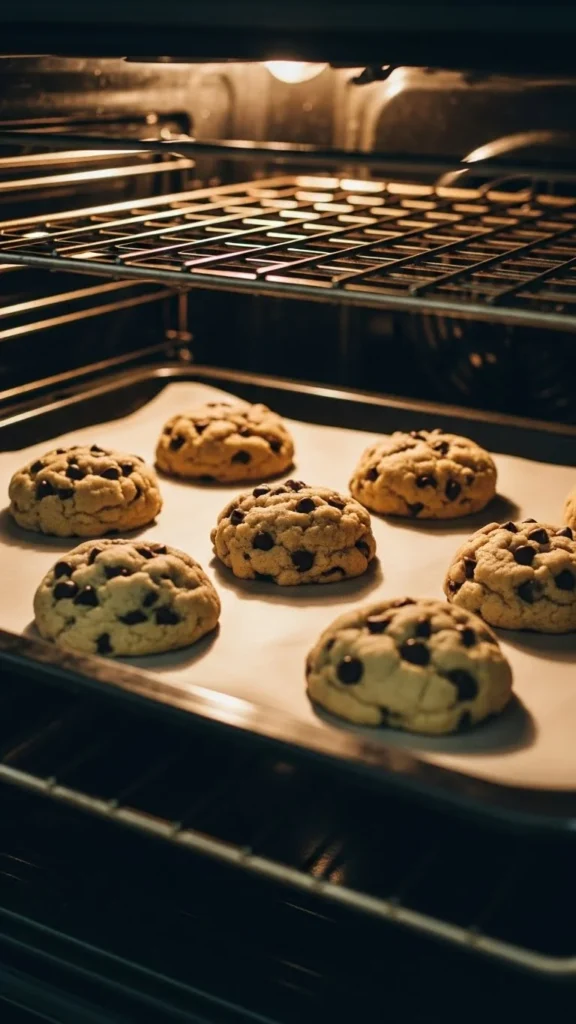
Bake smart:
- Oven temperature: 350°F (175°C)
- Space cookies well apart
- Bake 10–13 minutes depending on size
Look for:
- Light golden edges
- Soft, pale centers
They will continue to set after coming out of the oven—don’t wait until they look fully done.
The Bakery Finish Trick
Right after baking, use this simple trick:
- Gently swirl a round glass around each cookie
This tucks in uneven edges and creates that perfect round bakery shape without flattening the cookie.
Optional upgrade:
- Press a few extra chocolate chunks into the tops while cookies are still warm for a polished look.
Cooling (Yes, It Matters)
Let cookies rest on the baking sheet for 5–10 minutes, then transfer to a rack.
This step:
- Sets the center
- Keeps the cookie from breaking
- Locks in chewiness
Cutting this step short can ruin the texture.
Storage & Make-Ahead Tips
Bakery-style cookies stay great for days if stored correctly.
- Store baked cookies in an airtight container at room temperature
- Add a slice of bread to keep them soft
- Freeze dough balls for up to 2 months
- Bake directly from frozen—just add 1–2 minutes
Fresh cookies, anytime.
Final Takeaway
Bakery-style chocolate chip cookies aren’t about fancy tools—they’re about technique. From chilling the dough to shaping it just right, small steps create big results. Once you master this method, every batch will come out thick, chewy, and photo-worthy.
Save this recipe for later, and don’t forget to pin it—you’ll want to bake these again and again.

Leave a Reply