
There’s something magical about creamy, scoopable ice cream made right in your own kitchen—no bulky appliance required. Whether you’re craving a late-night treat or planning a fun family activity, this method proves you don’t need fancy gear to get dreamy results. All you need is a freezer, a bowl, and a little patience.
Why Make Ice Cream Without a Machine?
Ice cream makers are great, but they’re not essential. Going no-machine means:
- Less equipment to buy and store
- More flexibility to make small batches anytime
- Total control over ingredients and flavors
Plus, the process is surprisingly simple—and a little stirring goes a long way.
The Simple Base You’ll Use Every Time
At the heart of no-churn ice cream is a rich, creamy base that freezes smoothly.
Basic ingredients:
- Heavy cream (cold)
- Sweetened condensed milk
- Vanilla extract (optional but recommended)
- A pinch of salt
That’s it. No eggs. No cooking. No stress.
Why this works
Whipped cream traps air, giving your ice cream a light texture. Condensed milk adds sweetness and prevents icy crystals. Together, they mimic what a machine normally does.
Step-by-Step: The Classic No-Churn Method
This is the easiest and most popular way to make ice cream without a machine.
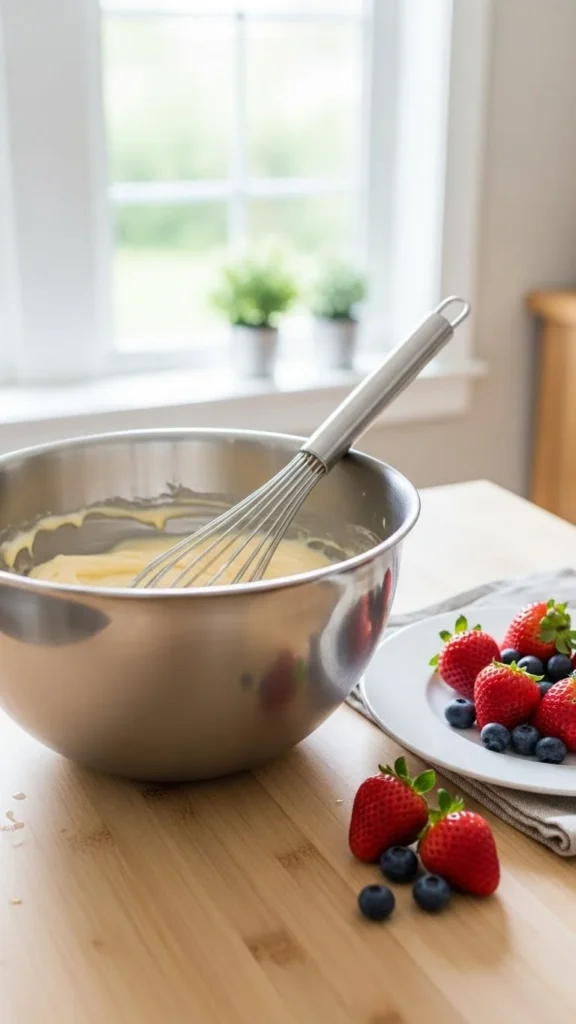
Step 1: Whip the cream
Pour cold heavy cream into a large bowl and whip until stiff peaks form. The cream should hold its shape but still look smooth.
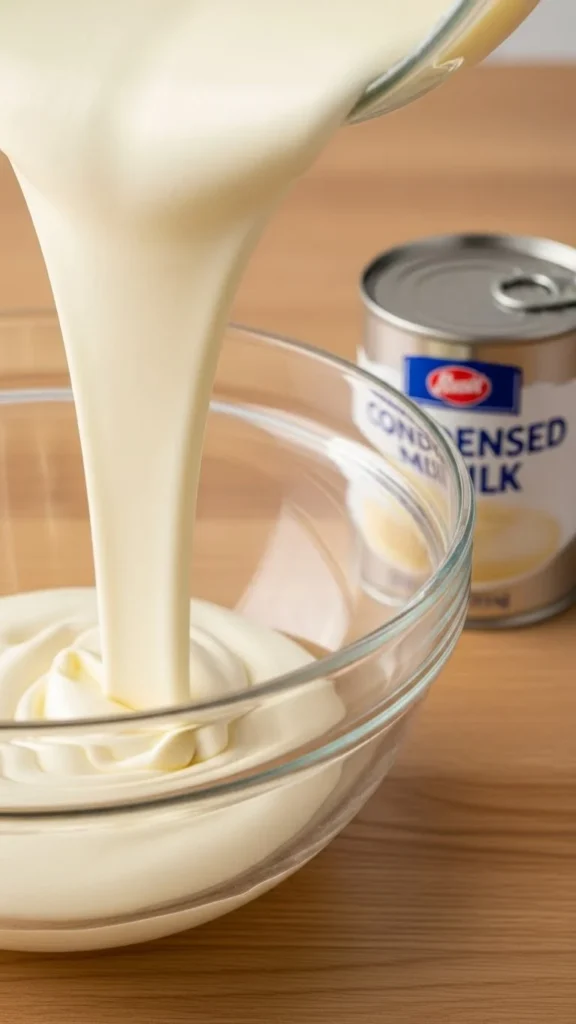
Step 2: Fold, don’t stir
Gently fold in the sweetened condensed milk, vanilla, and salt. Use a spatula and slow motions to keep the mixture airy.
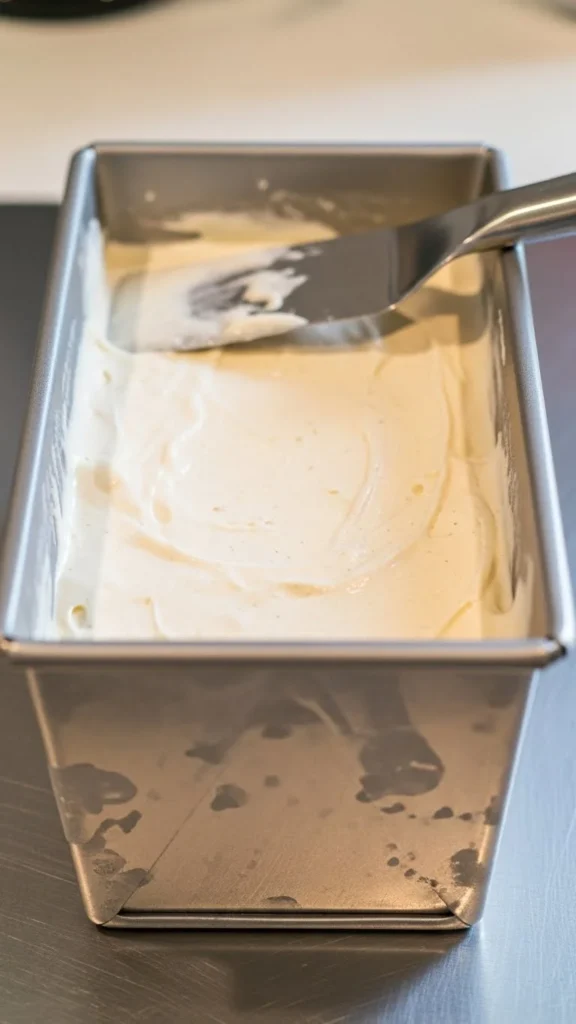
Step 3: Freeze it right
Transfer the mixture to a loaf pan or freezer-safe container. Smooth the top, cover tightly, and freeze for at least 6 hours.
Step 4: Scoop and enjoy
Let it sit at room temperature for 5 minutes before scooping. Creamy, rich, and ready to serve.
Flavor Ideas That Work Beautifully
Once you’ve mastered the base, the fun really begins.
Easy mix-ins:
- Crushed chocolate sandwich cookies
- Swirls of nut butter
- Fresh or frozen berries
- Chocolate chips or chunks
Fold mix-ins in at the very end so they stay evenly distributed.
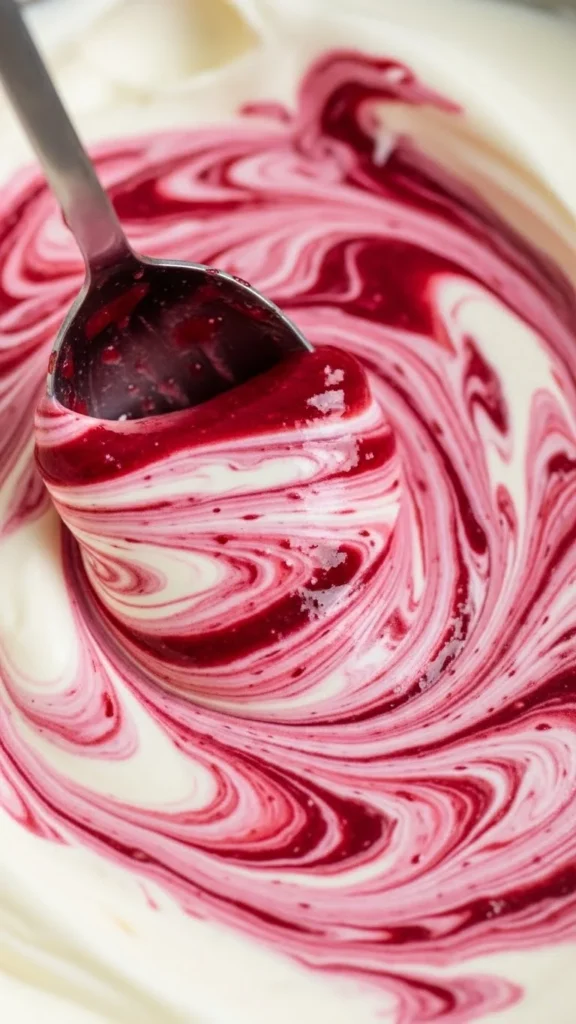
Tip: If adding fruit, mash or puree it first to avoid icy bits.
The Bag Method (Fun and Hands-On)
Want a more interactive approach? This method is perfect for kids.
What you’ll need:
- Two resealable freezer bags (one small, one large)
- Ice
- Salt
- Ice cream base (milk, cream, sugar, vanilla)
How it works
- Pour the ice cream mixture into the small bag and seal it tightly.
- Place it inside the larger bag filled with ice and salt.
- Shake for 5–10 minutes until thickened.
It’s messy, energetic, and surprisingly effective.
Tips for the Creamiest Texture
A few small details make a big difference:
- Start with very cold cream
- Use a metal loaf pan for faster freezing
- Press parchment paper directly on the surface to prevent ice crystals
- Avoid overmixing once the cream is whipped
If your ice cream freezes too hard, just let it soften slightly before serving.
How to Store Homemade Ice Cream
Homemade ice cream is best enjoyed within one week.
- Store in an airtight container
- Keep it toward the back of the freezer for even temperature
- Label flavors so nothing gets forgotten
Because there are no stabilizers, the texture is best when fresh.
Make It Your Own
Once you try this once, you’ll start imagining endless variations. From cozy vanilla to bold chocolate swirls, this method adapts to whatever you’re craving. It’s simple, flexible, and genuinely satisfying.
Homemade ice cream doesn’t have to be complicated—it just has to be made with care.
Save this recipe for later and try a new flavor this week!

Leave a Reply