
Chocolate-dipped treats look fancy, but let’s be real—one messy drip can turn a cute dessert into a streaky situation fast. The good news? With the right setup and a few pro tricks, you can get smooth, glossy, bakery-style results at home without stress. Whether you’re dipping strawberries, pretzels, cookies, or marshmallows, this guide will help you keep things clean, controlled, and Pinterest-perfect.
Start With the Right Chocolate (It Matters More Than You Think)
Not all chocolate melts the same, and choosing the right kind is the first step toward neat dipping.
Best options for clean results:
- Chocolate bars meant for baking
- Chocolate wafers or melting discs
- High-quality chocolate chips with minimal additives
Avoid mixing brands or types in the same bowl. Consistency is key for smooth dipping.
Prep tip:
Chop chocolate into small, even pieces before melting. This helps it melt evenly and reduces lumps that can cause messy coatings.
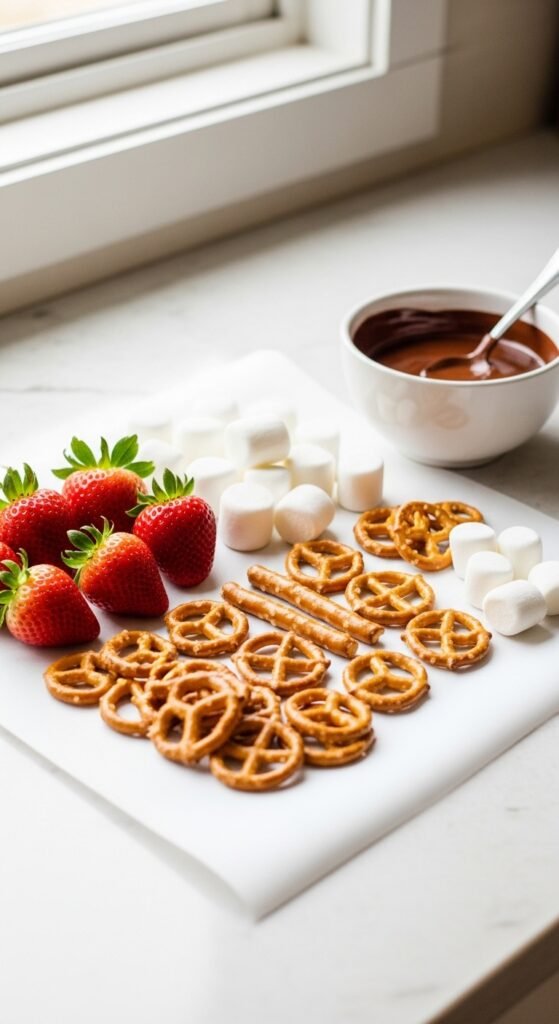
Set Up a Dipping Station Before You Melt
Once chocolate is melted, timing matters. A tidy setup keeps you from rushing—and rushing leads to drips.
What to prep ahead:
- Parchment or wax paper for setting dipped treats
- A cooling rack placed over parchment for excess drip-off
- Forks, dipping tools, or skewers
- Paper towels nearby for quick cleanup
Arrange everything within arm’s reach. You want to dip, tap, and set without stopping.
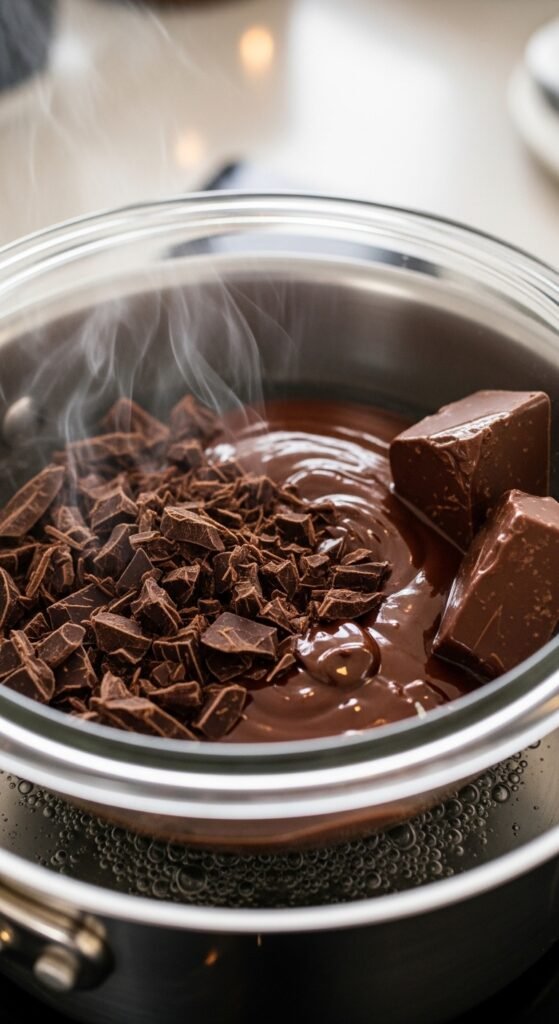
Melt Chocolate Slowly for a Smooth Finish
Rushing the melting process is one of the biggest causes of thick, uneven coatings.
Microwave method:
- Heat in 20–30 second bursts
- Stir between each round
- Stop heating when mostly melted and stir until smooth
Stovetop method:
- Use a heatproof bowl over gently simmering water
- Stir continuously
- Keep water from touching the bowl
If chocolate feels too thick, stir in a small amount of neutral oil to loosen it slightly. This helps it coat evenly without dripping heavily.
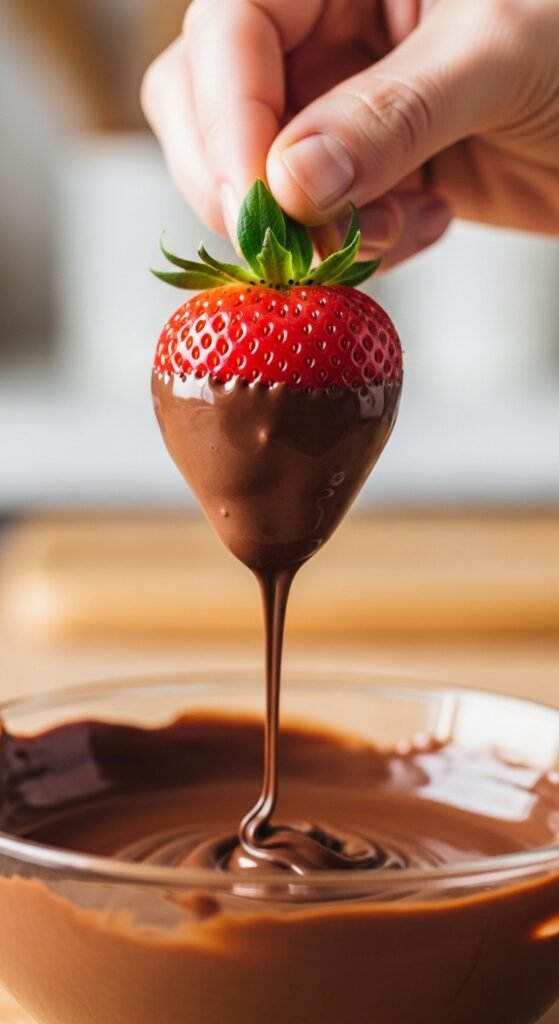
Dip With Control, Not Speed
Neat dipping is more about patience than technique.
How to dip cleanly:
- Hold the treat at a slight angle
- Dip just enough to coat—no need to submerge completely
- Lift slowly and let excess chocolate fall back into the bowl
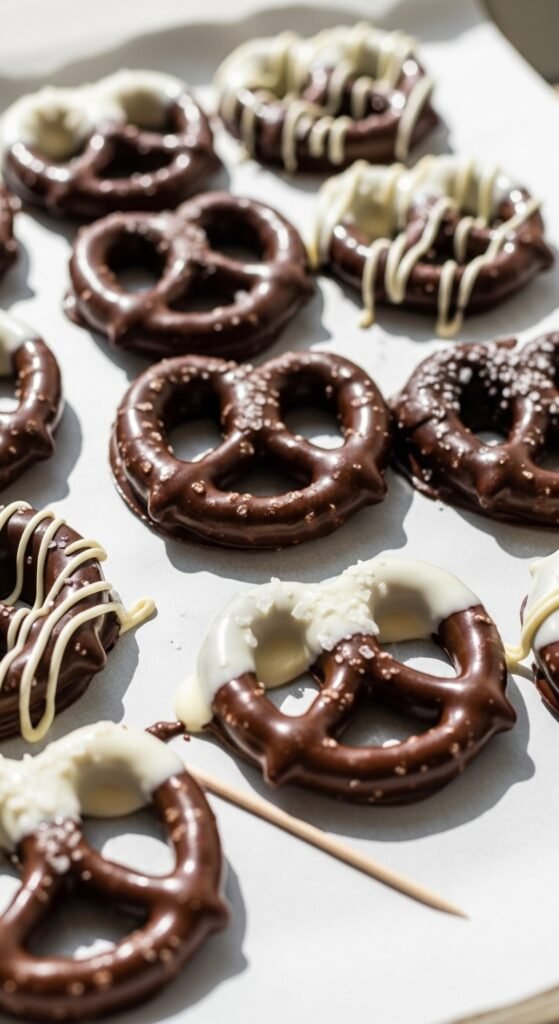
Gently tap your wrist or tool against the bowl’s edge to remove extra chocolate. This single step makes the biggest difference in preventing puddles.
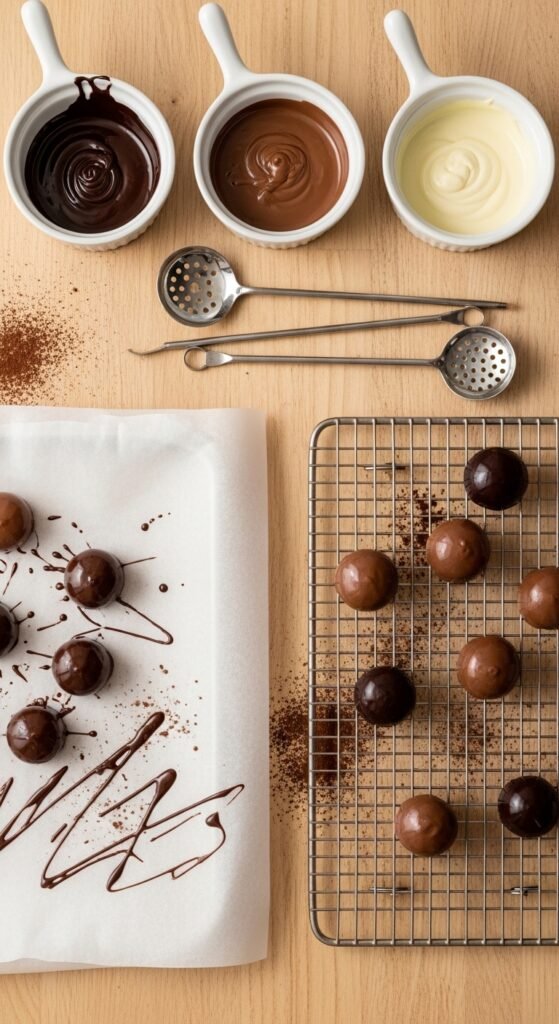
Use the Right Tool for Each Treat
Different treats behave differently, so adjust your tools.
Helpful tool pairings:
- Forks: Great for cookies and pretzels
- Skewers: Ideal for fruit and marshmallows
- Candy dipping tools: Best for detailed or delicate items
After dipping, slide the treat gently onto parchment instead of dropping it. This keeps edges smooth and prevents tails.
Clean Edges While Chocolate Is Still Wet
Even careful dipping can leave small imperfections—but they’re easy to fix.
Quick fixes:
- Use a toothpick to smooth pooled edges
- Gently twist the treat as you lift it to avoid long drips
- Wipe the bottom lightly on the bowl’s edge
If decorating with sprinkles or toppings, add them while the chocolate is still wet so they stick without pressing.
Let Treats Set Without Smudging
Once dipped, resist the urge to move them too soon.
For best results:
- Let treats set at room temperature in a cool, dry space
- Avoid stacking until fully firm
- Use a cooling rack if bottoms need extra airflow
If you need faster setting, place treats in the fridge briefly, but remove them as soon as the coating firms up to avoid dull spots.
Store and Package Like a Pro
Neat treats deserve neat storage.
- Line containers with parchment
- Place treats in single layers
- Keep them cool and dry
For gifting or party displays, arrange them just before serving to keep surfaces flawless.
Final Takeaway
Neatly dipped chocolate treats aren’t about fancy tools—they’re about preparation, patience, and a few smart techniques. Once you master the basics, you’ll get consistent, glossy results every time.
Save this guide for your next dessert project, and enjoy making treats that look just as good as they taste!

Leave a Reply