
Chocolate pudding is the ultimate comfort food, rich, creamy, and full of flavor. While store-bought versions might be convenient, nothing beats the taste of homemade chocolate pudding. It’s surprisingly easy to make, and the process ensures the freshest ingredients in every bite. Whether you’re looking for a treat after dinner or a special dessert for guests, this homemade chocolate pudding is a winner every time!
Ingredients You’ll Need
To make chocolate pudding from scratch, you only need a handful of ingredients. Here’s what you’ll need to gather before you get started:
- 2 cups whole milk
- 1/2 cup granulated sugar
- 1/4 cup cocoa powder (unsweetened)
- 3 tablespoons cornstarch
- 1/4 teaspoon salt
- 3/4 teaspoon vanilla extract
- 2 tablespoons butter
- 2 large egg yolks
These simple ingredients create the perfect base for a velvety pudding.
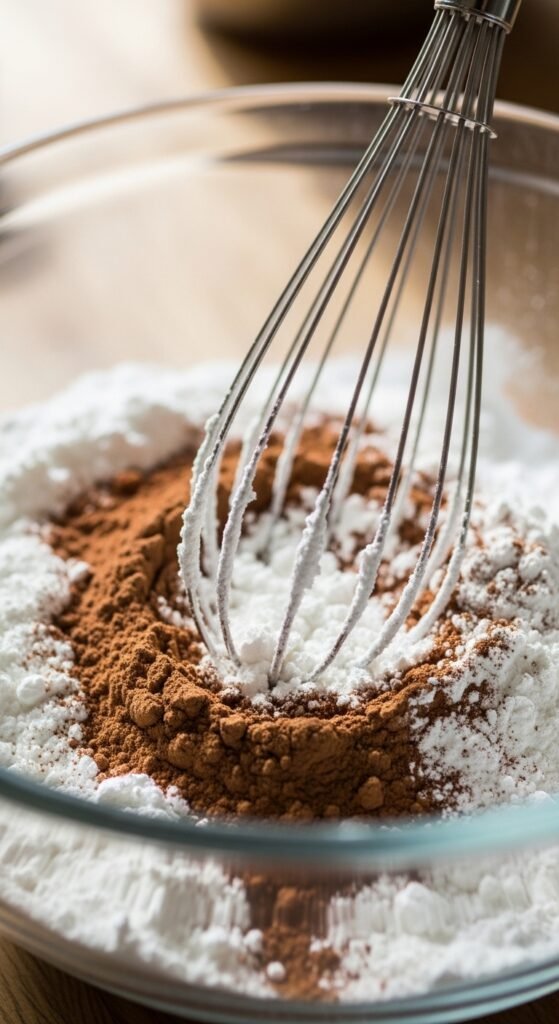
Step 1: Prepare the Dry Ingredients
Start by mixing the dry ingredients in a medium saucepan. Combine the sugar, cocoa powder, cornstarch, and salt. Stir these ingredients together until well-mixed. This step ensures that the dry ingredients are evenly distributed, preventing any lumps in your pudding later on.
Step 2: Whisk the Wet Ingredients
In a separate bowl, whisk the egg yolks. Once whisked, gradually add the milk to the eggs, whisking constantly to prevent the eggs from curdling. Once well-mixed, pour this egg-milk mixture into the saucepan with your dry ingredients.
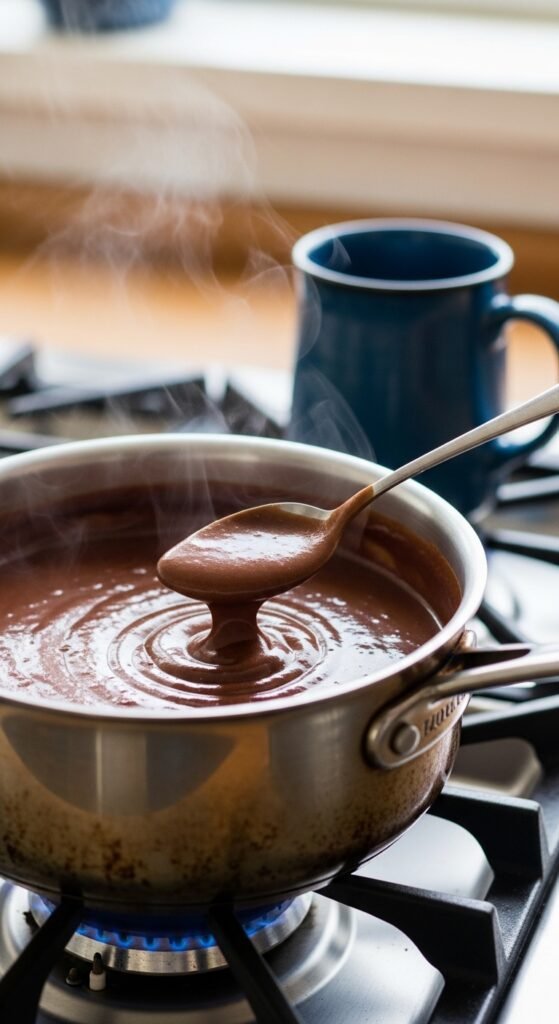
Step 3: Cook the Pudding Mixture
Place the saucepan over medium heat and bring the mixture to a simmer while continuously stirring. It’s essential to keep stirring to avoid burning or clumping. As the pudding heats up, it will start to thicken.
Once the pudding thickens and coats the back of a spoon, reduce the heat and let it simmer for another 2 minutes to fully set.
Step 4: Add Butter and Vanilla Extract
After the pudding has thickened, remove the saucepan from the heat. Stir in the butter and vanilla extract. This addition makes the pudding extra creamy and flavorful. Keep stirring until the butter has fully melted and the mixture is smooth.
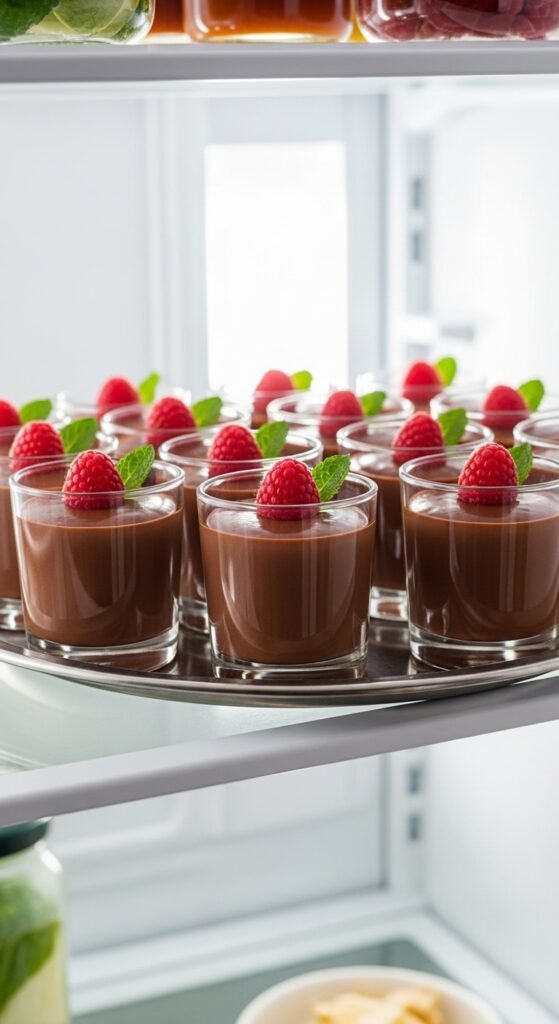
Step 5: Let it Cool
Now comes the hardest part—waiting! Transfer the pudding into serving bowls or a large dish. Let it cool for about 30 minutes at room temperature. Afterward, place the pudding in the fridge for at least two hours to allow it to fully chill and set.
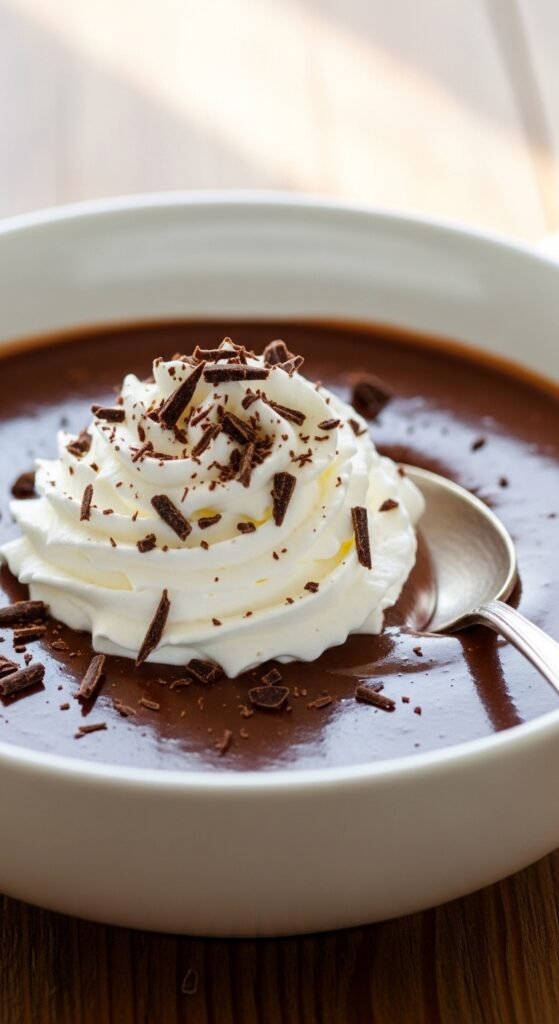
Step 6: Serve and Enjoy
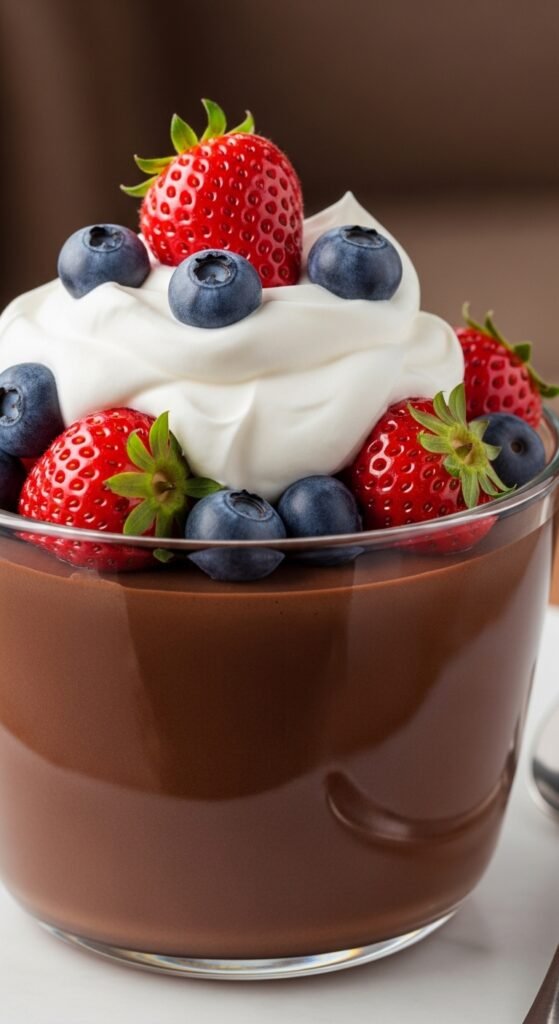
Once your chocolate pudding has fully chilled and set, it’s ready to be served! You can top it with whipped cream, chocolate shavings, or even a few berries for extra flair. The texture should be rich and smooth, and the flavor will be decadent.
Pro Tips for Perfect Chocolate Pudding
- Use whole milk: This gives your pudding its creamy texture. For an even richer flavor, you can substitute part of the milk with heavy cream.
- Don’t skip the cornstarch: It’s essential for thickening the pudding to that perfect, velvety consistency.
- Whisk constantly: Stirring continuously prevents the pudding from burning or forming lumps.
- Make it ahead: Chocolate pudding is even better the next day as the flavors continue to meld together. Make a batch in advance for a hassle-free dessert!
Final Thoughts
Making chocolate pudding from scratch is easier than you might think and far superior to store-bought versions. The creamy texture, rich flavor, and customizable toppings make it a dessert everyone will love. Plus, you can feel good about the fresh ingredients you’ve used to create this homemade treat.
Save this recipe for later, and be sure to share it with friends and family—they’ll be asking for seconds!


Leave a Reply