
There’s nothing quite like the glossy finish of a perfectly made chocolate glaze. Whether you’re decorating a cake, drizzling it over pastries, or dipping fruits for a decadent treat, a smooth, shiny glaze can elevate any dessert. But making a chocolate glaze that sets beautifully can seem like a tricky task. Fear not! In this article, we’ll guide you through the steps to create a rich, glossy glaze that hardens just the right way, without being too runny or too thick.
Let’s get started and make your desserts look and taste irresistible!
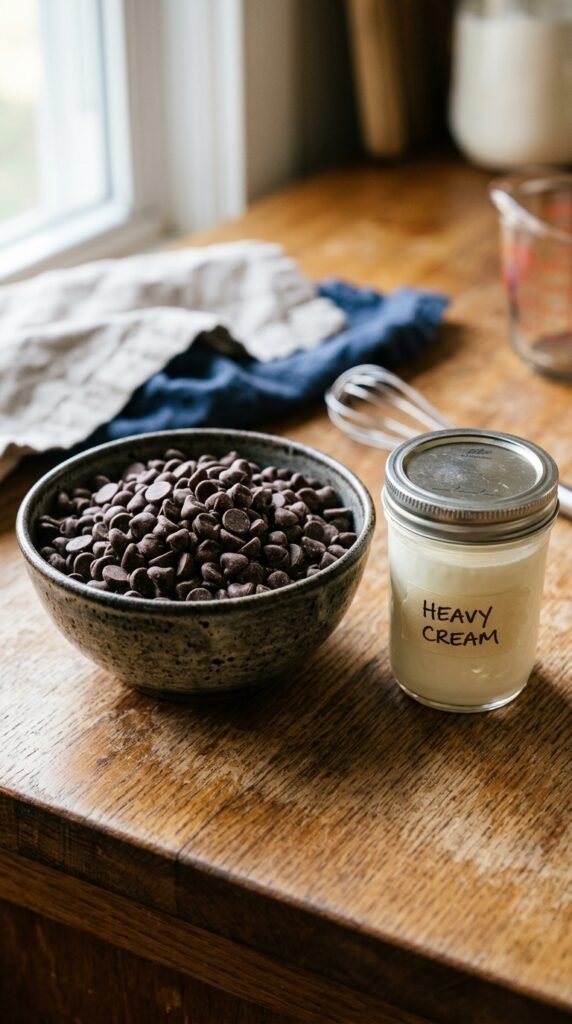
Ingredients You’ll Need
Before diving into the process, gather these essential ingredients for your chocolate glaze:
- 1 cup heavy cream
- 1 cup semi-sweet or dark chocolate chips
- 1 tablespoon unsalted butter (optional, for added shine)
- 1 teaspoon vanilla extract (optional, for flavor)
These simple ingredients combine to create a smooth, rich glaze that can be poured over cakes, donuts, or even cookies. Let’s get to it!
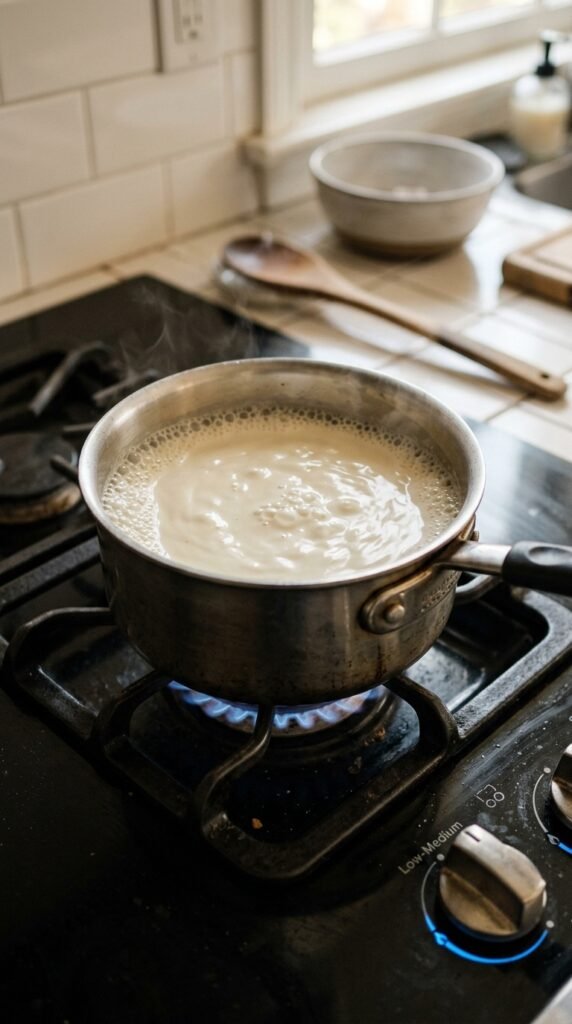
Step 1: Heat the Heavy Cream
Start by placing the heavy cream in a small saucepan. Heat it over medium heat until it just begins to simmer. You’ll see small bubbles forming around the edges of the pan, but be careful not to bring it to a full boil—this can cause the cream to curdle.
Once the cream is heated, remove it from the heat.
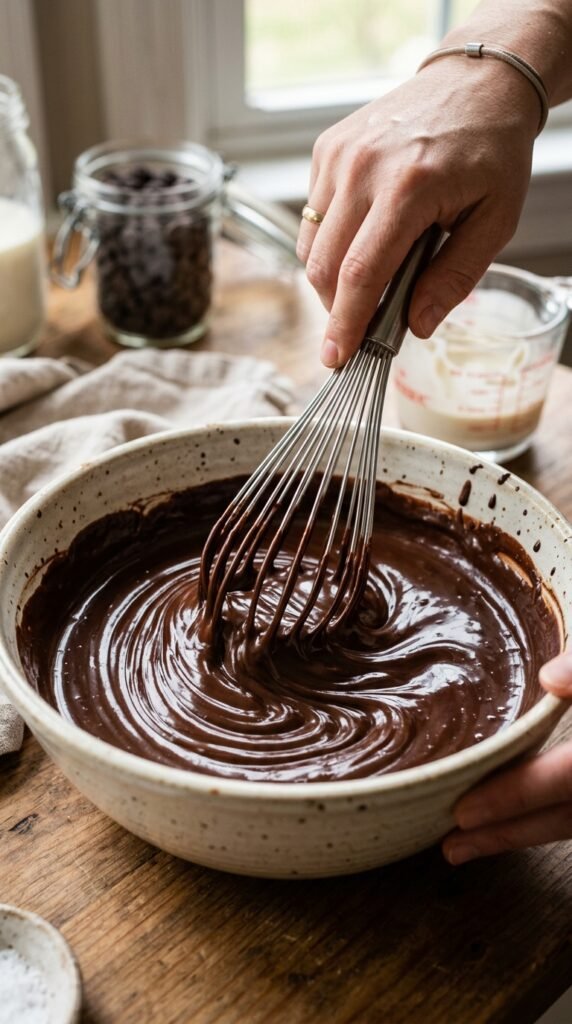
Step 2: Add the Chocolate Chips
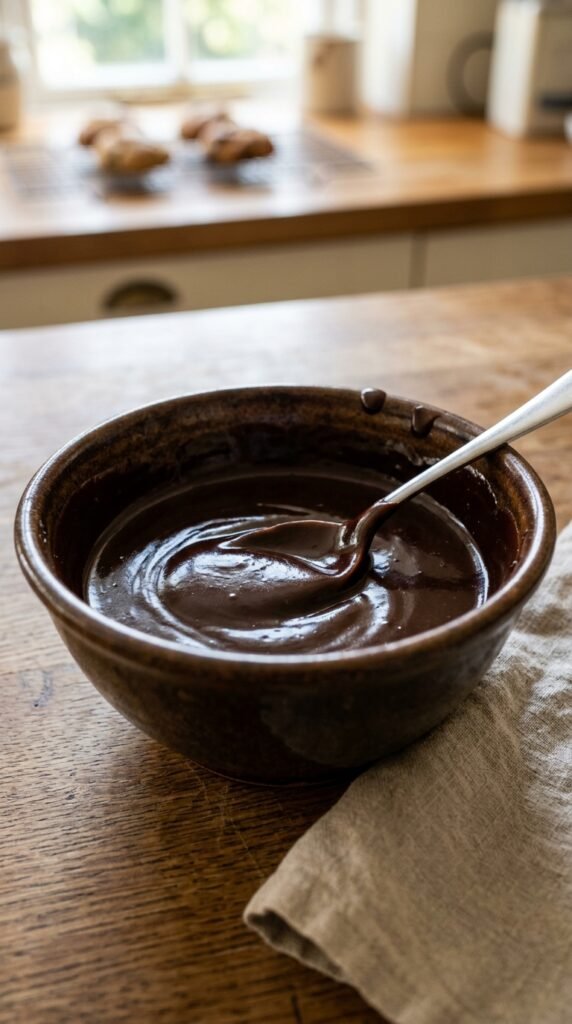
Now, add your chocolate chips to the hot cream. Let them sit for about 1-2 minutes. The heat from the cream will begin to melt the chocolate. Stir gently with a whisk or spoon until the chocolate is fully melted and the mixture is smooth.
If you’re using butter, add it now. It will not only add a rich flavor but also a glossy finish to your glaze.
Step 3: Stir in Vanilla Extract (Optional)
For an extra touch of flavor, add a teaspoon of vanilla extract to the mixture. Stir it in until fully incorporated. The vanilla enhances the chocolate’s natural flavor, giving your glaze a wonderful depth.
Step 4: Let the Glaze Cool Slightly
Allow the glaze to cool for a few minutes. This step is important, as it gives the glaze a thicker consistency, making it easier to apply. If you want a thinner glaze, you can use it immediately while it’s still warm.
If you’re planning on using it to coat a cake or donuts, give it about 5-10 minutes to cool. It should still be pourable but thick enough to stay in place when drizzled.
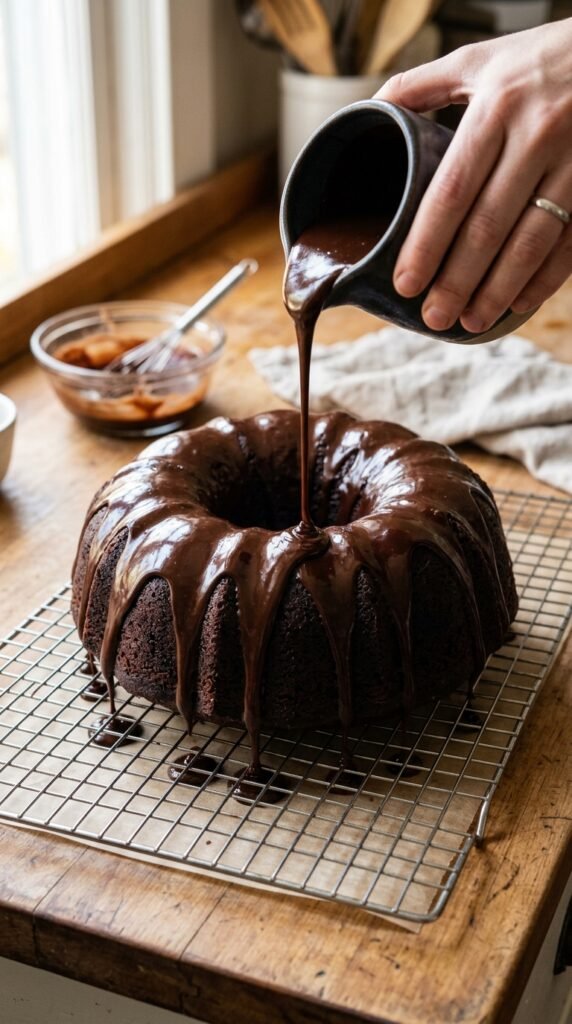
Step 5: Apply the Glaze
Now comes the fun part! Pour the glaze over your cake or dessert of choice. You can let it drip down the sides for a dramatic effect, or use a spatula to spread it evenly for a smooth finish.
For a more controlled application, like dipping fruits or cookies, simply dip them into the glaze and let any excess drip off.
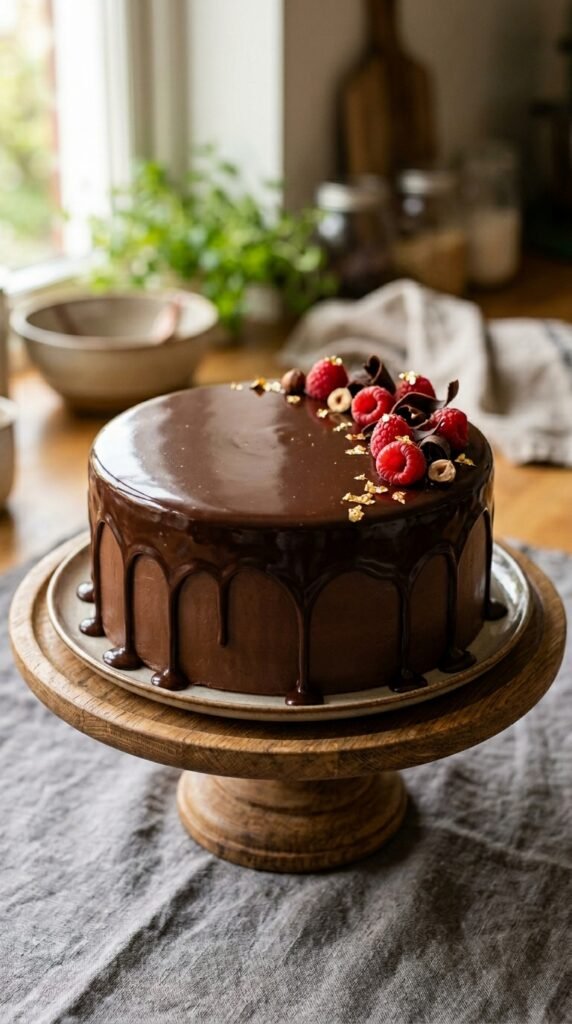
Step 6: Let the Glaze Set
After applying the glaze, it’s time to let it set. Depending on the thickness of the glaze and room temperature, this may take about 20-30 minutes. The glaze should harden enough to give a glossy finish while staying soft on the inside, creating that perfect balance between shine and texture.
If you’re in a hurry, you can place your dessert in the fridge for about 10 minutes to speed up the setting process.
Tips for Perfect Chocolate Glaze
- Use quality chocolate: The flavor of the glaze depends on the chocolate you use, so opt for good-quality chocolate chips or chunks.
- Don’t overheat the cream: Scalded cream can affect the texture of the glaze, so heat it gently.
- Consistency matters: If the glaze is too thick, add more cream. If it’s too thin, let it cool longer to thicken.
- Add a little butter for extra shine: If you want your glaze to shine like a professional’s, a small amount of butter can work wonders.
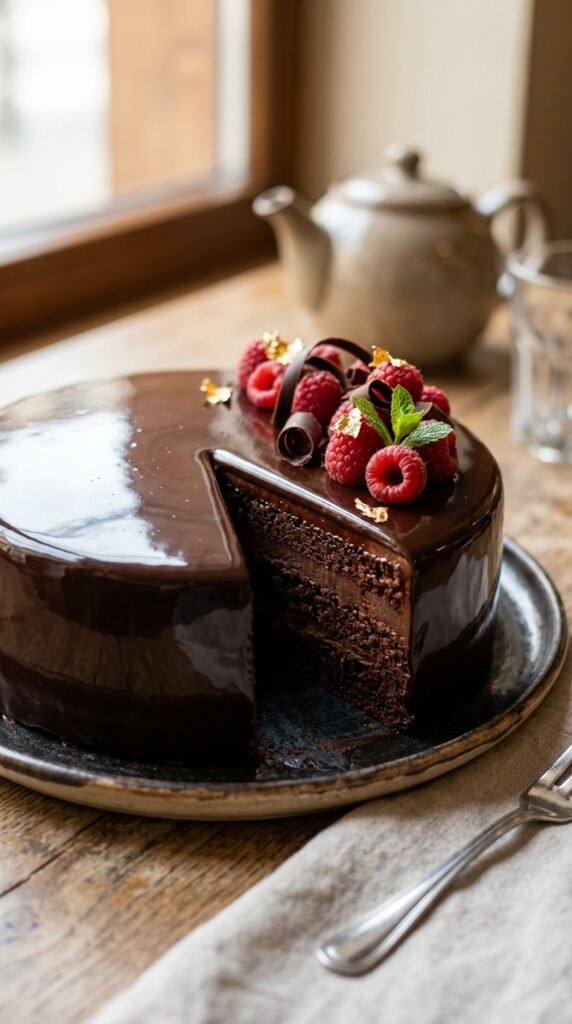
Conclusion
Now that you know how to make a chocolate glaze that sets beautifully, you’re ready to turn your simple desserts into mouth-watering masterpieces. This versatile glaze works for cakes, donuts, cupcakes, or even as a dip for fresh fruit. It’s an easy, quick way to add a touch of elegance and indulgence to any treat.
Save this recipe for later and impress your friends and family with your new chocolate glazing skills!
Happy baking!

Leave a Reply