
Nothing beats the smooth, velvety texture of a dessert filling that’s rich and creamy. Whether you’re making pies, tarts, cakes, or even pastries, getting the filling just right can be the difference between a good dessert and a great one. But achieving that perfect consistency isn’t always easy. With the right techniques, though, you can master the art of thick and creamy fillings. Let’s dive into how you can elevate your dessert game with a few simple tricks.
The Magic of Creamy Fillings
A thick, creamy dessert filling can be made from a variety of ingredients, including custards, chocolate ganache, or whipped cream. But what makes these fillings thick and rich? It’s all about the proper balance of ingredients and techniques. When made right, the filling should not only be thick enough to hold its shape but also smooth and luscious.
Step 1: Choose the Right Base Ingredients
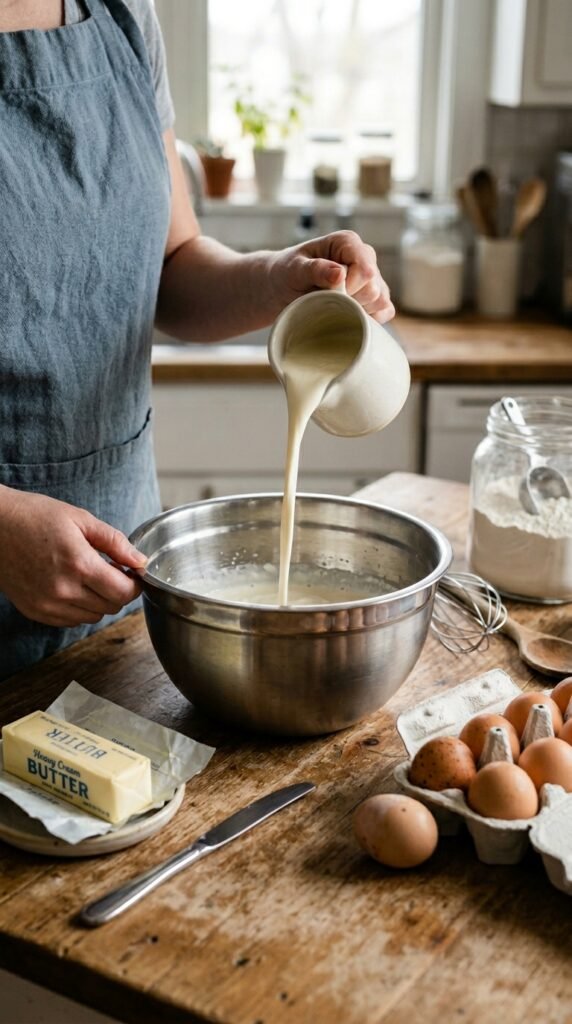
For a thick and creamy filling, the foundation of your recipe is key. Most creamy fillings rely on dairy or eggs to thicken and add richness. Here’s a rundown of the most common ingredients used:
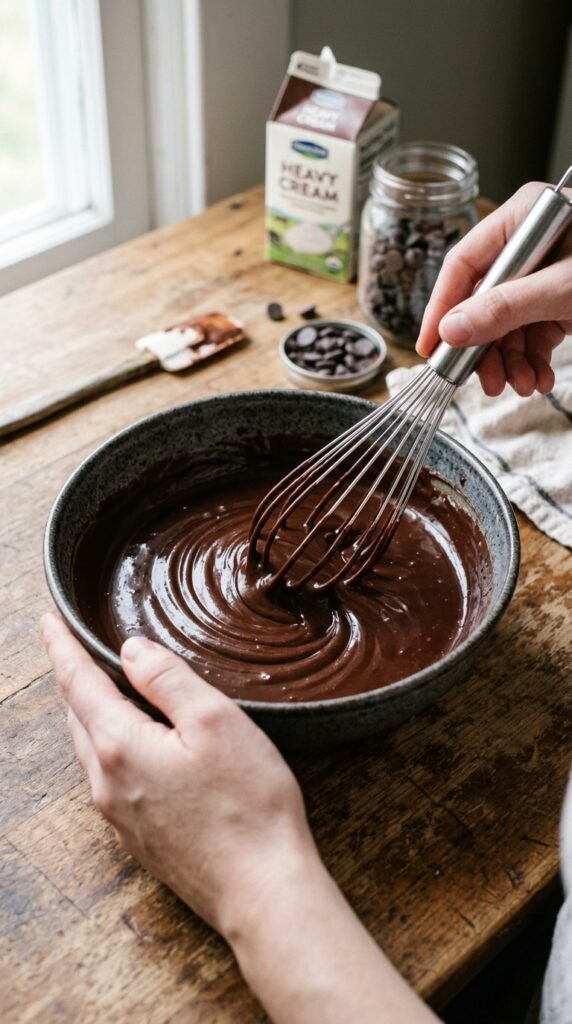
- Heavy Cream: Ideal for creating a smooth and luscious filling, like for ganache or mousse. The high fat content helps achieve the thick texture.
- Egg Yolks: Often used in custards, egg yolks contribute to a rich texture while also helping the filling set when cooked gently.
- Butter: Adds a silky smooth consistency to your filling while enhancing the flavor.
- Cornstarch or Flour: These work as thickening agents, absorbing liquid and helping the filling set. Make sure to cook them properly to avoid a raw taste.
- Gelatin: Used in some fillings (like mousse or no-bake cheesecakes) to help set the mixture without heat.
Step 2: Incorporate the Thickening Agent
To achieve that perfect creamy texture, you need to choose and incorporate a thickening agent. Here are a few methods for thickening your filling:
Use a Roux
A roux is a mixture of equal parts fat (like butter) and flour. Cooking the roux creates a smooth, lump-free base for fillings like pastry cream or custards. Once the roux is ready, slowly whisk in milk or cream to create a silky smooth mixture.
Add Cornstarch or Flour
For fillings like pudding or pie, cornstarch is a great option. Dissolve it in a bit of cold milk or water before adding it to the hot mixture to avoid lumps. Bring the mixture to a gentle boil, stirring constantly, to thicken.
Gelatin for Set Fillings
Gelatin is perfect for no-bake fillings like mousse or cheesecakes. Dissolve the gelatin in a little warm water, then fold it into your filling to set it without the need for baking.
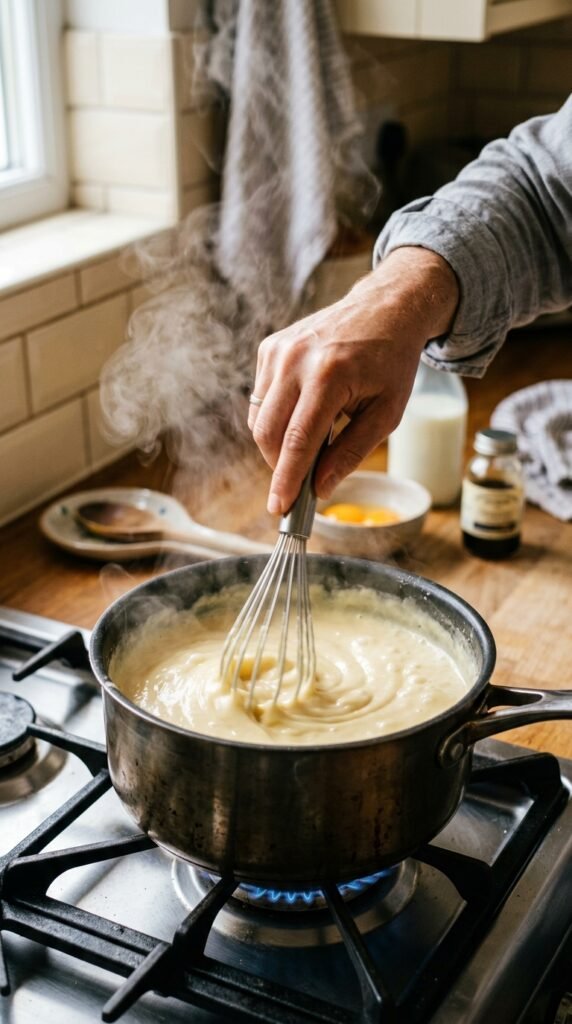
Step 3: Control the Temperature
Temperature control is essential when making a thick, creamy filling. Overheating can cause the mixture to curdle or separate. On the other hand, underheating may prevent the filling from thickening properly.
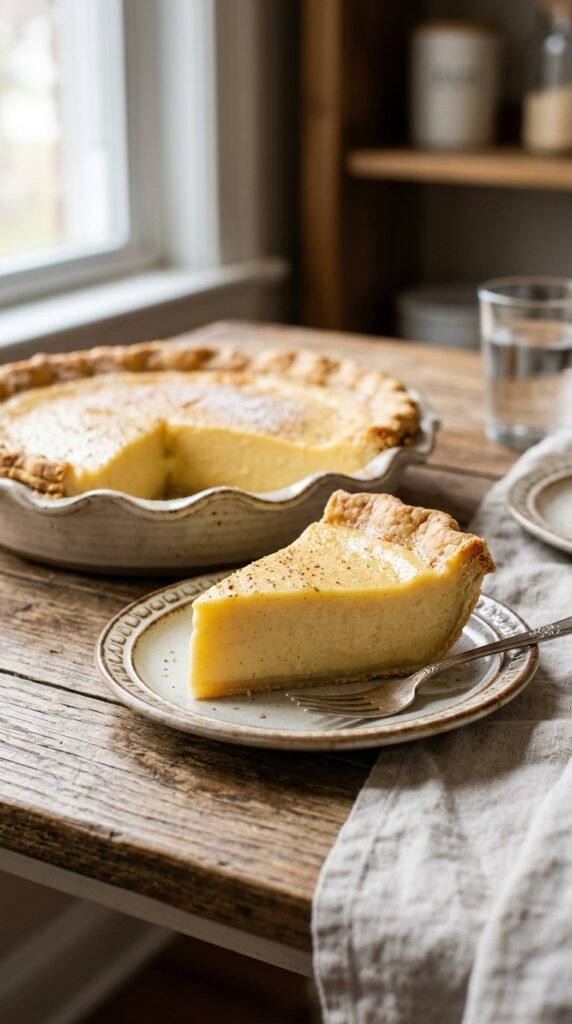
- For Custards: Heat the mixture gently over medium-low heat, constantly stirring until it thickens. Don’t let it boil—this can cause the eggs to scramble. A thermometer can help; the mixture should reach around 170°F (77°C).
- For Ganache: Heat the cream just to a simmer before pouring it over chocolate. Let it sit for a minute to soften the chocolate, then stir until smooth.
- For Whipped Cream Fillings: Whip the cream until soft peaks form but avoid overwhipping, as this can turn it into butter.
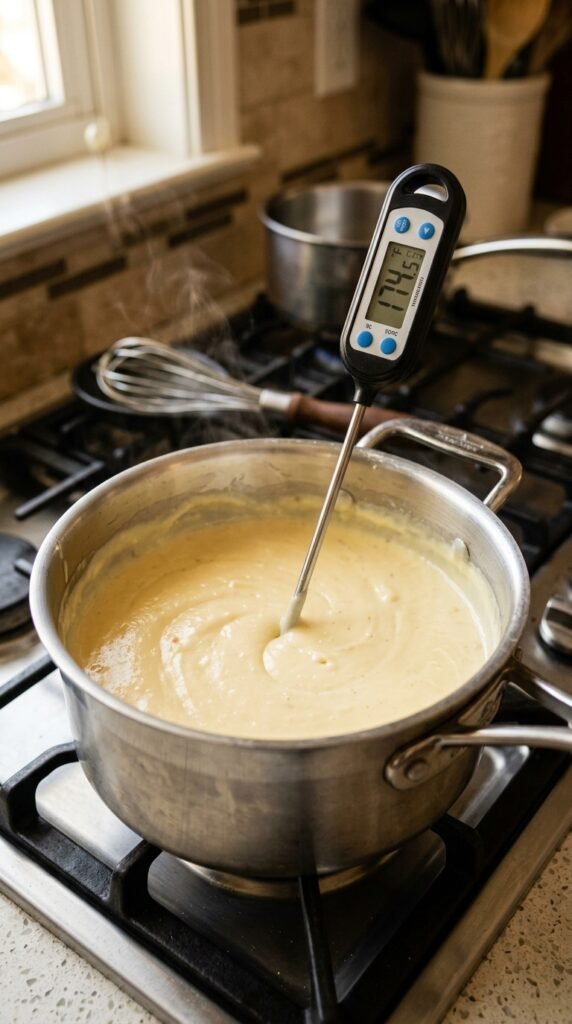
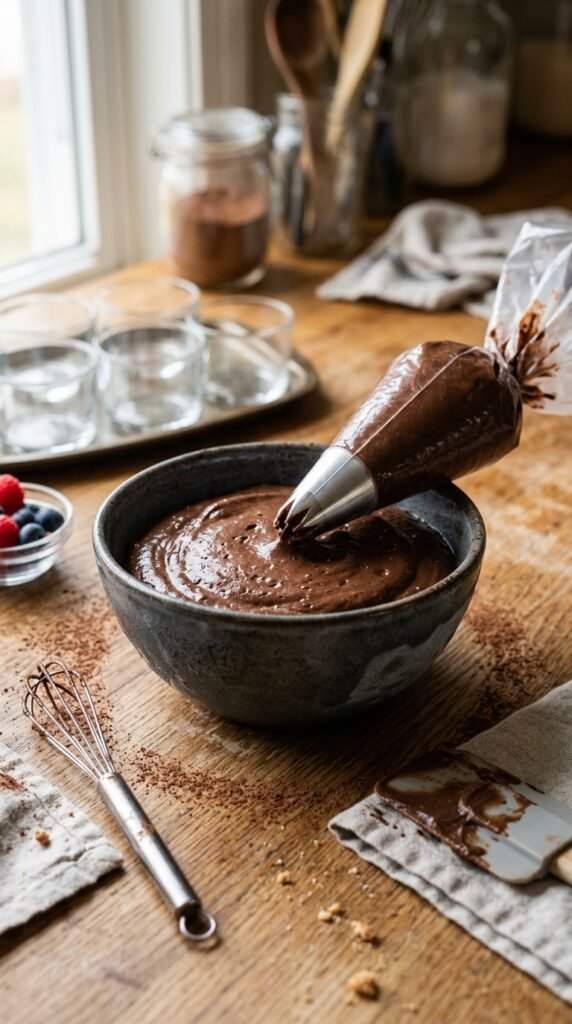
Step 4: Whisk and Blend Until Smooth
Once your thickening agent is added, it’s time to whisk the mixture to perfection. Proper whisking ensures that all the ingredients are incorporated well and that the filling becomes smooth and creamy.
For custards, use a whisk to stir continuously to avoid any lumps. If you’re making ganache, use a spatula or spoon to mix until the chocolate is completely melted and smooth.
If you’re looking for an ultra-smooth filling, you can also pass your mixture through a fine mesh sieve to remove any lumps before letting it cool.
Step 5: Let the Filling Set
For some fillings, like custards and mousse, you’ll need to let the filling cool and set. Be patient! Allow the mixture to rest in the fridge for a few hours or overnight for the best results. This will give the filling the time it needs to firm up and hold its shape.
If you’re using gelatin, ensure the mixture has time to set properly, but be cautious not to let it sit too long, as it can become too firm.
Step 6: Serve and Enjoy!
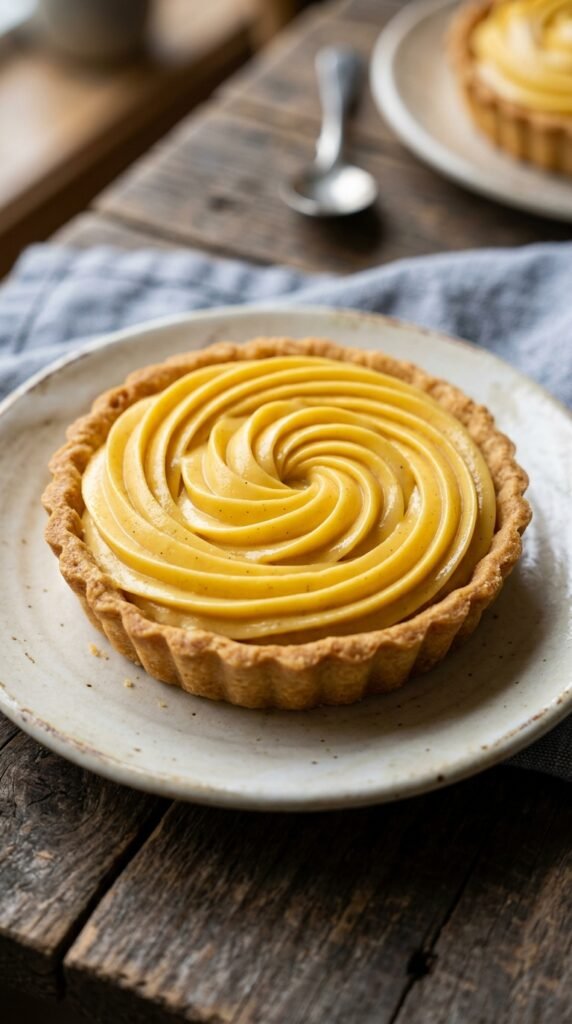
Once your filling is thick, creamy, and perfectly set, it’s time to serve! Whether you’re filling a pie, tart, or cake, the texture should be smooth and velvety, with a satisfying thickness that holds up well when cut into.
Final Thoughts
Mastering the art of creamy dessert fillings is all about balancing the right ingredients, using the right techniques, and allowing the mixture to set properly. With these steps, you’ll be able to create fillings that are as thick as they are luscious, perfect for a wide range of desserts.
Save this article for your next dessert-making session and impress your friends and family with your newfound skills! Happy baking!

Leave a Reply