
There’s something magical about biting into a perfectly made dessert tart — the gentle crack of a crisp crust followed by a smooth, creamy filling and bursts of sweet flavor. Whether filled with fresh fruit, silky chocolate, or velvety custard, a tart feels elegant yet comforting at the same time. The best part? You don’t need to be a professional baker to make one at home.
With the right technique and a few simple ingredients, you can create bakery-style tarts with a beautifully crisp crust that never turns soggy.

Understanding the Secret to a Crisp Tart Crust
A crisp tart crust isn’t about fancy equipment — it’s about technique. The goal is to keep the butter cold, avoid overworking the dough, and bake it properly before adding fillings.
Here’s what makes the difference:
- Cold butter creates flaky layers as it melts during baking.
- Minimal mixing prevents gluten from developing, keeping the crust tender.
- Blind baking ensures the base cooks fully and stays crisp.
Think of tart dough as delicate. The less you handle it, the better the final texture will be.
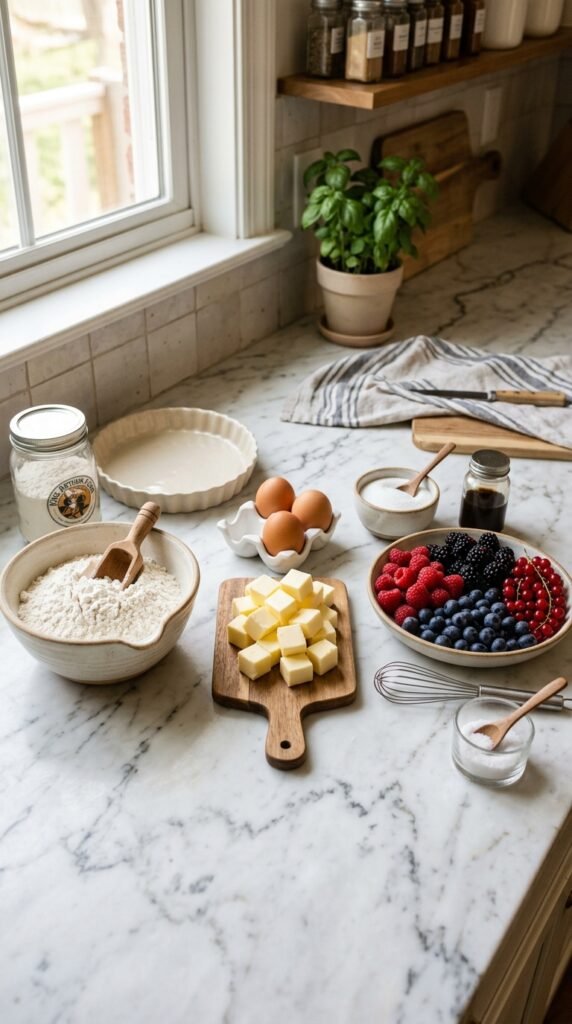
Ingredients You’ll Need
Most tart crusts use pantry staples, making this recipe beginner-friendly.
For the crust:
- 1 ¼ cups all-purpose flour
- ½ cup cold unsalted butter (cubed)
- ¼ cup powdered sugar
- 1 egg yolk
- 2–3 tablespoons cold water
- Pinch of salt
For filling ideas:
- Vanilla custard or pastry cream
- Melted chocolate ganache
- Lemon curd
- Fresh fruits (berries, kiwi, mango slices)
Step-by-Step: Making the Perfect Tart Dough
1. Combine Dry Ingredients
In a mixing bowl, whisk together flour, sugar, and salt. This evenly distributes sweetness and seasoning.
2. Cut in the Butter
Add cold butter cubes and rub them into the flour using your fingertips or a pastry cutter.
You’re aiming for a texture like coarse crumbs — small butter pieces are exactly what create flakiness.
3. Add Egg Yolk and Water
Mix gently until the dough just comes together. Avoid kneading.
Tip: If the dough feels sticky, chill it instead of adding more flour.
4. Chill the Dough
Wrap the dough and refrigerate for at least 30 minutes. This relaxes gluten and firms the butter.
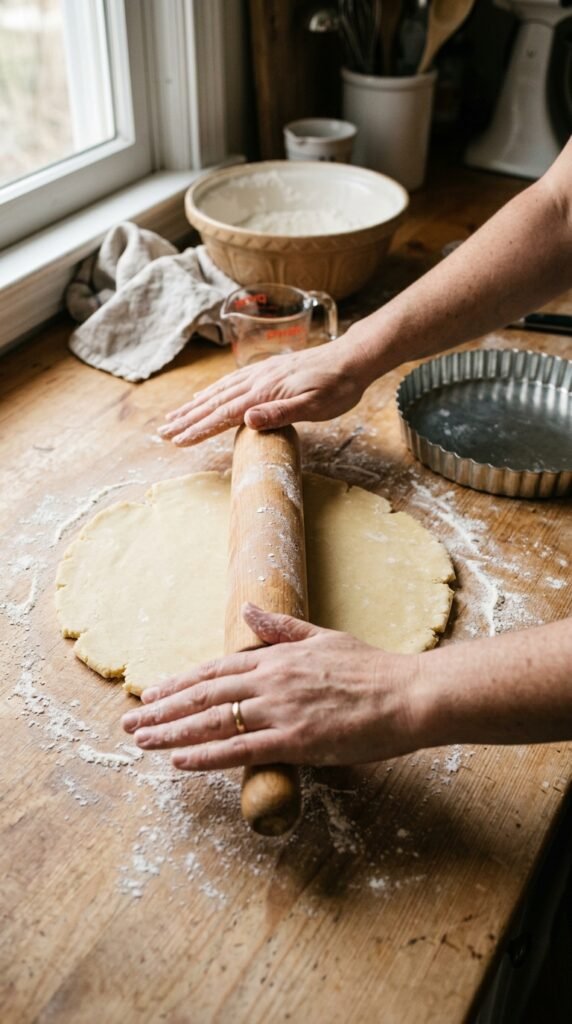
Rolling and Shaping Without Cracks
Once chilled, roll the dough on a lightly floured surface.
Helpful tricks:
- Roll from the center outward.
- Rotate the dough frequently.
- Keep thickness even (about ⅛ inch).
Carefully transfer it into a tart pan and press lightly into corners without stretching the dough — stretching causes shrinking during baking.
Trim excess edges and prick the base gently with a fork.
Blind Baking for Maximum Crispness
Blind baking is the step many beginners skip — and it’s the reason crusts turn soft.
How to Blind Bake:
- Line the crust with parchment paper.
- Fill with baking beans or dry rice.
- Bake at 180°C (350°F) for 15 minutes.
- Remove weights and bake another 10–15 minutes until golden.
This process cooks the base fully and seals it before adding moist fillings.
Extra Crisp Tip:
Brush the warm crust lightly with beaten egg white and bake for 2 more minutes. This creates a moisture barrier.
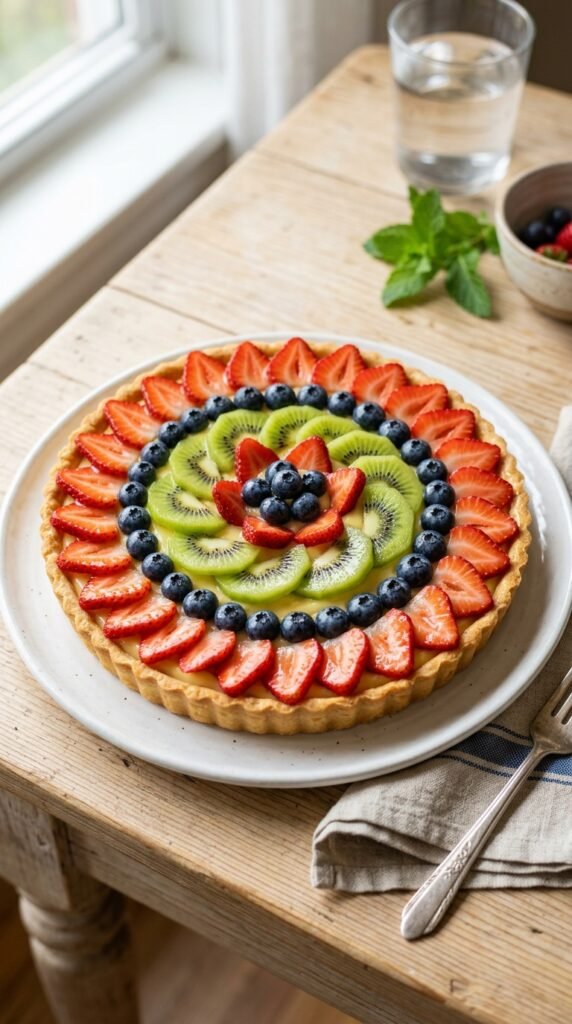
Filling and Decorating Your Tart
Once the crust cools completely, the fun begins.
Easy Filling Ideas
- Spread chocolate ganache for a rich dessert.
- Pipe vanilla custard and top with fresh fruit.
- Add lemon curd for a bright, tangy flavor.
Arrange toppings neatly for a professional look:
- Work in circular patterns.
- Mix colors and textures.
- Add a light glaze for shine.
Common Mistakes to Avoid
Even simple recipes have a few pitfalls. Watch out for these:
- Warm butter: leads to tough crust.
- Overmixing dough: makes it chewy instead of tender.
- Skipping chilling time: causes shrinking.
- Adding filling too early: traps steam and softens the base.
If your crust cracks slightly, don’t worry — press it gently together before baking. Rustic charm is part of homemade baking.
Make-Ahead and Storage Tips
Dessert tarts are perfect for planning ahead.
- Bake crusts a day in advance and store airtight.
- Add fillings shortly before serving for best texture.
- Refrigerate fruit tarts but bring to room temperature before eating for fuller flavor.
You can also freeze unbaked tart shells for up to one month — a great shortcut for future desserts.
Final Thoughts
Making dessert tarts with a crisp crust is less about perfection and more about patience and simple techniques. Once you master the dough and blind baking process, you can experiment endlessly with flavors, fillings, and decorations.
Homemade tarts instantly elevate any tea time, celebration, or weekend treat — and they look just as beautiful as they taste.
Save this recipe for later, and the next time you crave something sweet, bake a tart that cracks perfectly with every bite.

Leave a Reply