
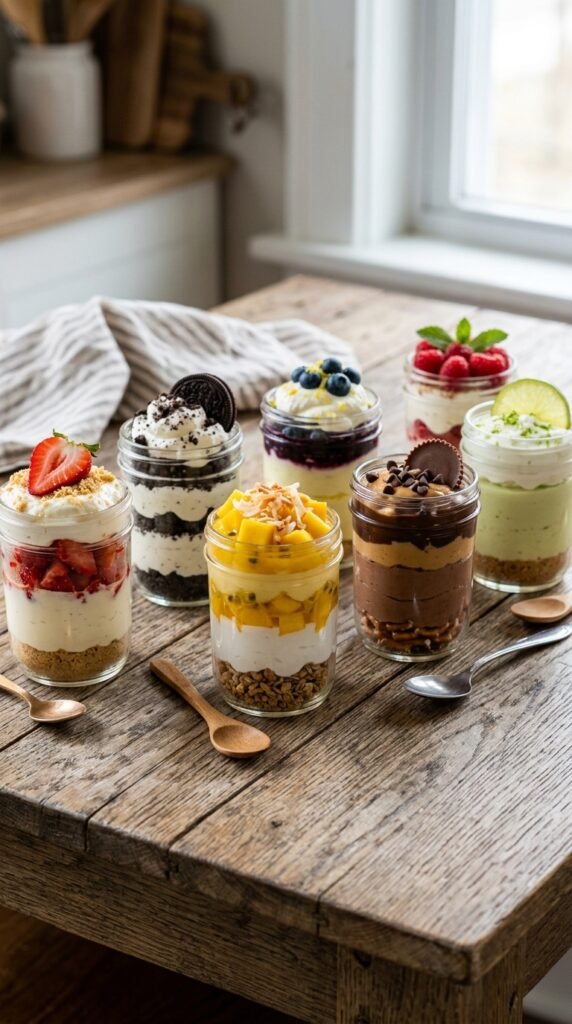
There’s something undeniably fun about digging into a jar filled with layers of creamy, sweet goodness. No-bake dessert jars are not only delicious but also a fantastic way to make a crowd-pleasing treat without turning on your oven. Whether you’re craving a quick snack or preparing a special treat for a party, no-bake dessert jars come together in minutes and are endlessly customizable. Ready to dive in? Let’s make these irresistible, jarred sweets in no time!
Ingredients You’ll Need
Before you can start layering these sweet creations, gather a few key ingredients. The beauty of no-bake desserts lies in their simplicity. Here’s what you’ll need for a basic no-bake dessert jar:
- Base Layer: Crushed graham crackers, cookies, or brownies.
- Creamy Layer: Whipped cream, cream cheese, or pudding.
- Fruit: Fresh or preserved fruits like strawberries, berries, or peaches.
- Sweetener: Sugar, honey, or maple syrup to enhance the flavor.
- Garnish: Chocolate chips, sprinkles, nuts, or crushed candies for extra crunch and color.
With these basic elements, you can create endless variations of no-bake desserts. Now, let’s get started on the steps!
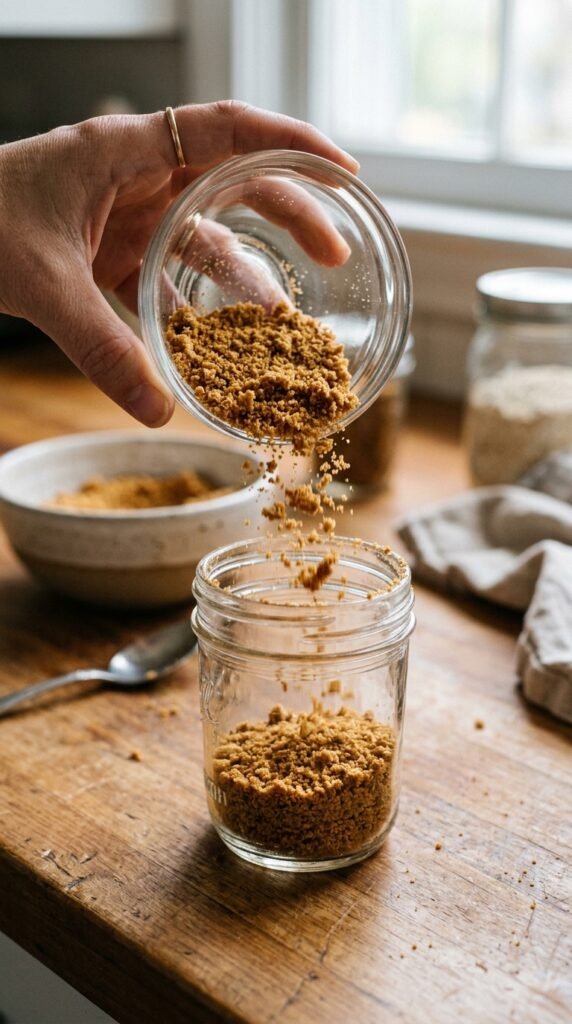
Step 1: Prepare the Base Layer
Start by preparing your base layer. This is the crunchy foundation that will support all those creamy, fruity layers. Here are some options:
- Graham crackers: Classic and easy to crush into fine crumbs.
- Cookies: Oreos or shortbread cookies add a rich, sweet base.
- Brownies: For a more decadent touch, crumble up some brownies.
To prepare the base, place your chosen ingredient in a ziplock bag and use a rolling pin to crush it into small pieces. Alternatively, you can use a food processor if you want it done quickly.
Once your base is ready, spoon it into the bottom of your jar. Aim for about 1-2 tablespoons of crumbs, depending on the size of your jar.
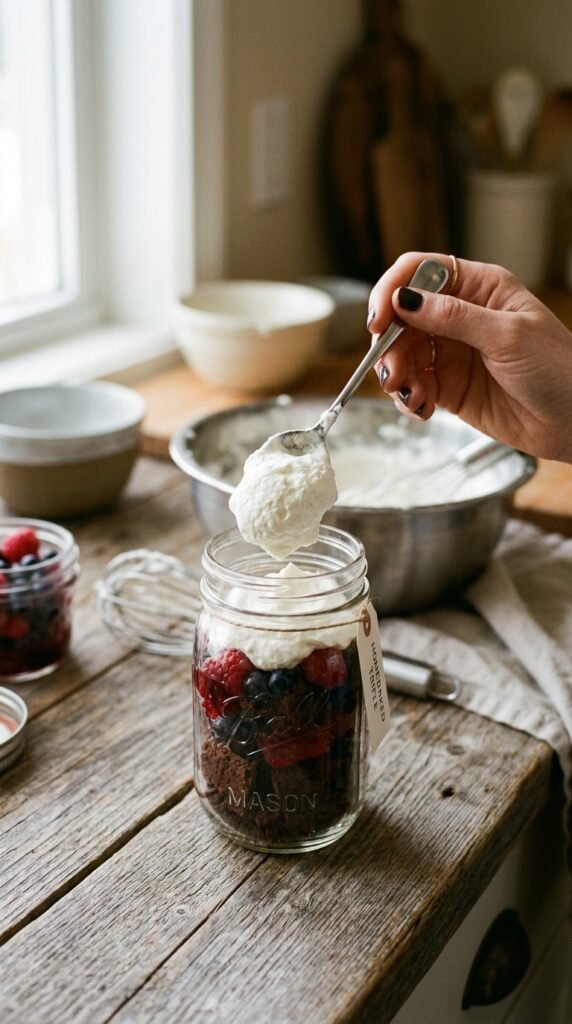
Step 2: Add the Creamy Layer
Next, it’s time to add the creamy layer. This is where the magic happens! You’ll want something rich and velvety to contrast the crunchiness of the base. Here are a few creamy layer ideas:
- Whipped cream: Light and fluffy, a favorite for no-bake desserts.
- Pudding: Chocolate or vanilla pudding works beautifully for a smooth, rich layer.
- Cream cheese filling: Combine cream cheese with sugar and vanilla extract for a tangy-sweet taste.
You can make this layer ahead of time and store it in the fridge, or simply whip it up as you go. Spoon a generous dollop of your creamy mixture over the base layer in each jar.
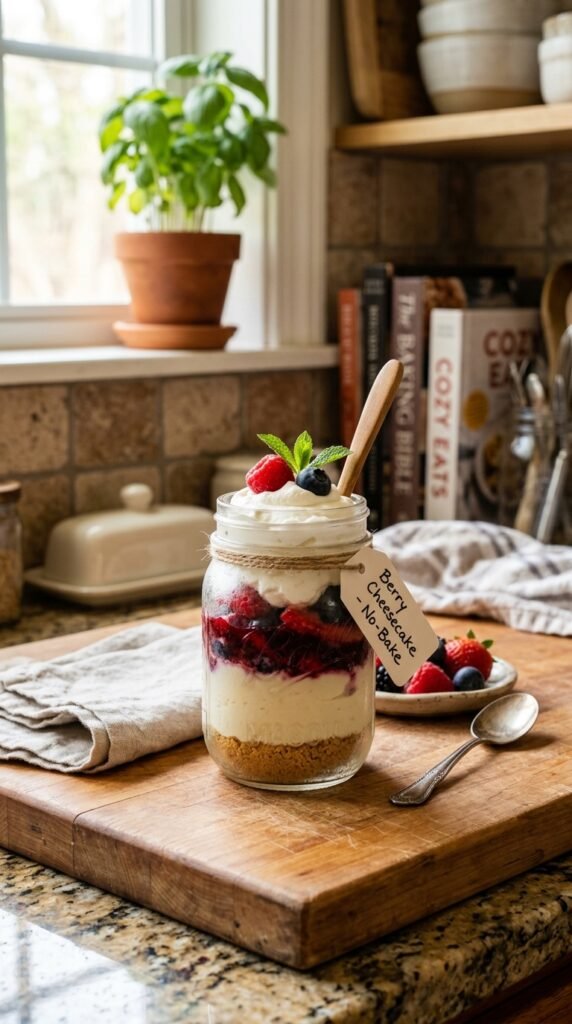
Step 3: Layer with Fruits
Once you’ve got the creamy layer in place, it’s time to brighten up the jar with some fresh fruit. Fruit layers not only add a burst of color but also offer a fresh, tangy contrast to the sweet and creamy layers. Some great options include:
- Strawberries: Fresh or sliced, strawberries add a lovely pop of color.
- Blueberries: Perfect for adding texture and a little tartness.
- Bananas: Sweet and creamy, they pair perfectly with a chocolate or peanut butter dessert jar.
- Peaches or Mangoes: For a tropical twist.
Simply layer your fruit on top of the creamy mixture. You can mix and match fruits for a fun, colorful effect.
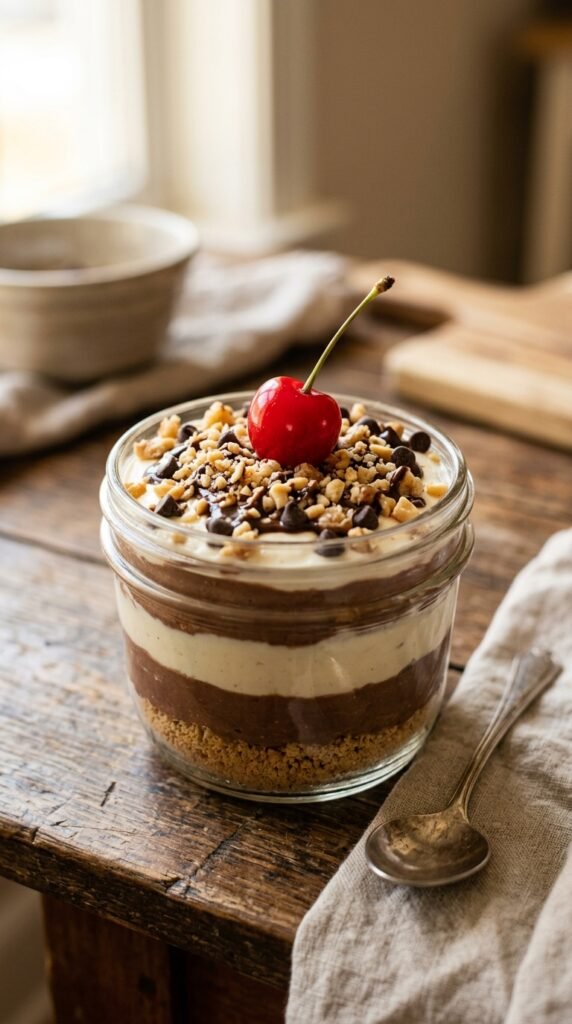
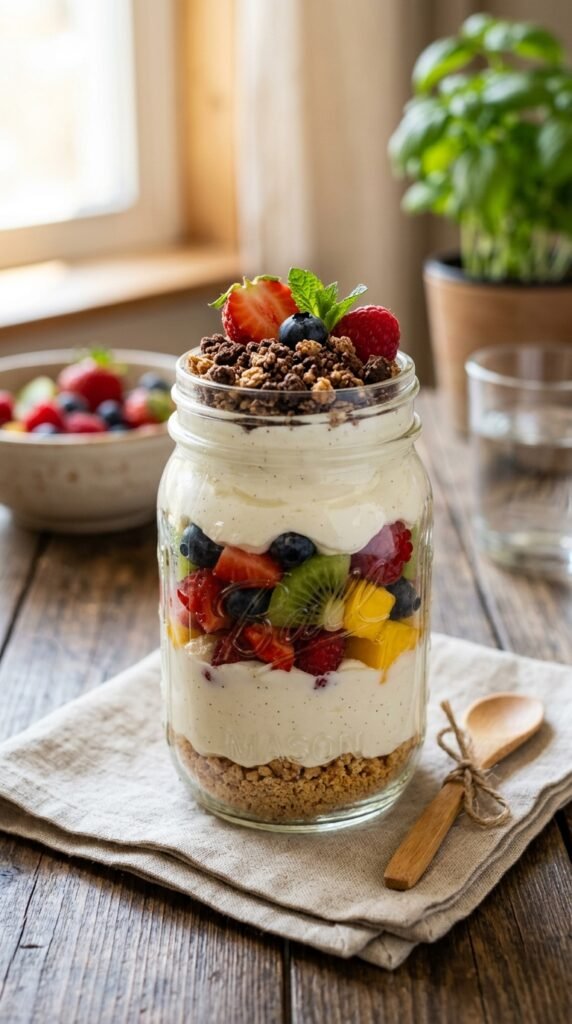
Step 4: Top It Off with a Fun Garnish
Now for the fun part! Top your dessert jars with some playful garnishes to make them extra special. These can be simple or indulgent, depending on your mood. Try:
- Crushed nuts: Walnuts, almonds, or pecans for a bit of crunch.
- Chocolate chips or shavings: A sweet addition to make it more decadent.
- Sprinkles: Bright, colorful sprinkles can make the jars look festive.
- A cherry or mint leaves: For an elegant finishing touch.
The garnish doesn’t just look great—it adds texture and flavor that will delight your taste buds.
Step 5: Let It Chill
While these desserts are technically “no-bake,” they do need a little time to chill. Refrigerate your no-bake dessert jars for at least 30 minutes before serving. This will allow all the layers to set and the flavors to meld together beautifully. Plus, the cold temperature makes the creamy layers even more refreshing.
Final Thoughts
No-bake dessert jars are the perfect treat for any occasion—whether you’re hosting a summer barbecue, a birthday party, or just need a quick and delicious snack. The beauty of these desserts lies in their versatility: you can customize the layers, flavors, and toppings to match your preferences or whatever ingredients you have on hand. So next time you’re craving something sweet, skip the oven and whip up these jarred delights in a flash!
Save this recipe for later, and let your creativity run wild with endless flavor combinations!

Leave a Reply