
There’s something deeply comforting about a classic apple pie baking in the oven. The buttery crust. The warm, spiced apples. The way the kitchen fills with a cozy aroma that feels like home. Making apple pie from scratch might sound intimidating, but it’s surprisingly doable—and incredibly rewarding—when you break it down step by step.
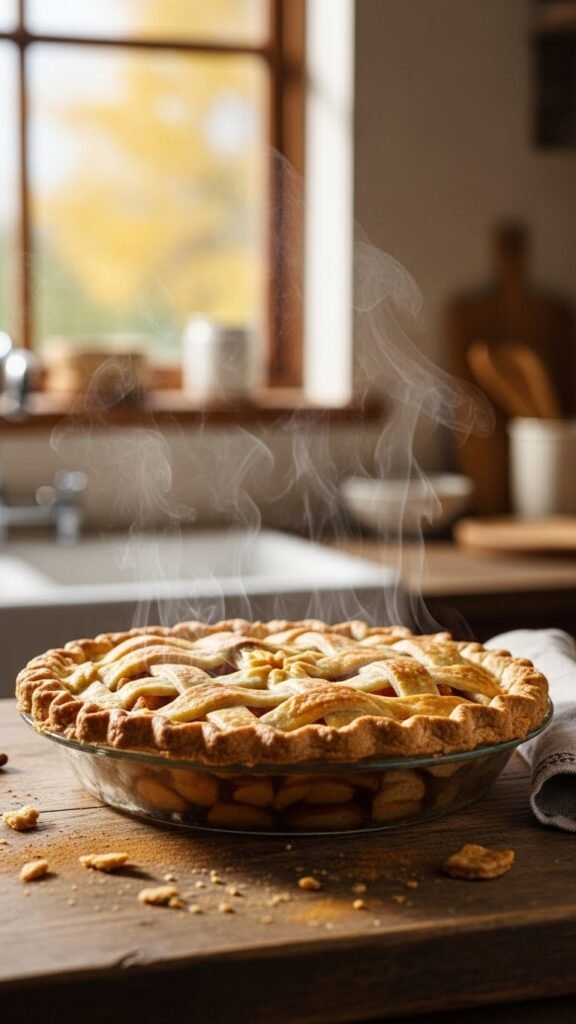
This guide walks you through everything you need to know, from choosing the right apples to getting that perfectly flaky crust. No shortcuts. Just simple techniques that actually work.
Choosing the Best Apples for Pie
The secret to great apple pie starts with the apples. You want fruit that holds its shape while baking and balances sweet with tart.
Best apple options:
- Granny Smith – firm and tangy, a classic choice
- Honeycrisp – juicy with natural sweetness
- Braeburn – balanced flavor and sturdy texture
A mix of two types is even better. It creates deeper flavor and prevents the filling from tasting flat.
Prep tips:
- Peel apples fully for a smooth filling
- Slice evenly so they cook at the same rate
- Aim for about ¼-inch thickness
Making a Flaky Pie Crust from Scratch
A homemade crust might feel like the hardest part, but it’s mostly about temperature and handling.
You’ll need:
- All-purpose flour
- Cold unsalted butter
- A pinch of salt
- Ice-cold water
Key tips for success:
- Keep everything cold—especially the butter
- Cut butter into small cubes before mixing
- Stop mixing as soon as the dough comes together
Once combined, shape the dough into two discs, wrap them, and chill for at least 30 minutes. This relaxes the gluten and makes rolling easier.
When rolling, dust lightly with flour and rotate often. You’re aiming for a circle about 2 inches wider than your pie dish.
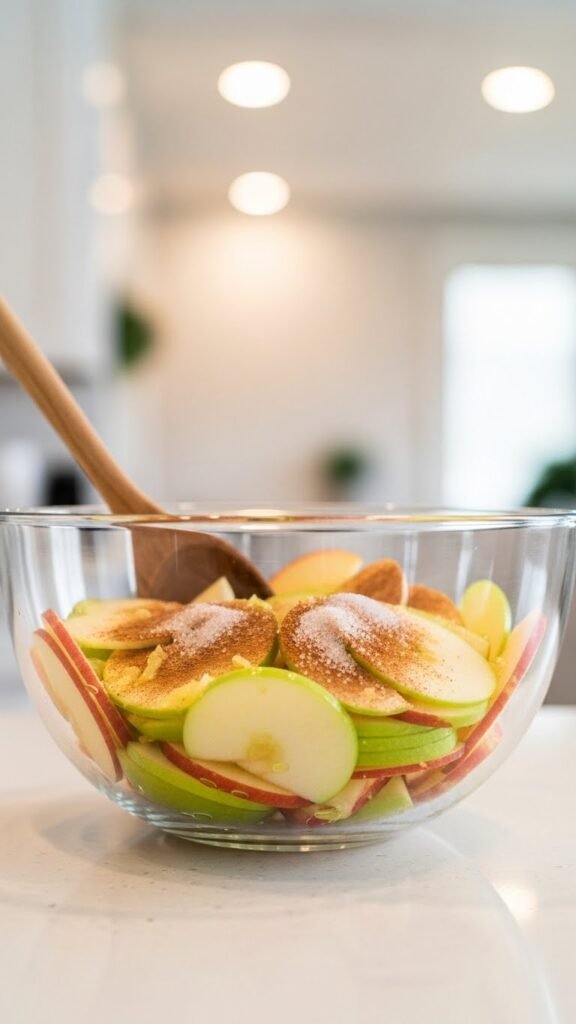
Creating the Perfect Apple Pie Filling
The filling should be flavorful, not watery, and not overly sweet.
Classic filling ingredients:
- Sliced apples
- Granulated sugar and brown sugar
- Cinnamon and a pinch of nutmeg
- Lemon juice
- A small amount of flour or cornstarch
Toss everything together until the apples are evenly coated. The lemon juice brightens the flavor and helps prevent browning.
Avoid common mistakes:
- Too much sugar can make the pie soupy
- Skipping thickener leads to runny filling
- Overmixing breaks the apple slices
Let the filling sit for 10 minutes. This helps draw out juices and gives you a better idea of moisture levels.
Assembling the Pie Like a Pro
Place one rolled crust into your pie dish, gently pressing it into the corners. Leave a slight overhang.
Add the apple filling, mounding slightly in the center. Dot with small pieces of butter if desired.
Top with the second crust. You can:
- Keep it classic with a full top crust
- Cut simple slits for steam
- Create a basic lattice if you’re feeling creative
Trim excess dough, fold the edges under, and crimp using your fingers or a fork.

Before baking, brush the top with egg wash and sprinkle lightly with sugar for a golden finish.
Baking Until Golden and Bubbly
Bake the pie on a lower oven rack to ensure the bottom crust cooks through.
General baking guide:
- Start at a higher temperature to set the crust
- Reduce heat midway to cook the filling evenly
- Total bake time is usually 50–60 minutes
You’ll know it’s ready when:
- The crust is deep golden brown
- The filling is bubbling through the vents
- The pie smells rich and aromatic
If edges brown too quickly, loosely cover them with foil.

Cooling and Serving Tips
This part requires patience. Let the pie cool for at least 2 hours before slicing. Cutting too early causes the filling to spill.
Once set, slices will hold their shape beautifully.
Serving ideas:
- Enjoy warm or at room temperature
- Serve plain to highlight the apple flavor
- Pair with a simple dessert topping if you like
Store leftovers covered at room temperature for a day or refrigerated for longer freshness.
Final Thoughts
Making a classic apple pie from scratch is less about perfection and more about care. Each step builds flavor, texture, and that homemade feel you just can’t buy.
Once you’ve made it once, you’ll realize it’s not complicated—just comforting, familiar, and deeply satisfying.
Save this recipe for later, and bake it again whenever you want your kitchen to feel like home

Leave a Reply