
Cake pops are tiny, adorable, and perfect for parties—until they crack. Few baking frustrations compare to watching those smooth, glossy shells split right after dipping. The good news? Cracks are totally preventable once you understand what causes them and how to fix it.
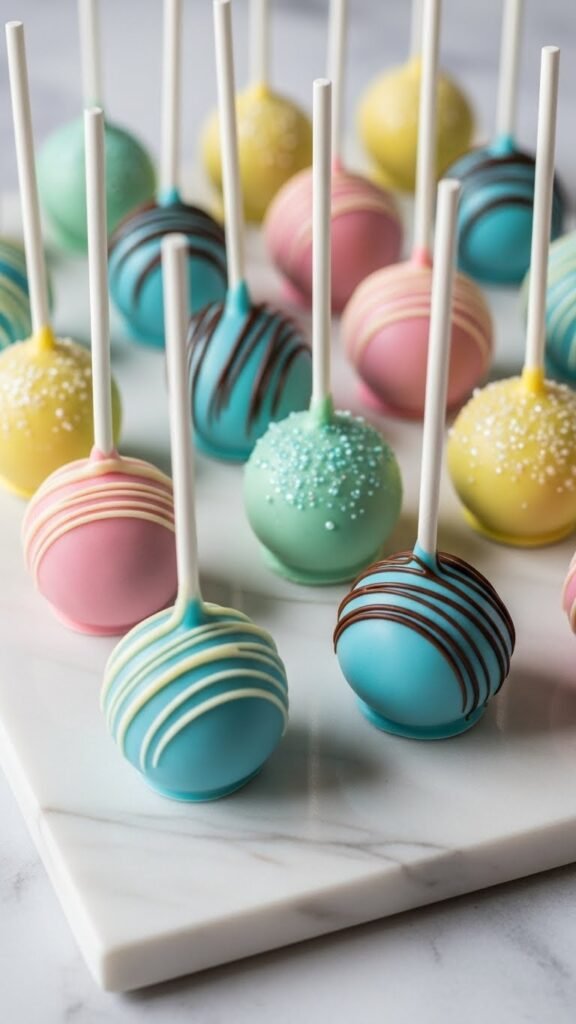
This guide breaks it all down in a simple, stress-free way. Whether you’re a first-timer or you’ve battled cracked cake pops before, these tips will help you get flawless results every time.
Why Cake Pops Crack in the First Place
Before fixing the problem, it helps to know why it happens. Most cracks come from temperature shock or moisture issues.
Common causes include:
- Cake balls that are too cold
- Candy coating that’s too hot or too thick
- Too much frosting in the cake mixture
- Trapped moisture expanding after dipping
Once you manage temperature and texture, cracking becomes much easier to avoid.
Start With the Right Cake-to-Frosting Ratio
One of the biggest mistakes is adding too much frosting. Cake pops should be firm but not greasy.
Here’s the sweet spot:
- Crumble fully cooled cake into fine crumbs
- Add frosting 1 tablespoon at a time
- Mix just until the dough holds together when pressed
If it feels sticky or shiny, you’ve gone too far.
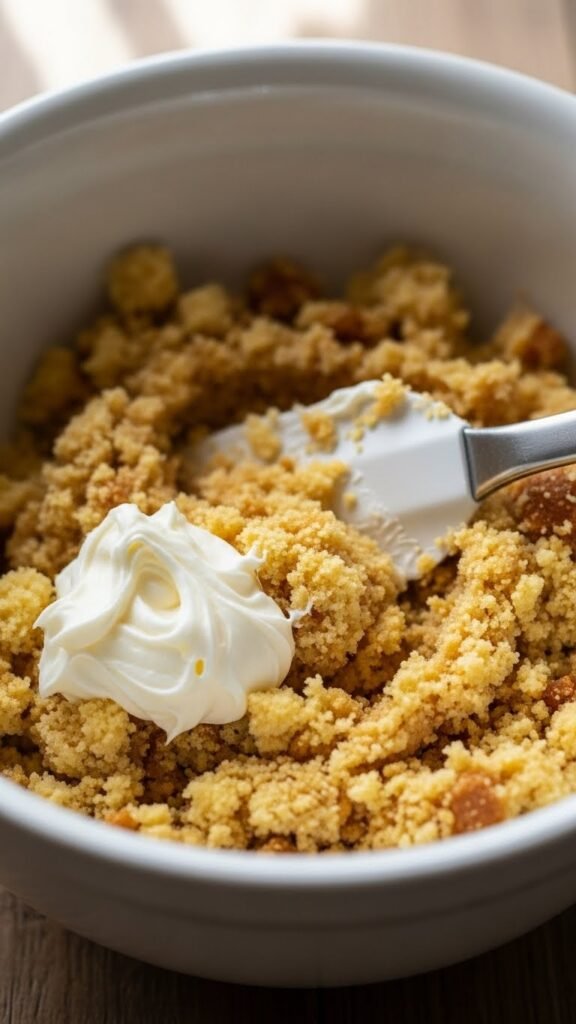
Pro tip: You should be able to roll the mixture without it sticking heavily to your hands.
Roll Smooth, Even Cake Balls
Cracks often start with uneven shapes. Smooth cake balls help the coating glide on evenly.
Tips for best results:
- Roll balls about 1 to 1½ inches wide
- Use light pressure—don’t compact too tightly
- Re-roll until the surface is smooth
Place them on a parchment-lined tray once shaped.
Chill—But Don’t Overchill
Temperature shock is the #1 reason cake pops crack.
Do this instead:
- Chill cake balls for 15–20 minutes in the fridge
- They should feel cool, not hard or frozen
Avoid the freezer unless absolutely necessary. Frozen cake balls + warm coating = instant cracks.
Dip the Sticks First (This Matters)
Skipping this step can cause cake pops to slide off—or crack later.
Here’s how:
- Dip the tip of each stick into melted coating
- Insert it halfway into the cake ball
- Let it set for 2–3 minutes before dipping fully
This creates a strong seal and helps lock everything in place.
Get the Candy Coating Just Right
Your coating should be smooth, fluid, and warm—but never hot.
Best practices:
- Melt slowly using short microwave bursts
- Stir often to avoid overheating
- Thin with a small amount of neutral oil if needed
The coating should flow off a spoon easily without clumping.
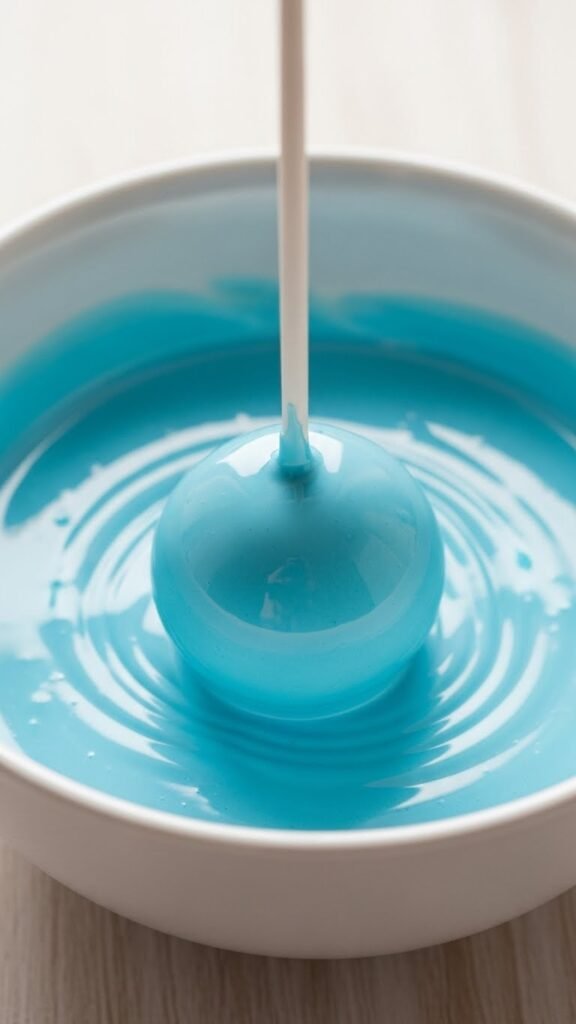
Match Temperatures When Dipping
This step is crucial.
Before dipping:
- Cake balls = cool, not cold
- Coating = warm, not steaming
When temperatures are closer, the coating sets gently instead of snapping and cracking.
Dip straight down, lift slowly, and tap gently to remove excess coating.
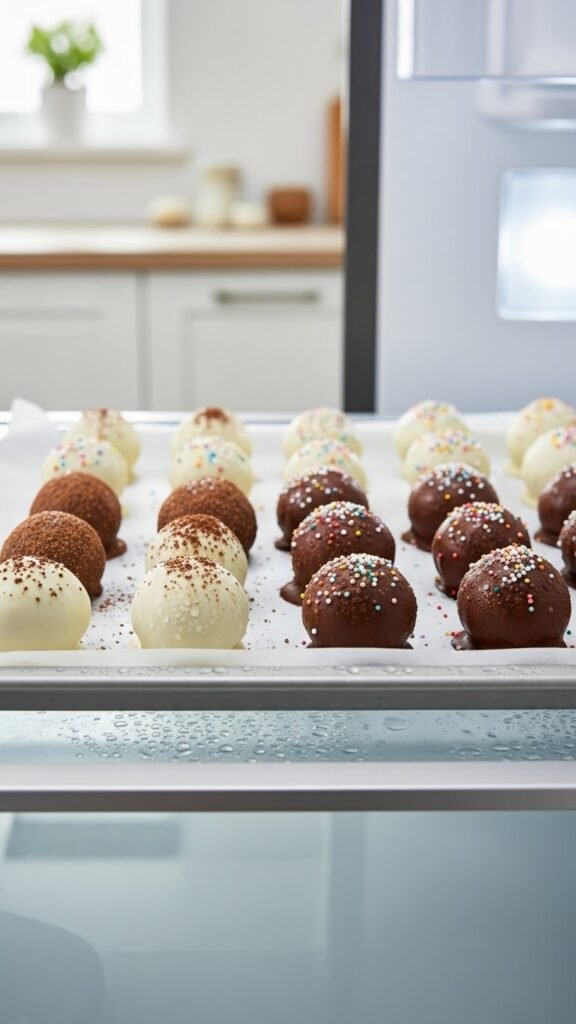
Let Them Dry the Right Way
How cake pops dry matters more than you think.
Best options:
- Place upright in a foam block
- Or rest them at an angle on parchment
Avoid laying them flat while wet—it can trap moisture and cause stress fractures.
Quick Fixes If Small Cracks Appear
Even with care, tiny cracks can happen. Don’t panic.
Try this:
- Dip a toothpick in melted coating
- Gently smooth over the crack
- Let set naturally
For decorative finishes, sprinkles or drizzles can also disguise small flaws beautifully.
Final Takeaway: Smooth Cake Pops Are All About Balance
Perfect cake pops aren’t about fancy tools—they’re about balance:
- Balanced frosting
- Balanced temperatures
- Balanced patience
Once you slow down and follow these steps, cracked cake pops become a thing of the past.
Save this guide for your next baking session—and enjoy making cake pops that look just as good as they taste!

Leave a Reply