
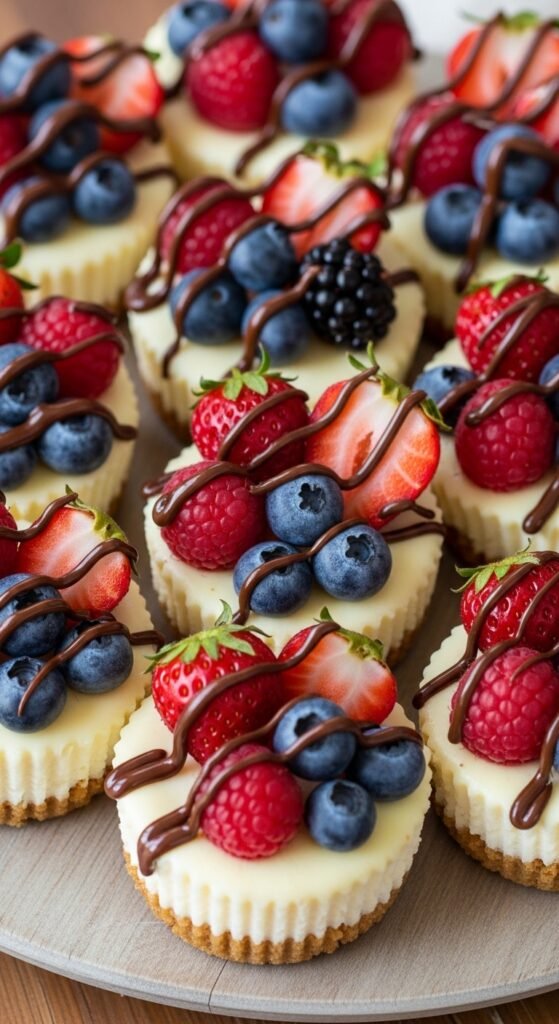
Craving a creamy, dreamy cheesecake but don’t want to turn on the oven? Look no further! These No-Bake Cheesecake Cups are the perfect solution. Not only are they quick and easy to prepare, but they also offer all the indulgent flavors of a classic cheesecake without any of the baking fuss. Whether you’re hosting a party, need a sweet treat for yourself, or simply want to impress your friends with minimal effort, this recipe has got you covered.
Ingredients You’ll Need
Making no-bake cheesecake cups requires just a few simple ingredients. Gather these items before you start:
- Crust Layer:
- 1 ½ cups graham cracker crumbs
- 5 tablespoons melted butter
- 2 tablespoons sugar (optional, for extra sweetness)
- Cheesecake Filling:
- 8 oz cream cheese (softened)
- 1 cup heavy whipping cream
- ½ cup powdered sugar
- 1 teaspoon vanilla extract
- 1 tablespoon lemon juice (for a little tang)
- Toppings:
- Fresh fruit (strawberries, blueberries, raspberries)
- Chocolate shavings or syrup (optional)
- Crushed nuts (optional)
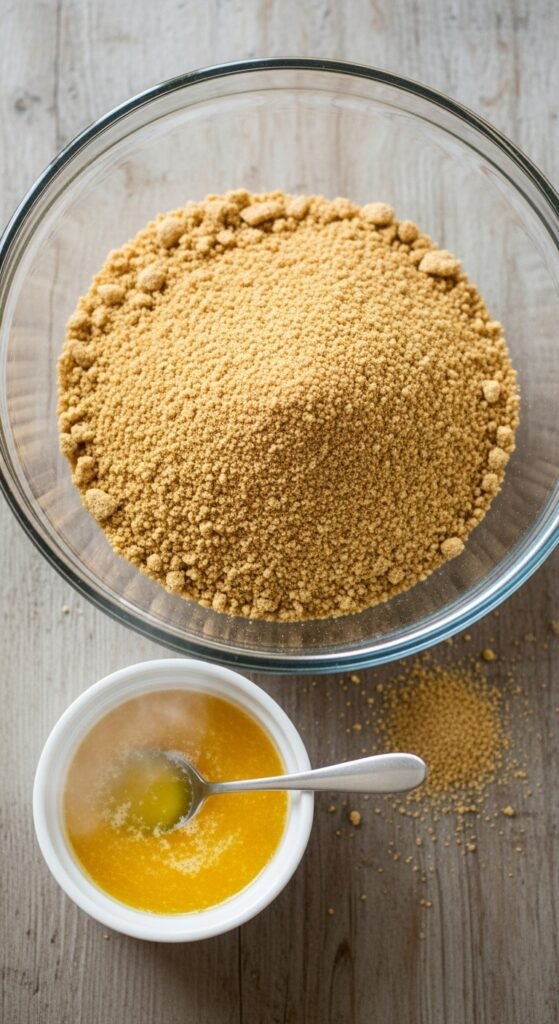
Step 1: Prepare the Crust
Start by making the graham cracker crust, which is the base of your cheesecake cups. Here’s how:
- In a medium bowl, combine graham cracker crumbs, melted butter, and sugar (if using).
- Stir until everything is well combined and the crumbs are moistened.
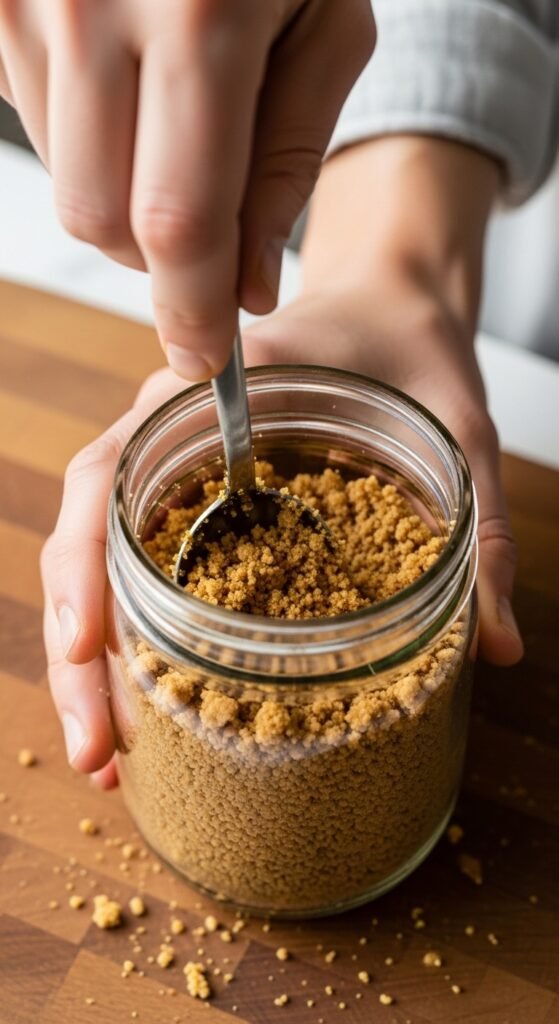
- Divide the crust mixture evenly among your serving cups (or mason jars). Press the mixture down with the back of a spoon to create a firm crust layer.
Step 2: Make the Cheesecake Filling
Next, we’re going to create the smooth and creamy cheesecake filling:
- In a large mixing bowl, beat the softened cream cheese with an electric mixer until it’s smooth and fluffy.
- Add in the powdered sugar, vanilla extract, and lemon juice, and continue mixing until fully incorporated.
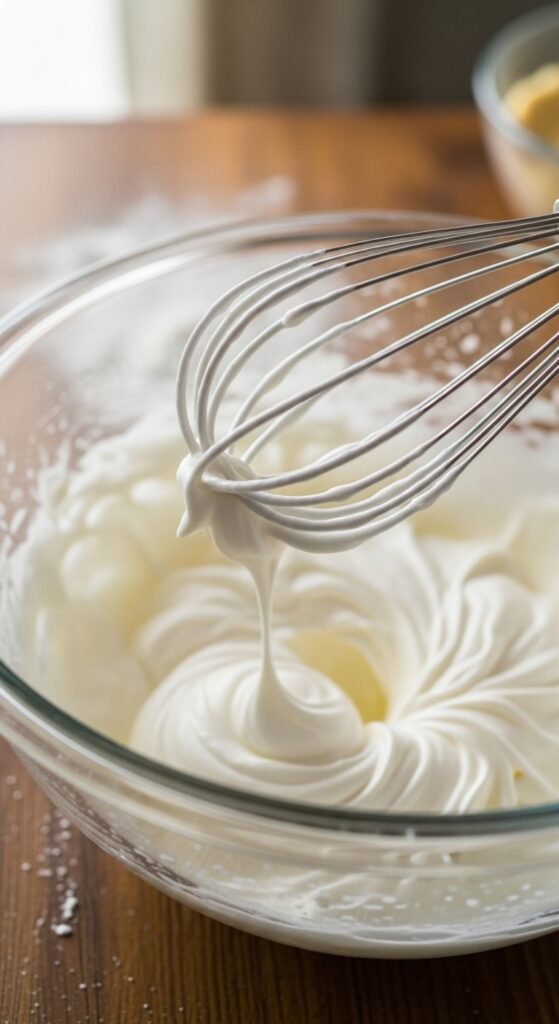
- In a separate bowl, whip the heavy cream until stiff peaks form.
- Gently fold the whipped cream into the cream cheese mixture. Be careful not to deflate the whipped cream—you want the filling to stay light and airy.
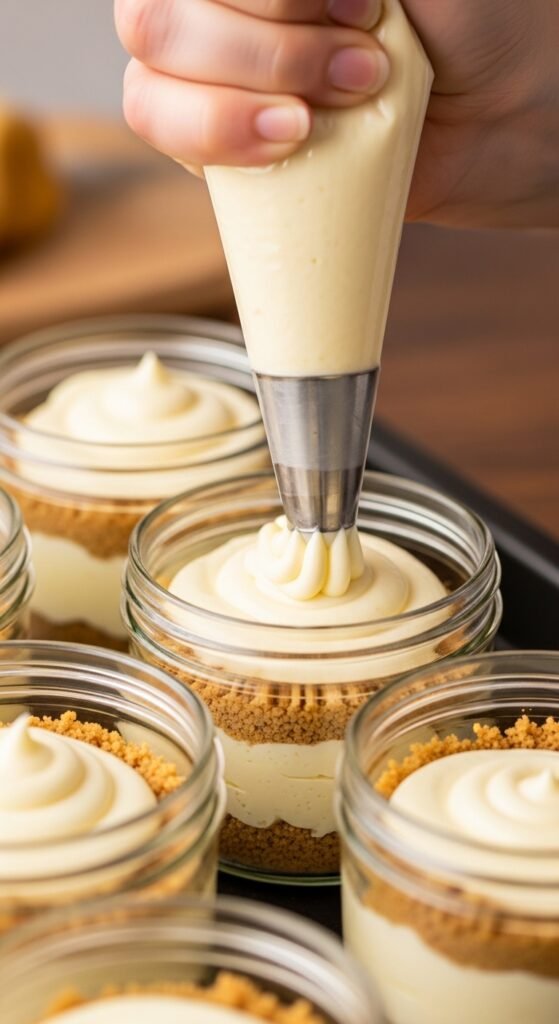
Step 3: Assemble the Cheesecake Cups
Now comes the fun part—assembling your cheesecake cups!
- Spoon or pipe the cheesecake filling on top of the graham cracker crust, filling each cup about three-quarters full.
- Use the back of a spoon or a small spatula to smooth the top of the filling.
If you’re feeling fancy, you can also swirl the filling slightly for a more decorative look.
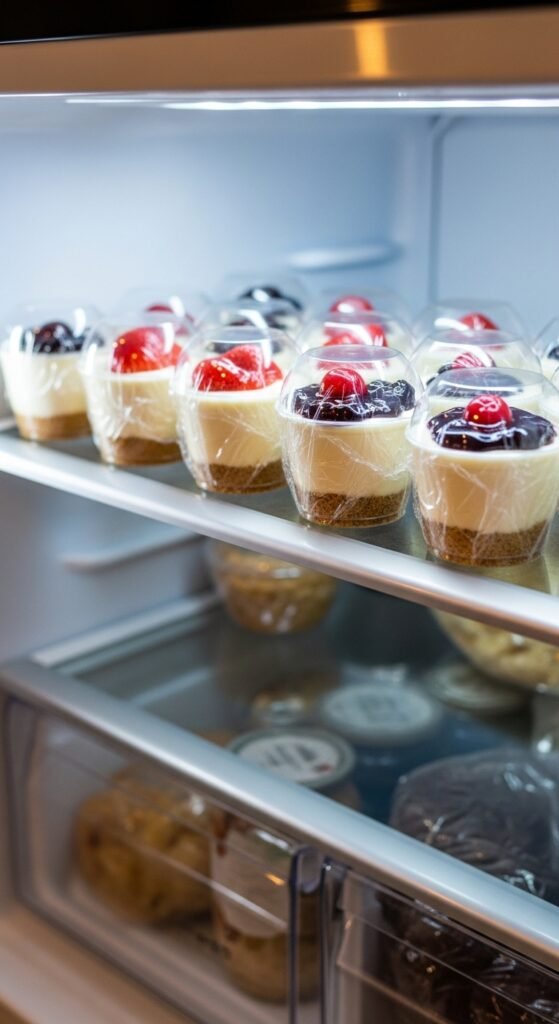
Step 4: Chill and Set
Now that your cheesecake cups are assembled, they need some time to chill. Here’s what to do:
- Cover the cups with plastic wrap and refrigerate for at least 3 hours, or overnight for the best results.
- The cheesecake should set nicely, and the flavors will blend together perfectly during this time.
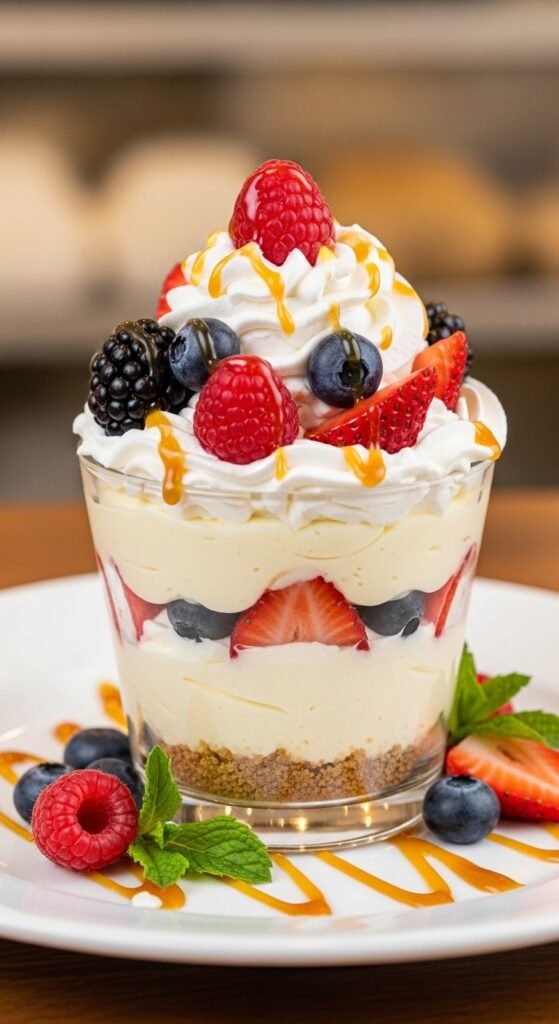
Step 5: Add Toppings and Serve
The final step is to add your favorite toppings! Here are some ideas to get creative with:
- Fresh berries (strawberries, blueberries, raspberries)
- Chocolate chips, syrup, or even crushed Oreos
- A dollop of whipped cream for extra indulgence
- Chopped nuts like almonds or pecans for a bit of crunch
Arrange your toppings on each cheesecake cup just before serving to keep them fresh and visually appealing.
Final Thoughts
And there you have it—no-bake cheesecake cups that are as delicious as they are simple! Whether you’re celebrating a special occasion or just in the mood for a sweet treat, these cups will hit the spot. They’re easy to make, customizable, and guaranteed to impress your guests. Don’t forget to save this recipe for later—it’s a must-have for anyone who loves cheesecake but doesn’t want to deal with the hassle of baking.
Enjoy making your own cheesecake cups, and feel free to get creative with different toppings!
Save this recipe for later! You never know when you’ll need a quick dessert idea that’s sure to impress.

Leave a Reply