
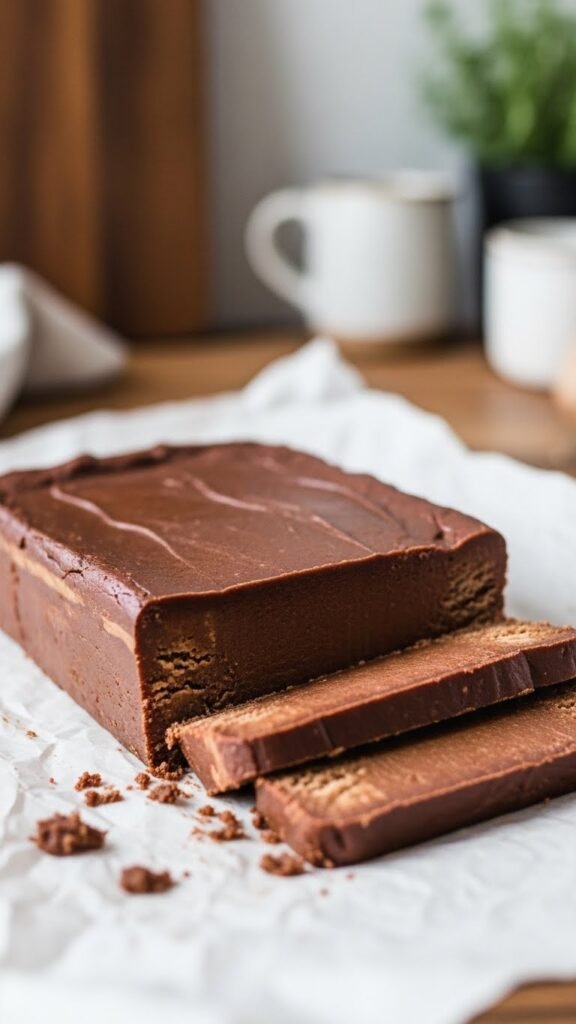
There’s something magical about cutting into a slab of chocolate fudge and seeing clean, smooth edges that hold their shape. No crumbling. No sticky mess. Just rich, creamy bites that melt in your mouth. If you’ve ever made fudge that turned out too soft, too grainy, or refused to set, you’re not alone—and you’re definitely in the right place.
This guide breaks everything down into simple, stress-free steps. You don’t need special tools or complicated techniques—just a few smart tips that make all the difference.
What Makes Chocolate Fudge Set Properly?
Perfect fudge is all about balance. The right ratio of chocolate, fat, and sweetness creates a firm texture without losing that creamy bite. Heat control and timing matter just as much as ingredients.
Here’s what affects how your fudge sets:
- Chocolate quality (higher cocoa content helps)
- Accurate heat (too hot = grainy, too cool = soft)
- Proper cooling time (patience is key)
Once you understand these basics, fudge becomes surprisingly easy.
Ingredients You’ll Need (Simple but Precise)
Fudge doesn’t need a long shopping list. It just needs the right ingredients used the right way.
- Chocolate chips or chopped chocolate (dark or semi-sweet work best)
- Sweetened condensed milk
- Unsalted butter
- Vanilla extract
- Pinch of salt
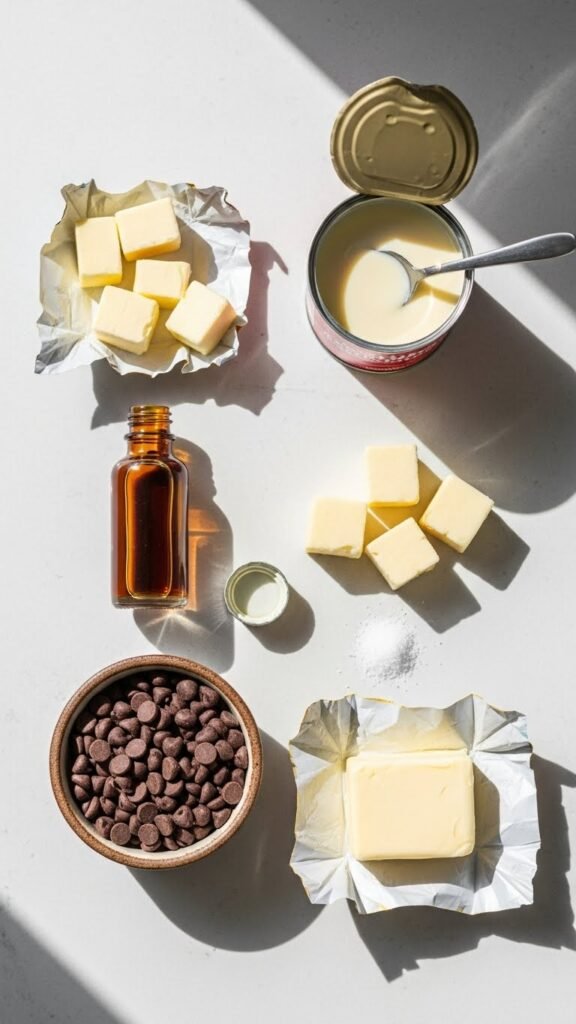
Tip: Avoid substitutes here. Regular milk or low-fat alternatives won’t set the same way.
Step-by-Step: How to Make Chocolate Fudge That Sets
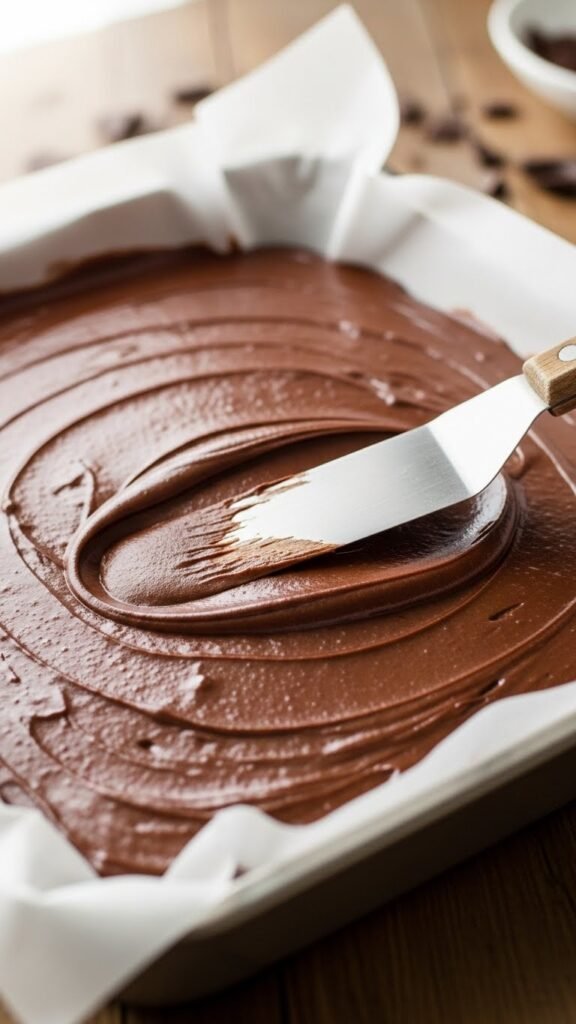
1. Prepare Your Pan First
Line an 8×8-inch pan with parchment paper, leaving overhang on the sides. This makes lifting and slicing the fudge effortless later.
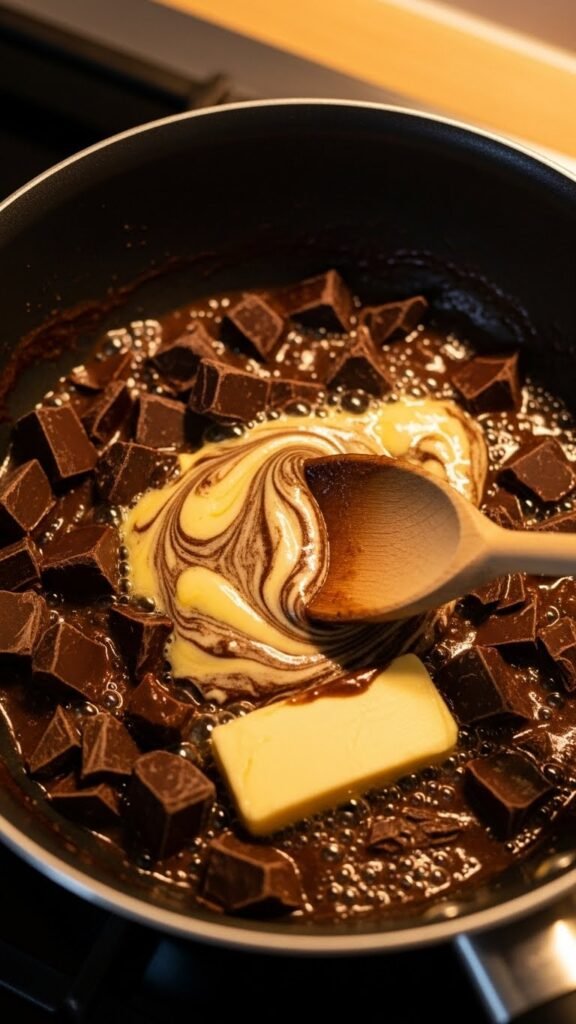
2. Melt Gently and Evenly
In a saucepan over low heat, combine:
- Chocolate
- Butter
- Sweetened condensed milk
Stir slowly and constantly. Don’t rush this step—gentle heat prevents grainy texture.
3. Finish with Flavor
Once smooth, remove from heat and stir in:
- Vanilla extract
- Pinch of salt
This final stir locks in flavor without overheating the mixture.
4. Set It Right
Pour the fudge into your prepared pan and smooth the top with a spatula. Let it cool at room temperature for 30 minutes, then refrigerate for 2–3 hours until fully firm.
How Long Should Fudge Set?
Timing matters more than people realize.
- Room temperature: 30–45 minutes
- Refrigerator: 2–3 hours
- Best slicing time: Fully chilled but not frozen
Avoid placing warm fudge directly into the fridge—it can cause uneven setting.
Common Fudge Mistakes (And How to Avoid Them)
Even small missteps can affect the final texture. Here’s what to watch out for:
- Overheating the chocolate: Leads to gritty fudge
- Stirring too fast: Adds air, which affects structure
- Cutting too early: Causes messy edges
If your fudge feels too soft after chilling, let it rest longer. It often firms up with time.
Easy Variations That Still Set Well
Once you master the base recipe, try these add-ins without affecting texture:
- Chopped nuts for crunch
- Swirls of nut butter for contrast
- Sprinkles of flaky salt on top
Fold extras in at the very end to keep the fudge smooth and stable.
How to Store Chocolate Fudge
Proper storage keeps your fudge fresh and firm.
- Store in an airtight container
- Keep refrigerated for up to 2 weeks
- Separate layers with parchment paper
For longer storage, you can freeze fudge in sealed containers and thaw slowly in the fridge.
Final Thoughts: Fudge You Can Count On
Perfectly set chocolate fudge isn’t about luck—it’s about gentle heat, simple ingredients, and giving it time to do its thing. Once you try this method, you’ll never stress about runny or crumbly fudge again.
Save this recipe for later, and enjoy making fudge that slices clean, tastes rich, and looks just as good as it feels

Leave a Reply