
There’s something magical about a spoonful of chocolate mousse that’s airy, smooth, and melts instantly on your tongue. When it’s done right, mousse feels indulgent without being heavy—like a cloud made of chocolate. The good news? You don’t need fancy tools or professional training to get that light, fluffy texture at home. It’s all about a few smart techniques and gentle handling.
Let’s break it down step by step so you can make chocolate mousse that looks impressive and feels effortless.
What Makes Chocolate Mousse Light and Fluffy?
Chocolate mousse gets its signature texture from air. Not baking powder. Not complicated tricks. Just air, carefully folded into a rich chocolate base.
That air usually comes from:
- Whipped egg whites
- Whipped cream
- Or a combination of both
The key is balance. You want structure without stiffness and richness without density. That’s why technique matters just as much as ingredients.
Choose the Right Ingredients First
Before you pick up a whisk, start with quality basics. Better ingredients make the process easier and the results smoother.
You’ll need:
- Dark or semi-sweet chocolate (good quality, smooth melting)
- Fresh eggs (separated)
- Heavy cream (cold)
- Sugar (fine or caster works best)
- Unsalted butter (optional, for extra silkiness)
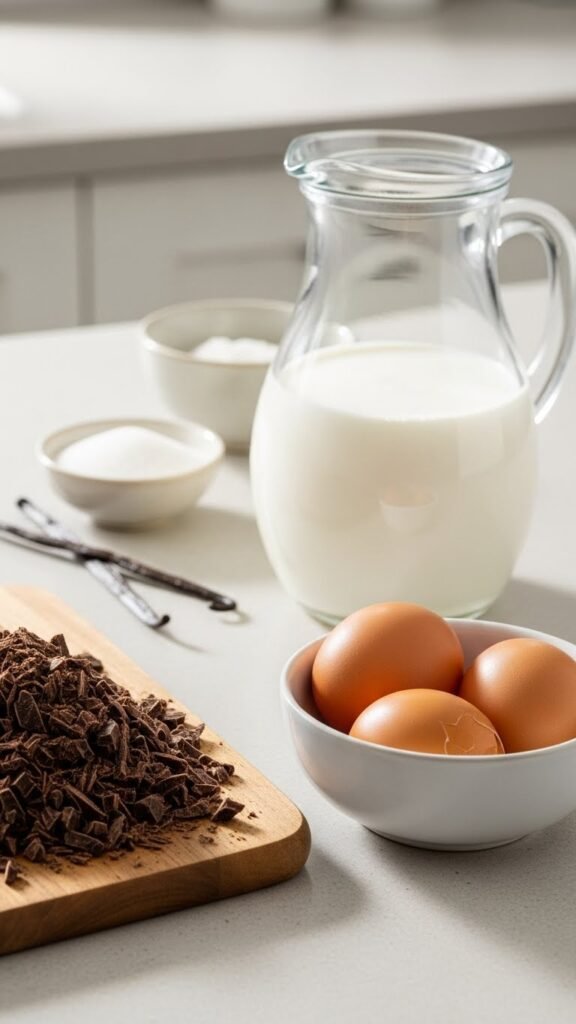
Quick tip: Avoid chocolate chips. They’re designed to hold their shape and don’t melt as smoothly.
Melt the Chocolate Gently
This step sets the foundation for everything that follows. Overheated chocolate can seize or turn grainy, which ruins the texture before you even start folding.
How to do it right:
- Chop chocolate finely so it melts evenly
- Melt slowly using a heatproof bowl over warm (not boiling) water
- Stir gently until just smooth
- Let it cool slightly before mixing with other ingredients
Warm chocolate should feel neutral, not hot. If it’s too warm, it can deflate whipped elements later.
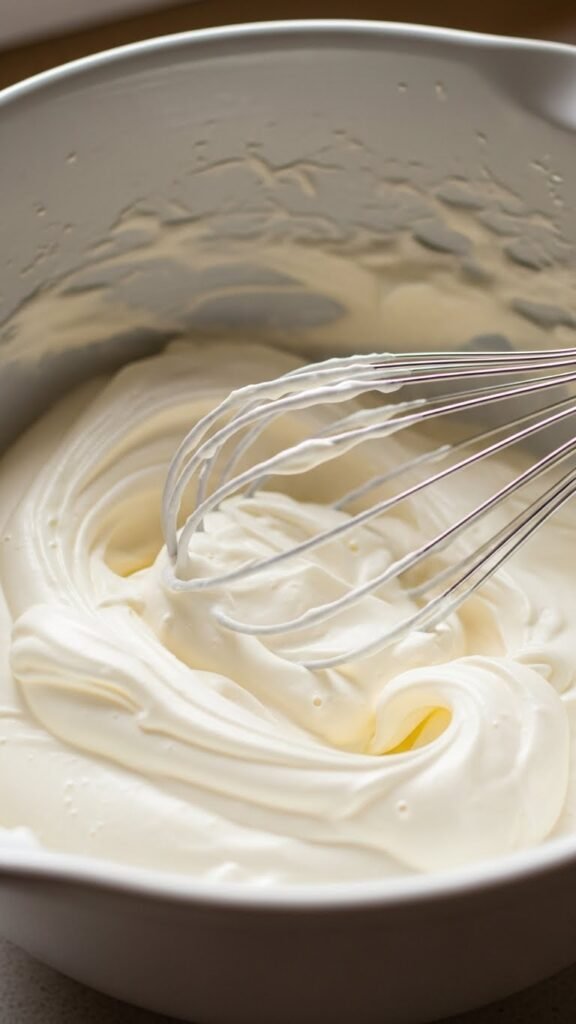
Whip for Soft, Not Stiff, Peaks
This is where most mousse mistakes happen. Over-whipping creates a dense or grainy texture, which is the opposite of what you want.
For whipped cream:
- Start with very cold cream
- Whip on medium speed
- Stop when it holds soft peaks
- The cream should look pillowy, not firm
For egg whites:
- Use a clean, dry bowl
- Whip until foamy, then add sugar gradually
- Stop when the peaks bend slightly at the tip
If you’re unsure, under-whipped is better than over-whipped. You can always give it one or two more turns.
Master the Folding Technique
Folding is what keeps mousse light. Stirring will knock out all that precious air.
Here’s how to fold properly:
- Add whipped elements in stages
- Start by mixing a small portion into the chocolate to loosen it
- Gently fold the rest using a spatula
- Use slow, sweeping motions from bottom to top
- Rotate the bowl as you go
Think of folding like lifting and turning, not mixing. Take your time.
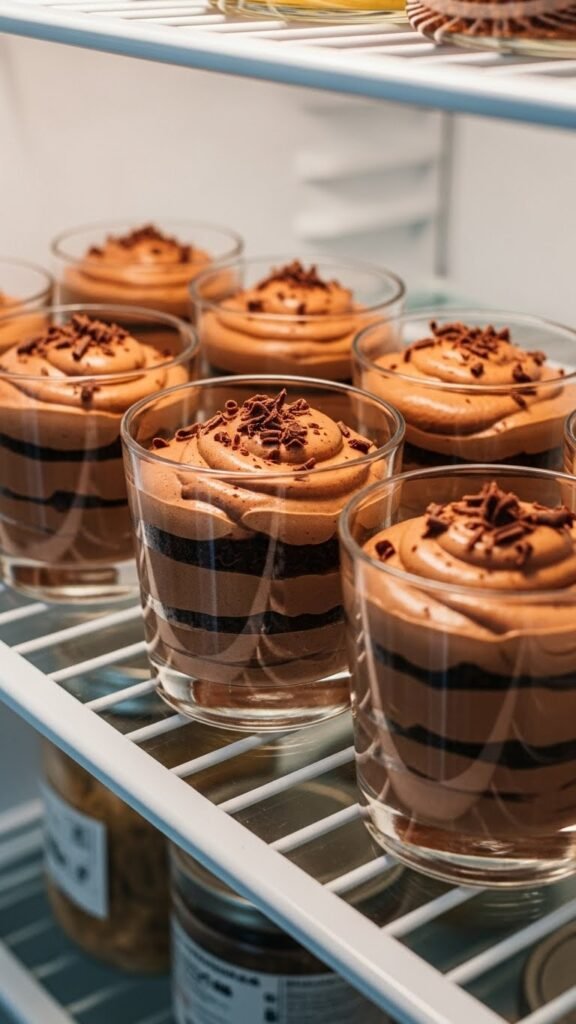
Chill for Structure, Not Density
Once your mousse is combined, it needs time to set—but not too much.
Best chilling tips:
- Spoon mousse into serving glasses or bowls
- Cover lightly
- Chill for 2–4 hours
- Avoid overnight chilling if you want maximum fluffiness
The mousse should feel set but still airy when you dip your spoon in.
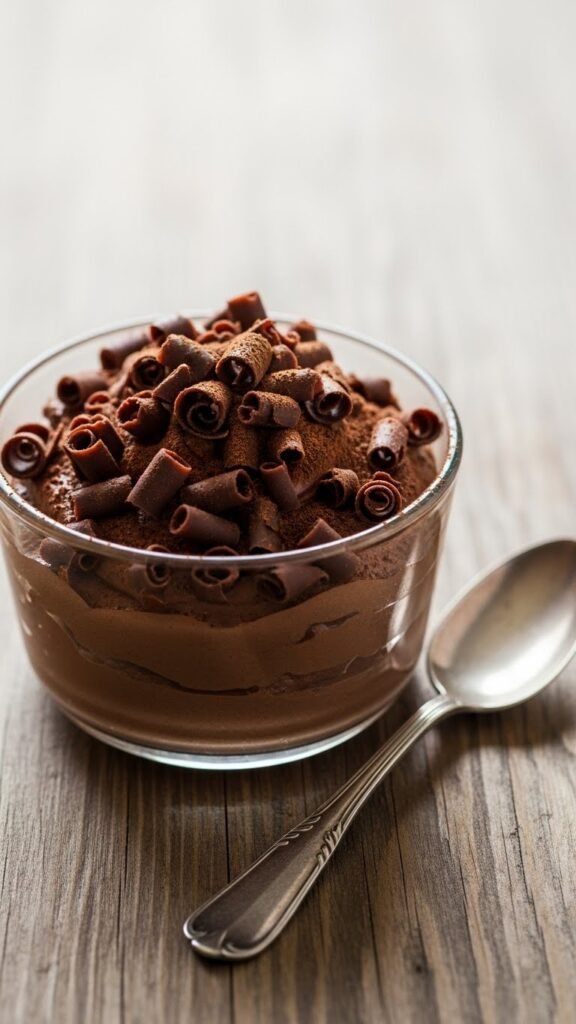
Simple Finishing Touches That Keep It Light
Heavy toppings can weigh mousse down. Keep it simple and elegant.
Light topping ideas:
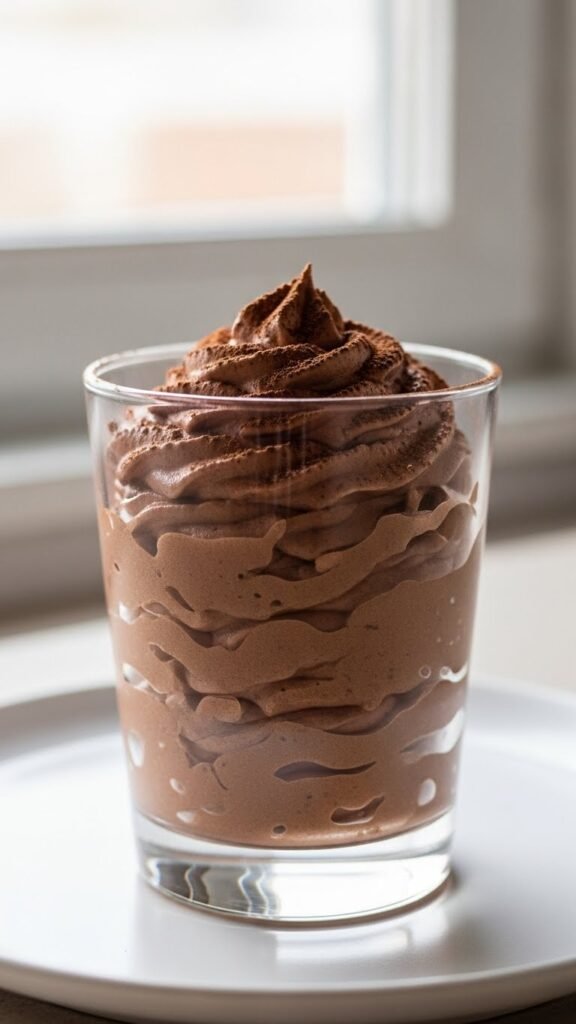
- A dusting of cocoa powder
- Chocolate shavings
- Fresh berries
- A small dollop of softly whipped cream
Common Mistakes to Avoid
Even small missteps can affect texture. Watch out for these:
- Over-whipping cream or egg whites
- Folding too aggressively
- Adding whipped ingredients to hot chocolate
- Using low-quality chocolate
- Rushing the chilling time
Each step builds on the last, so slow down and enjoy the process.
Final Takeaway
Light and fluffy chocolate mousse isn’t about complicated steps—it’s about gentle handling and good timing. Focus on soft peaks, careful folding, and balanced chilling, and you’ll get a dessert that feels luxurious but never heavy.
Once you master this technique, you can customize it endlessly while keeping that airy texture everyone loves.
Save this recipe for later and treat yourself to a truly cloud-like dessert anytime.

Leave a Reply