
There’s something undeniably special about chocolate truffles. They look elegant, feel indulgent, and somehow manage to taste even better than they look. The best part? You don’t need fancy tools or professional training to make truffles that melt in your mouth at home. With a few simple ingredients and the right technique, you can create silky, rich bites that feel straight out of a chocolate shop.

Below, you’ll find a simple, reliable method with tips that make all the difference.
What Makes a Chocolate Truffle Truly Melt-in-Your-Mouth?
At their core, chocolate truffles are about balance. The goal is a soft, creamy center that gently melts as soon as it hits your tongue.
What helps achieve that texture:
- High-quality chocolate with good cocoa content
- Warm cream that blends smoothly
- Gentle mixing (never rushed)
- Enough resting time for the mixture to set properly
When these elements come together, the result is smooth, rich, and luxurious without being heavy.
Ingredients You’ll Need (Simple but Important)
You only need a short list of ingredients, but quality matters here.
- Dark or semi-sweet chocolate, finely chopped
- Heavy cream
- Unsalted butter (just a small amount)
- Cocoa powder for coating
Optional flavor add-ins (choose one or skip entirely):
- Vanilla extract
- Espresso powder (very small pinch)
- Citrus zest (orange works beautifully)
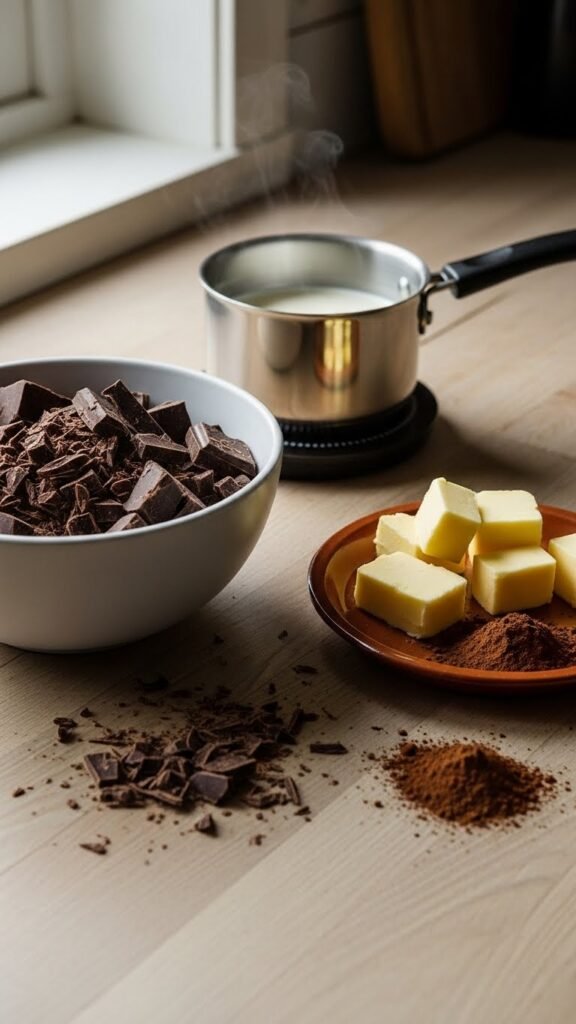
Step 1: Gently Make the Ganache
Ganache is the heart of every truffle. Take your time with this step.
- Place chopped chocolate in a heat-safe bowl.
- Warm the cream in a small saucepan until it’s hot but not bubbling.
- Pour the warm cream over the chocolate.
- Let it sit untouched for 2–3 minutes.
- Stir slowly from the center outward until smooth.
- Add butter and stir until fully melted and glossy.
Tip: If the mixture looks grainy, stop stirring and let the residual heat work for a few seconds, then gently continue.
Step 2: Chill Until Perfectly Scoopable
Cover the bowl and refrigerate the ganache.
- Chill for 1–2 hours
- Texture should be firm but soft enough to scoop
- If it becomes too hard, let it sit at room temperature for 5–10 minutes
This waiting time is what gives truffles their signature creamy bite.
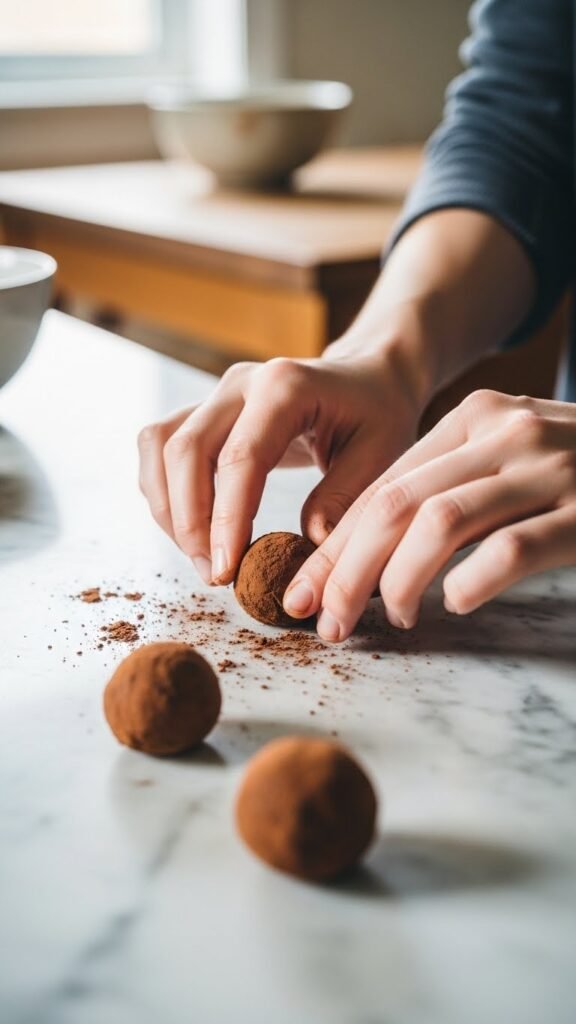
Step 3: Shape the Truffles with Ease
Once the ganache is ready, it’s time to roll.
- Use a small spoon or scoop to portion the mixture
- Roll quickly between your palms
- Don’t worry about perfect shapes—rustic looks are charming
If your hands warm the chocolate too much, rinse them briefly with cool water and dry well before continuing.
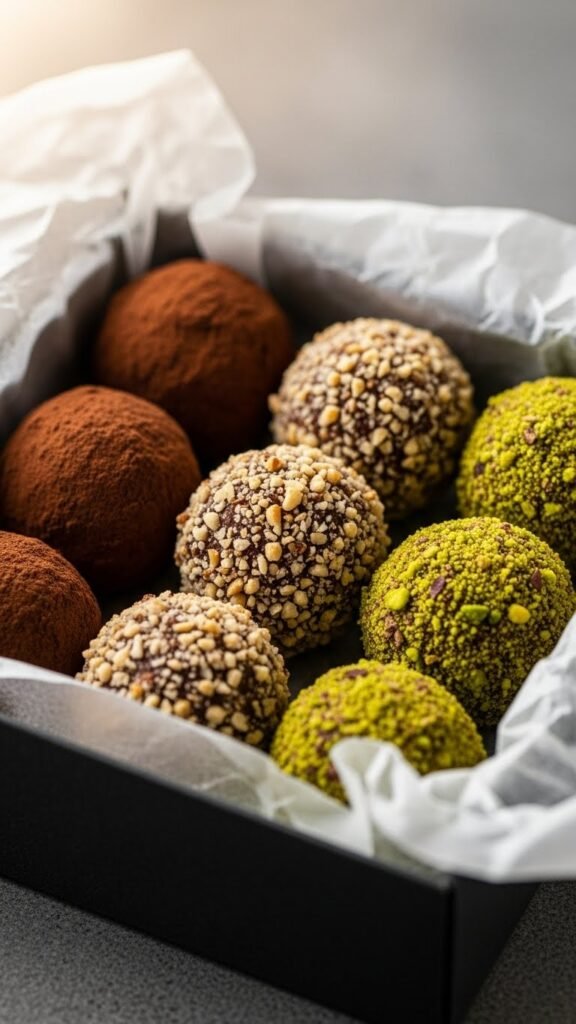
Step 4: Coat for Flavor and Finish
Coating adds both flavor and texture.
Popular options:
- Cocoa powder for a classic finish
- Finely chopped nuts for crunch
- Shredded coconut for contrast
Roll each truffle gently until fully coated, then place on parchment paper.
Tip: Use a fork or sifter when coating to avoid clumping.
Step 5: Store and Serve Like a Pro
Homemade truffles are best stored properly to maintain their texture.
- Keep in an airtight container
- Refrigerate for up to one week
- Let sit at room temperature for 10 minutes before serving
This short rest brings back that soft, melt-in-your-mouth texture.
Easy Variations to Try Next
Once you master the base recipe, you can experiment.
Try:
- Rolling truffles smaller for bite-sized treats
- Mixing cocoa powder and powdered sugar for a lighter coating
- Adding a pinch of sea salt on top for contrast
Small tweaks can completely change the experience.
Final Takeaway
Chocolate truffles may look fancy, but they’re surprisingly approachable. With just a few ingredients and a little patience, you can create rich, creamy treats that feel special every single time.
Save this recipe for later, and the next time you want an easy homemade dessert or gift idea, you’ll be ready.

Leave a Reply