
Cookie sandwiches are a fun and delicious treat that everyone loves! Picture this: two soft, chewy cookies lovingly hugging a sweet and creamy filling. Whether you’re making them for a party, a special occasion, or simply as a sweet snack, they are sure to impress. In this article, I’ll show you how to make cookie sandwiches with a creamy filling in just a few simple steps. Ready to indulge in this scrumptious treat? Let’s dive in!

Gather Your Ingredients
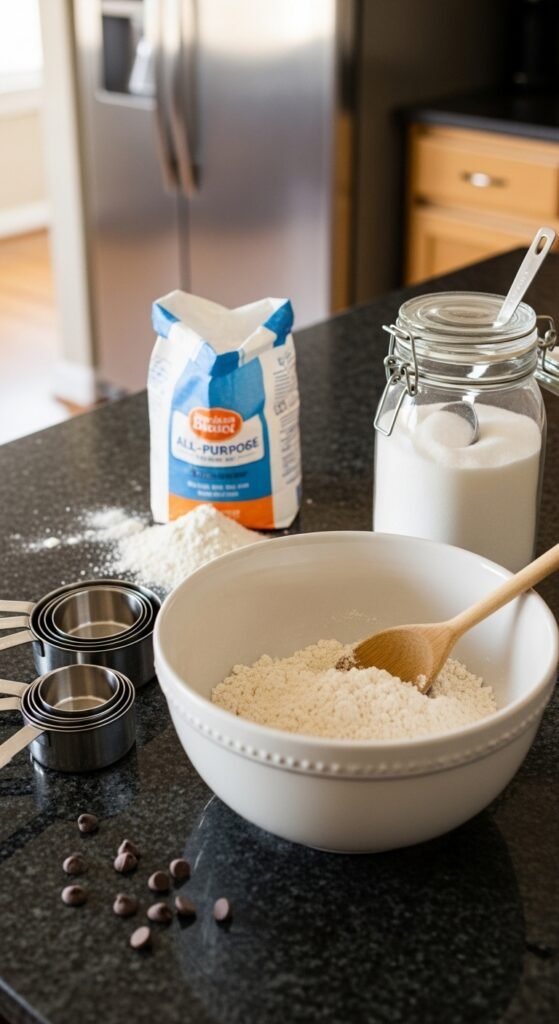
To make cookie sandwiches, you need to start with the perfect base: soft, chewy cookies. Here’s what you’ll need for both the cookies and the creamy filling:
For the Cookies:
- 1 ½ cups all-purpose flour
- 1 tsp baking soda
- ½ tsp salt
- ½ cup unsalted butter, softened
- 1 cup brown sugar, packed
- 1 large egg
- 1 tsp vanilla extract
- 1 ½ cups chocolate chips (or your favorite mix-ins)
For the Creamy Filling:
- ½ cup unsalted butter, softened
- 2 cups powdered sugar
- 2 tsp vanilla extract
- 2 tbsp heavy cream (adjust for desired consistency)
Once you’ve got everything ready, it’s time to bake!
Step 1: Bake the Cookies
Start by preheating your oven to 350°F (175°C). Then, follow these simple steps:
- Mix the dry ingredients: In a medium-sized bowl, whisk together the flour, baking soda, and salt. Set this aside.
- Cream the butter and sugar: In a separate large bowl, beat the softened butter and brown sugar together until it’s light and fluffy. This usually takes about 2 minutes with a hand mixer or stand mixer.
- Add the wet ingredients: Add the egg and vanilla extract to the butter and sugar mixture. Beat until combined.
- Combine the dry and wet ingredients: Gradually add the dry ingredients to the wet mixture, mixing just until incorporated.
- Fold in the chocolate chips: Once your dough is ready, gently fold in the chocolate chips or any other mix-ins you’d like to use.
- Scoop and bake: Use a cookie scoop or tablespoon to drop rounded balls of dough onto a lined baking sheet, spacing them about 2 inches apart. Bake for 8-10 minutes or until the edges are golden brown but the centers are still soft.
Let the cookies cool on the baking sheet for a few minutes before transferring them to a wire rack to cool completely.

Step 2: Make the Creamy Filling
While the cookies are cooling, it’s time to prepare the creamy filling. Here’s how:
- Beat the butter: In a bowl, beat the softened butter until it’s smooth and fluffy, about 2-3 minutes.
- Add the powdered sugar: Gradually add the powdered sugar, beating well after each addition until it’s fully incorporated.
- Add vanilla and cream: Stir in the vanilla extract, then slowly add the heavy cream a little at a time, until the filling reaches your desired consistency. You want it thick enough to spread, but not too stiff.
Once your filling is smooth and creamy, you’re all set to assemble your cookie sandwiches.

Step 3: Assemble the Cookie Sandwiches
Now comes the fun part—putting everything together! Here’s how to do it:
- Match up the cookies: Pair up your cookies by size. Choose two cookies that are similar in shape and size to make your sandwiches uniform.
- Spread the filling: Use a spoon or butter knife to spread a generous amount of creamy filling on the bottom of one cookie.
- Sandwich them together: Gently press the second cookie on top of the filling, creating a sandwich.
- Chill if needed: If the filling seems a little soft, you can refrigerate the sandwiches for about 10-15 minutes to help set the filling.

Step 4: Enjoy!
There you have it—delicious cookie sandwiches with creamy filling, ready to be devoured! These sweet treats are perfect for sharing with friends and family, or just enjoying all to yourself. They make a great addition to any party or casual get-together.
Tips:
- If you’re not a fan of chocolate chips, try using crushed candies, dried fruits, or even nuts for your cookies.
- For a fun twist, you can tint the cream filling with food coloring to match the season or occasion.
- Keep your cookies and cream filling in an airtight container for up to a week to enjoy them fresh!

Conclusion
Making cookie sandwiches with creamy filling is easier than you think, and they’re always a crowd-pleaser. Whether you’re a seasoned baker or a beginner, these delicious treats are simple to make and fun to enjoy. So, the next time you’re craving something sweet, save this recipe and indulge in a homemade cookie sandwich!
Save this recipe for later, and don’t forget to share it with your friends!

Leave a Reply