
There’s something instantly charming about layered dessert cups. They’re colorful, customizable, and feel special without requiring hours in the kitchen. Whether you’re hosting a party, planning a holiday spread, or just want a make-ahead treat for the week, these desserts deliver big visual impact with surprisingly little effort.
The best part? You don’t need fancy tools or baking skills. Once you understand the basics, you can mix and match flavors to suit any occasion.
Why Layered Dessert Cups Always Impress
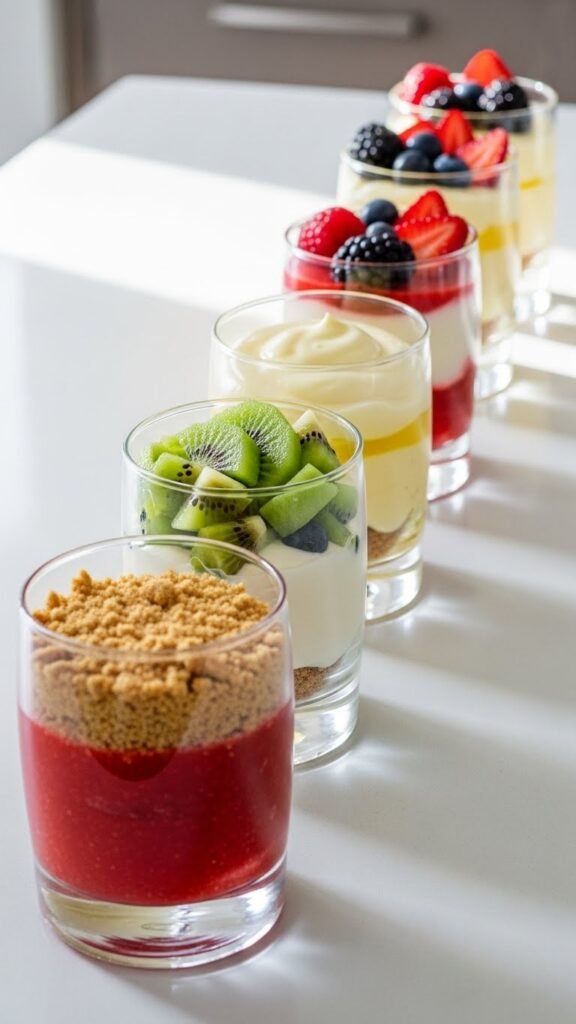
Layered desserts work because they combine texture, flavor, and presentation in one compact treat. Each spoonful gives you something creamy, something soft, and something with a bit of bite.
They’re also incredibly practical:
- Easy to portion
- Simple to transport
- Perfect for make-ahead planning
- No slicing or serving mess
From casual family dinners to elegant celebrations, dessert cups adapt effortlessly.
The Basic Building Blocks of Layered Dessert Cups
Before you start assembling, it helps to understand the three main components. Most great dessert cups follow this simple formula.
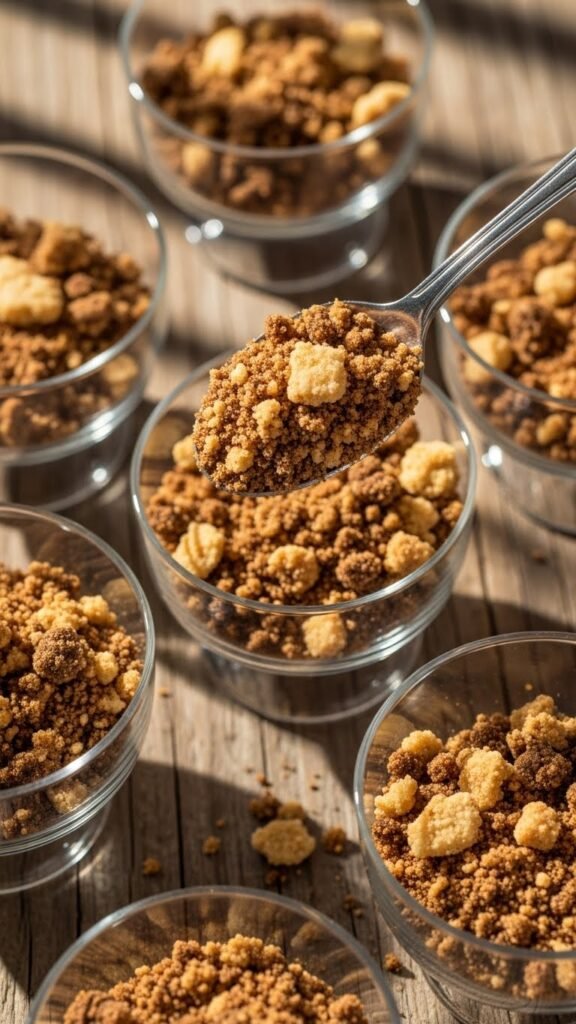
1. The Base Layer (Crunch or Soft Crumb)
This layer adds structure and contrast.
- Crushed cookies or biscuits
- Cake crumbs or brownie bits
- Toasted oats or granola-style crumbs
Press lightly into the bottom of the cup so it stays put but doesn’t turn dense.
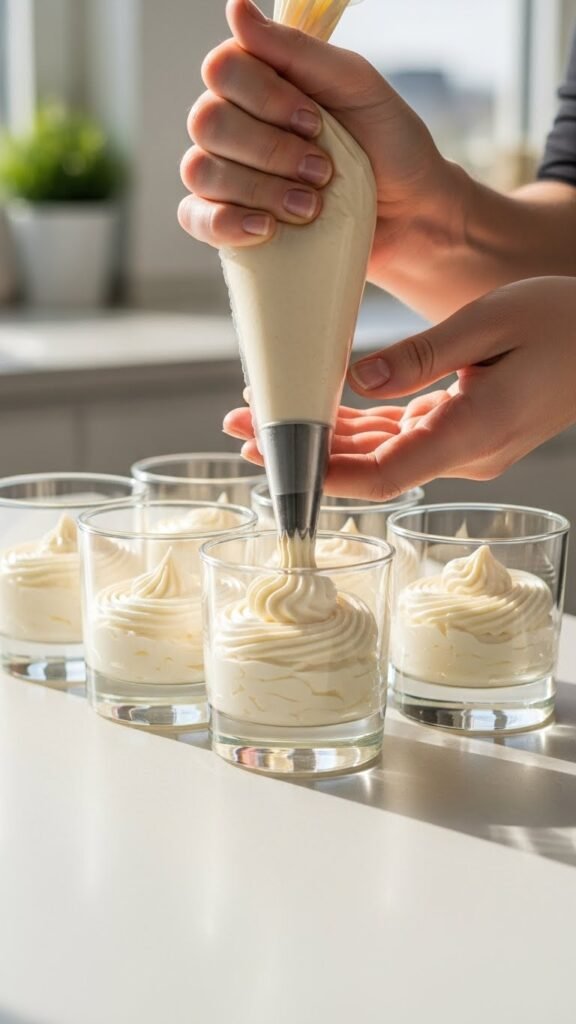
2. The Creamy Layer
This is the heart of the dessert.
- Whipped cream blends
- Cream cheese mixtures
- Custard-style fillings
- Yogurt-based creams
Smooth, fluffy textures work best for clean, visible layers.
3. The Flavor Boost Layer
This layer brings brightness and balance.
- Fresh or cooked fruit
- Fruit sauces or compotes
- Chocolate spreads
- Nut pastes or caramel-style sauces
You can repeat these layers to create two or three full sets in one cup.
How to Assemble Perfect Layers Every Time
Assembly is where the magic happens. Taking a few extra minutes here makes all the difference visually.
Step-by-Step Assembly Tips
- Use clear cups or glasses so the layers are visible.
- Spoon gently and level each layer before adding the next.
- Wipe the inside of the cup with a paper towel if smudges appear.
- Chill briefly between layers if a mixture feels too soft.
For clean edges, a piping bag or zip-top bag with the corner snipped off works beautifully.
Flavor Combinations That Always Work
If you’re not sure where to start, these combinations are reliable and crowd-pleasing.
Classic and Comforting
- Vanilla cream + chocolate crumbs + chocolate drizzle
- Cream cheese filling + fruit compote + biscuit base
Fresh and Light
- Yogurt cream + berry layers + oat crumble
- Citrus cream + soft cake crumbs + fruit sauce
Rich and Indulgent
- Chocolate cream + brownie bits + nut spread
- Caramel-style cream + cookie crumbs + chocolate shavings
Stick to 2–3 main flavors so the dessert doesn’t feel overwhelming.
Make-Ahead and Storage Tips
One of the biggest advantages of layered dessert cups is how well they fit into a busy schedule.
To Keep Them Fresh
- Assemble up to 24 hours in advance for best texture.
- Cover cups tightly with lids or wrap.
- Store in the refrigerator until ready to serve.
If you’re using crunchy layers, consider placing them in the middle rather than the bottom to prevent softening.
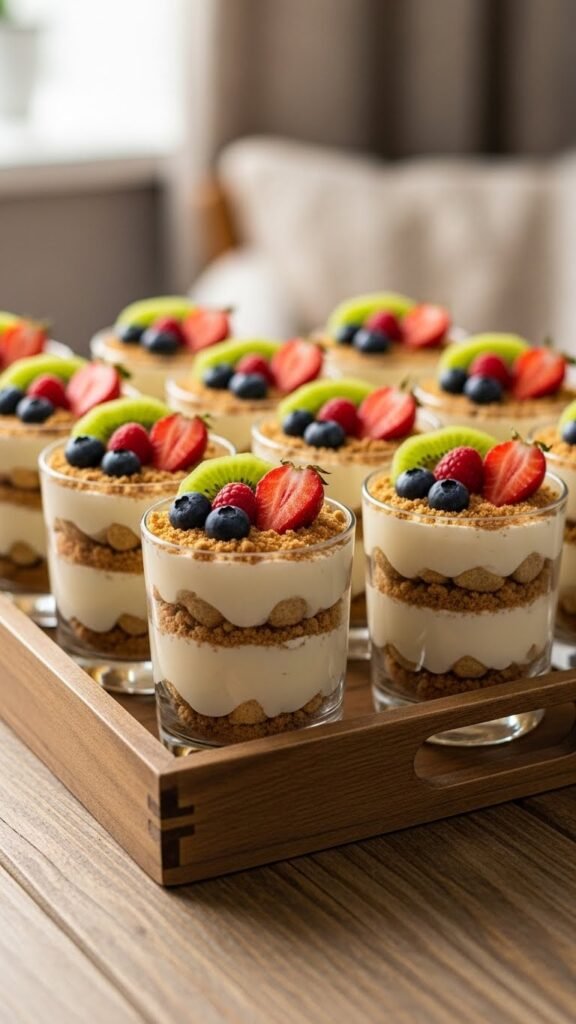
Decorating Without Overdoing It
A little decoration goes a long way. The goal is to enhance the layers, not hide them.
Simple topping ideas:
- Fresh fruit slices
- A light dusting of crumbs
- Chocolate curls or shavings
- A small swirl of cream on top
Keep decorations minimal so the layers remain the star.
Adapting Dessert Cups for Any Occasion
Layered dessert cups are easy to theme:
- Holidays: Match colors to the season.
- Parties: Use mini cups for bite-sized portions.
- Everyday treats: Keep flavors simple and comforting.
You can even let guests build their own cups with a small topping bar for a fun, interactive dessert.
Final Takeaway
Layered dessert cups prove that impressive desserts don’t have to be complicated. With a few basic components and thoughtful layering, you can create treats that look beautiful, taste balanced, and work for almost any occasion.
Once you try them, you’ll find yourself coming back to this format again and again. Save this recipe idea for later and start experimenting with your own favorite flavor combinations!

Leave a Reply