
Dessert jars are a delightful way to serve sweet treats with a touch of elegance, all while making sure your guests feel special. Whether you’re hosting a party, enjoying a cozy night in, or simply craving something sweet, dessert jars are the perfect solution. They’re easy to make, customizable, and can be whipped up in no time. Plus, they’re visually appealing, making them perfect for photos! Let’s dive into how you can quickly make dessert jars for any occasion, with tips and tricks to make your treats stand out.
Why Dessert Jars Are Perfect for Any Occasion
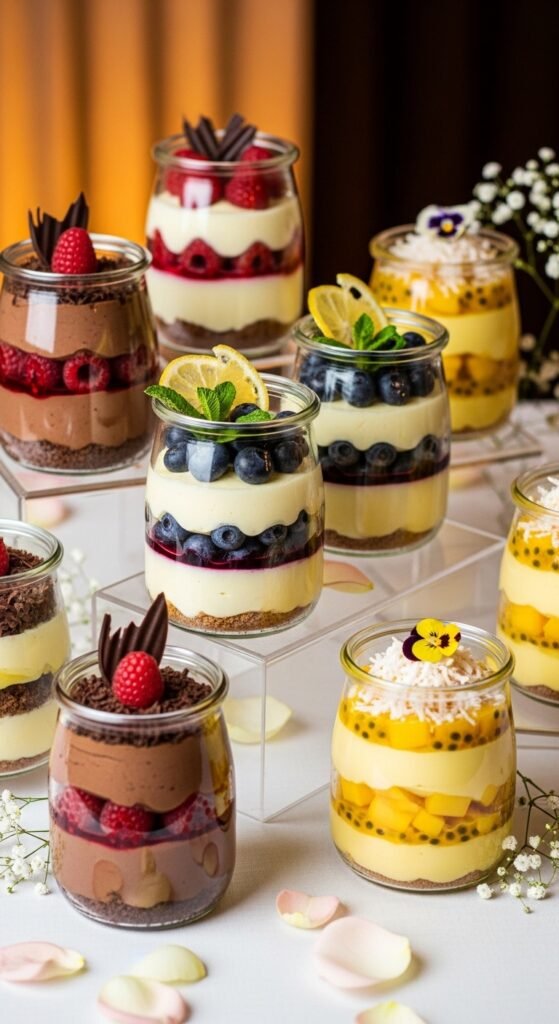
Dessert jars are incredibly versatile and work well for almost any event. From birthdays to bridal showers, these jars bring a fun, personalized touch to your dessert table. Whether you’re serving a crowd or just want a single serving for yourself, the jar’s portioned size ensures everyone gets their own little sweet escape. Plus, the presentation makes these treats feel like a gourmet experience!
Step 1: Choose Your Base Ingredients
The key to making dessert jars fast is to choose ingredients that don’t require hours of preparation. Here are a few base ideas that you can customize to fit your event:
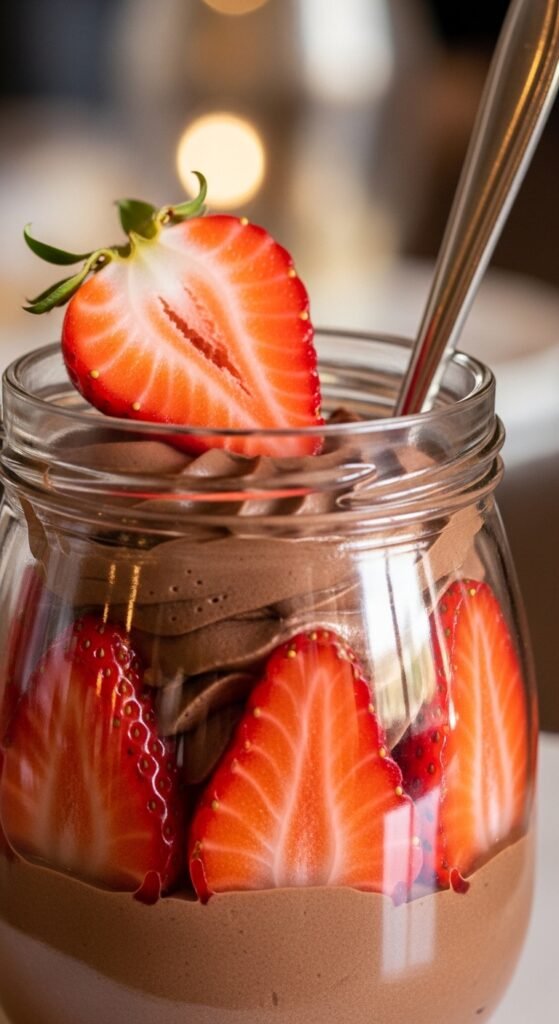
- Pudding or mousse: These creamy treats are a favorite base for jars. They’re easy to make or buy, and their texture pairs wonderfully with crunchy toppings.
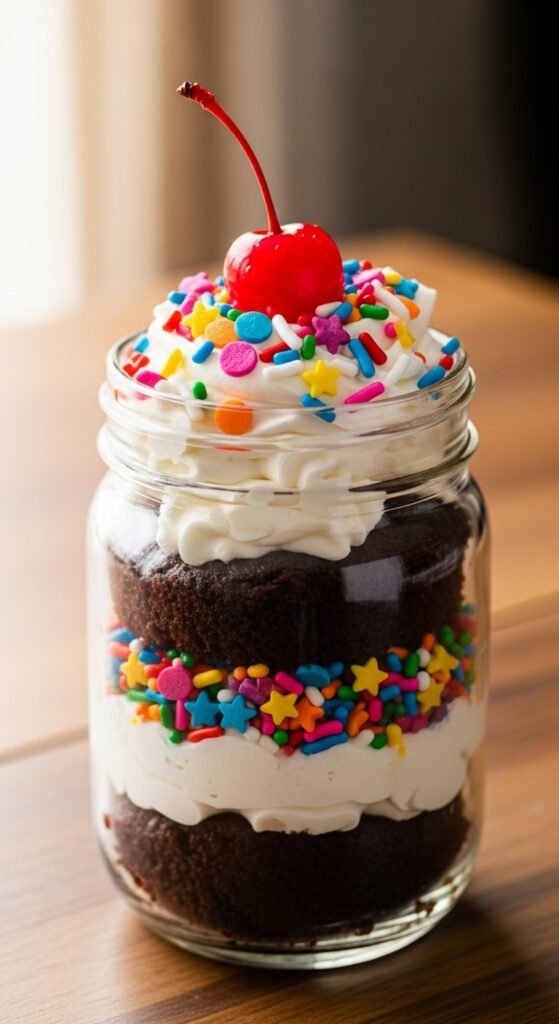
- Cakes or brownies: Use cake or brownie crumbs as a base. You can even use store-bought cake mixes or brownie mixes to save time.
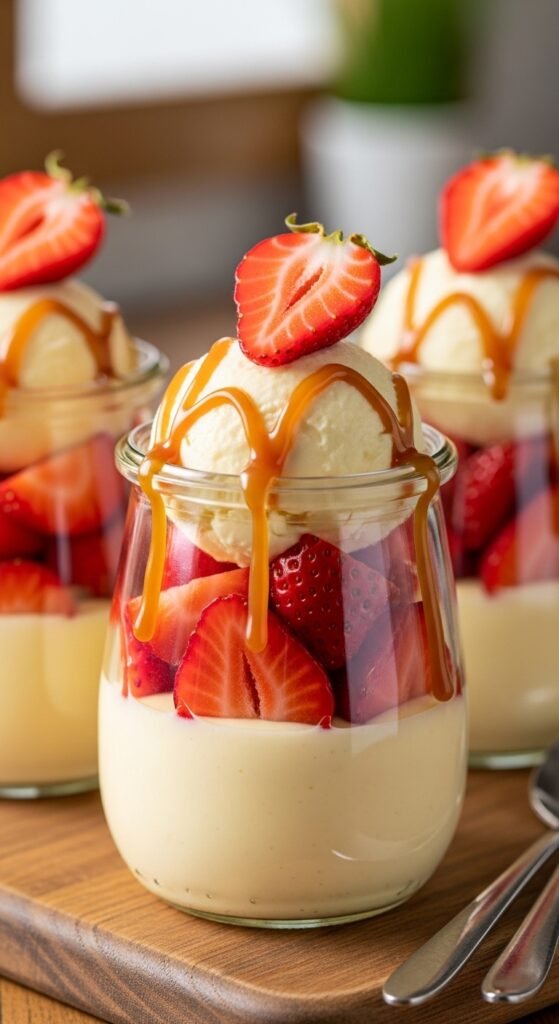
- Yogurt or whipped cream: For a lighter, healthier option, try Greek yogurt or whipped cream layered with fresh fruits.
Pro Tip: When using pudding or mousse, let it chill in the fridge for 10–15 minutes before layering it in your jars for the best texture.
Step 2: Layering Your Dessert
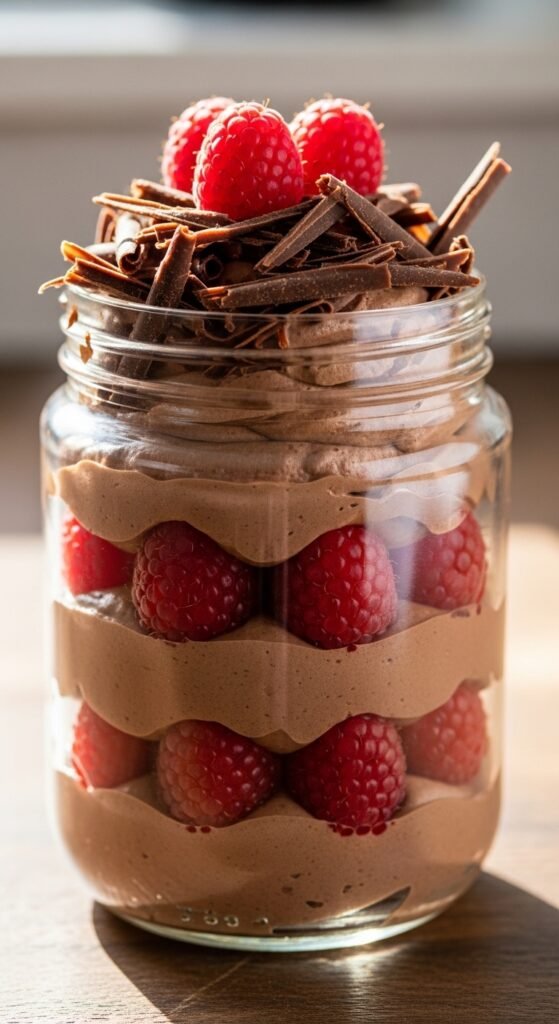
Once you’ve chosen your base ingredients, the fun begins: layering! This is where the magic happens, as each layer should be visually appealing and offer a mix of textures and flavors.
- First layer: Start with a layer of your base (pudding, mousse, cake, etc.). Use a spoon to gently pack it into the bottom of the jar.
- Second layer: Add something crunchy, like crushed graham crackers, crushed cookies, or granola. This adds texture and balances the creaminess.
- Third layer: Add fresh fruit or other toppings, like chocolate chips, whipped cream, or caramel drizzle. This creates a burst of flavor and makes your dessert look even more tempting.
Step 3: Personalize with Toppings and Garnishes
The beauty of dessert jars is their ability to be customized. This is where you can really get creative! Here are a few ideas:
- Fruits: Fresh berries, banana slices, or even a drizzle of fruit preserves work wonders in dessert jars. They add natural sweetness and color.
- Nuts: Walnuts, almonds, or pecans can be sprinkled on top for a satisfying crunch.
- Chocolate: Melted chocolate, chocolate chips, or chocolate curls make any dessert feel extra special.
- Herbs: Fresh mint leaves can add a touch of elegance, especially when paired with chocolate or berry desserts.
- Caramel or syrup drizzle: A little drizzle of caramel or chocolate syrup can make your jar dessert look like it’s straight out of a professional kitchen.
Pro Tip: For a fun twist, consider using a variety of toppings to create a “build-your-own” dessert jar station for guests at parties.
Step 4: Serve and Enjoy!
After assembling your dessert jars, it’s time to serve! Whether you decide to cover them with lids for transport or leave them open for a beautiful display, dessert jars are sure to impress. Here are a few serving ideas:
- For parties: Arrange your jars on a decorative tray or tiered stand for a fancy display.
- For gifts: Add a cute tag with a personal message for a lovely homemade gift.
- For a casual treat: Serve them straight from the fridge to your guests for a simple, satisfying dessert.
Pro Tip: If you’re preparing your dessert jars in advance, store them in the fridge and let the flavors meld together for a few hours before serving. This will make them even tastier!
Final Thoughts
Dessert jars are the ultimate combination of speed, style, and taste. With just a few ingredients and minimal effort, you can create a treat that looks as good as it tastes. The key is in the layering, creativity with toppings, and choosing ingredients that are quick and easy to work with. Whether you’re hosting a party, preparing a gift, or indulging in a personal sweet craving, these jars will always deliver.
So go ahead—gather your ingredients, start layering, and create some beautiful desserts that are sure to be the highlight of any occasion.
Save this recipe for later and impress your friends and family with these simple yet stunning dessert jars!

Leave a Reply