
Frozen desserts should be creamy, smooth, and scoopable—not icy, grainy, or dried out. If you’ve ever pulled a homemade treat from the freezer only to find frost crystals and weird texture, you’ve met ice burn. The good news? It’s totally preventable with a few smart techniques.
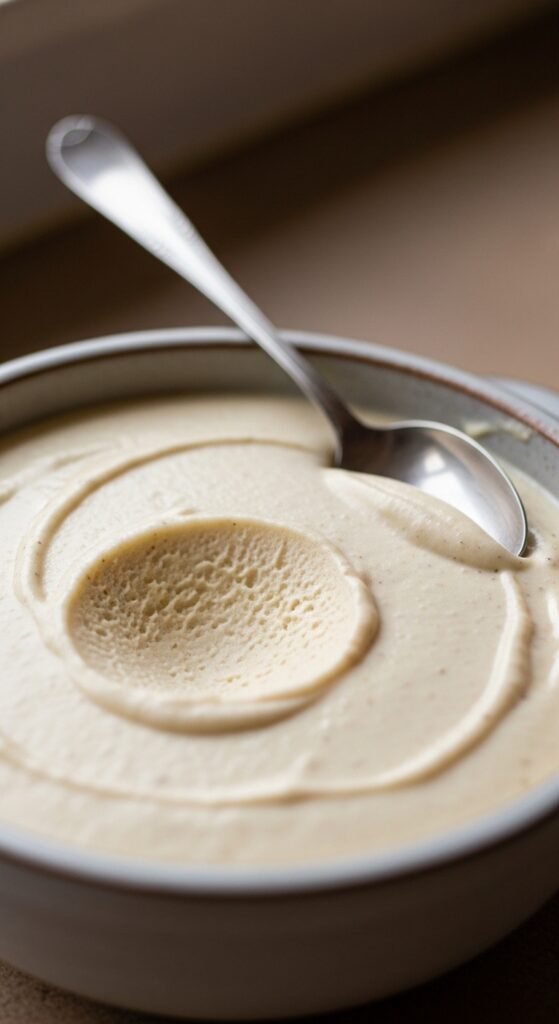
Whether you’re making no-churn treats, fruit-based blends, or freezer-set favorites, this guide walks you through simple, kitchen-friendly ways to keep frozen desserts fresh, silky, and delicious.
What Causes Ice Burn in Frozen Desserts?
Ice burn happens when moisture escapes and air sneaks in during freezing or storage. That moisture refreezes as crystals, ruining texture and flavor.
Common causes include:
- Too much air exposure
- Freezing too slowly
- Low-fat or high-water recipes
- Improper containers
- Temperature fluctuations in the freezer
Understanding this makes prevention much easier—and way less frustrating.
Start With the Right Ingredients
Your ingredient choices matter more than you think. Desserts with balanced fat, sugar, and solids freeze smoother and resist ice burn naturally.
Helpful ingredient tips:
- Use full-fat dairy or creamy bases when possible
- Add natural stabilizers like fruit purée or yogurt-style bases
- Avoid excess water from unstrained fruit
- Balance sweetness—sugar lowers freezing point and improves texture

If your recipe is very fruit-heavy, consider blending thoroughly and straining seeds or pulp for a smoother result.
Control Air Exposure From the Start
Air is the enemy of frozen desserts. The more air trapped inside or touching the surface, the higher the chance of ice burn.
Smart ways to reduce air:
- Press a layer of parchment or freezer-safe wrap directly onto the surface
- Fill containers fully to minimize headspace
- Avoid frequent opening during freezing
- Use shallow containers for faster, even freezing
This single step alone can dramatically improve texture.
Freeze Faster for Better Texture
Slow freezing allows large ice crystals to form. Faster freezing keeps crystals tiny and less noticeable.
To speed things up:
- Pre-chill your dessert mixture before freezing
- Use metal or ceramic containers instead of plastic
- Place desserts toward the back of the freezer where it’s coldest
- Avoid stacking warm items nearby
Fast freezing locks in smoothness right from the beginning.
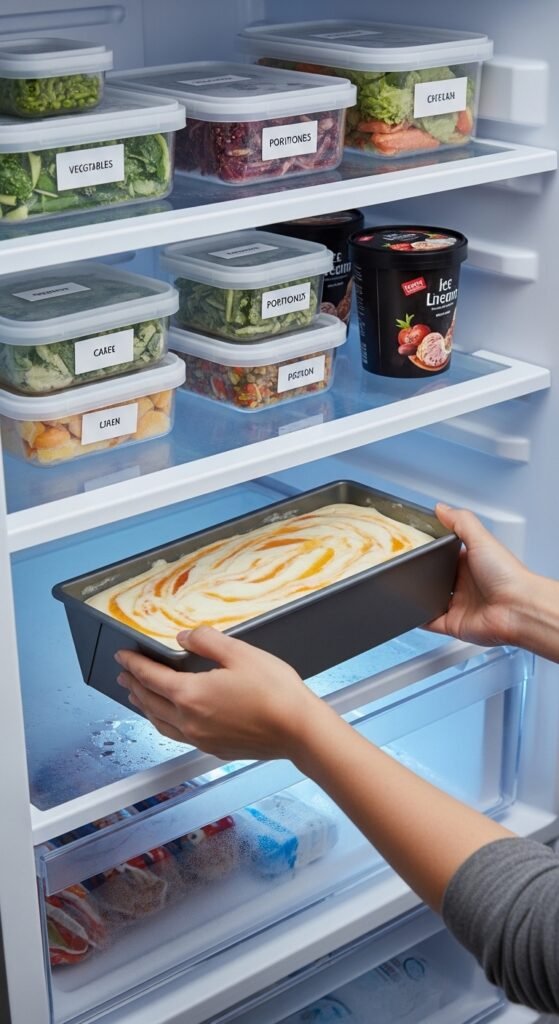
Choose the Right Storage Containers
Not all containers are freezer-friendly. Thin plastic or loose lids let air creep in over time.
Best container options:
- Airtight glass or heavy-duty freezer containers
- Silicone molds with tight-fitting covers
- Double-lid systems for long-term storage
Extra tip: Label containers so you’re not tempted to open them just to check what’s inside.
Stir or Whisk During Freezing (When Needed)
For no-churn or still-freezing desserts, occasional stirring can help break up ice crystals before they set.
When this helps most:
- Fruit-based frozen desserts
- Custard-style bases without stabilizers
- Recipes frozen in shallow trays
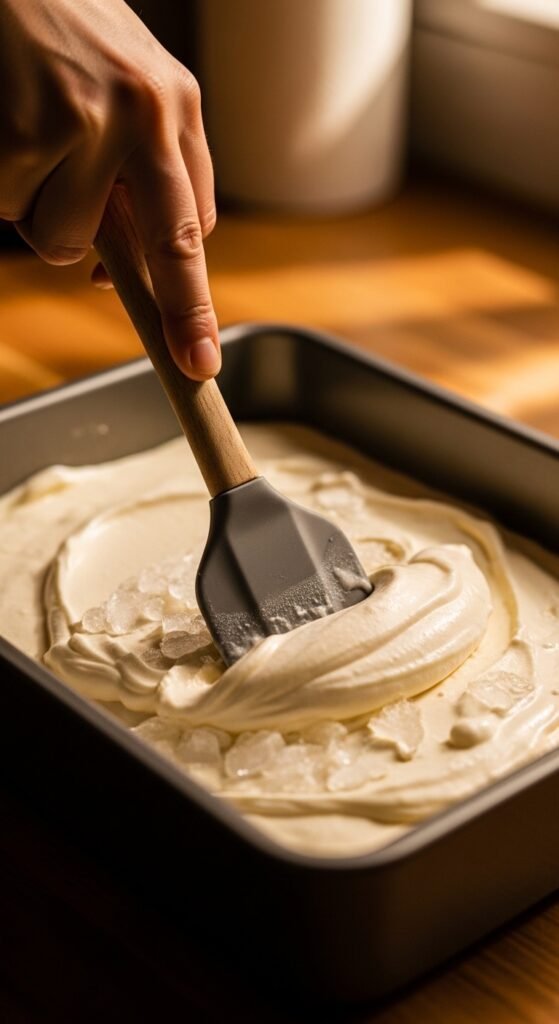
Stirring every 30–45 minutes during the first few hours can make a noticeable difference.
Keep Your Freezer Consistent
Temperature swings cause melting and refreezing—prime conditions for ice burn.
Freezer best practices:
- Keep freezer at a steady, cold setting
- Avoid storing desserts in the door
- Don’t overcrowd—airflow matters
- Let hot foods cool before freezing nearby
Consistency protects texture just as much as ingredients do.
Serve the Right Way
How you scoop and serve also matters.
Before serving:
- Let frozen desserts sit out for 5–10 minutes
- Use a warm scoop or spoon
- Reseal immediately after serving
Never leave the container open longer than needed. Quick in, quick out.
Final Takeaway
Ice burn isn’t a recipe failure—it’s a storage and technique issue. With the right ingredients, airtight storage, faster freezing, and a little planning, your homemade frozen desserts can stay smooth, creamy, and crave-worthy every time.
Save this guide for your next freezer project and enjoy frozen treats the way they’re meant to be—fresh, silky, and totally satisfying.

Leave a Reply