
Craving something sweet but don’t want to turn on the oven? You’re not alone. No-bake desserts are the ultimate shortcut to homemade treats that feel special, look impressive, and come together fast. Whether you need a last-minute dessert for guests or a quick treat for yourself, these ideas make it possible in minutes—not hours.
The best part? No-bake desserts rely on simple ingredients, easy steps, and a little creativity. Let’s break down exactly how to make them work every time.
Why No-Bake Desserts Are Perfect for Busy Days
No-bake desserts aren’t just convenient—they’re flexible and forgiving. You can mix, layer, chill, and serve with very little effort.
Here’s why they’re so popular:
- No oven or stovetop required
- Minimal cleanup
- Easy to scale up or down
- Great for warm weather or quick cravings
Most no-bake recipes take 10–20 minutes of hands-on time, with chilling doing the rest of the work.
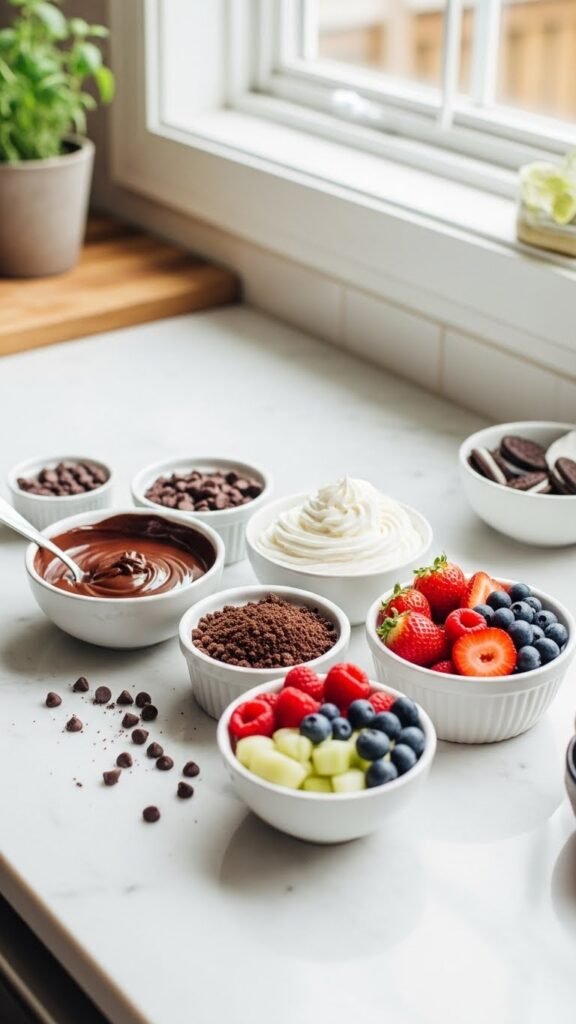
Stock Your No-Bake Dessert Basics
Before you start mixing, it helps to have a few go-to ingredients on hand. These staples can be combined in endless ways.
Common no-bake essentials:
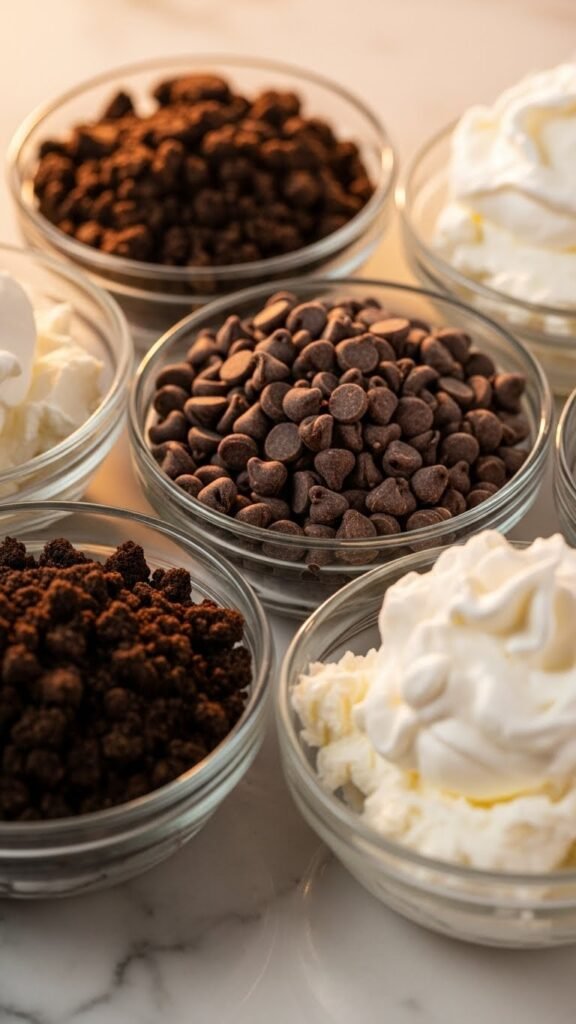
- Crushed cookies or graham crackers
- Chocolate chips or chocolate bars
- Whipped topping or whipped cream
- Cream cheese or yogurt
- Nut butters
- Fresh or frozen fruit
Once you have these basics, you’re ready to build dozens of quick desserts.
Quick No-Bake Dessert Ideas That Come Together Fast
Here are a few crowd-pleasing styles that work every time.
No-Bake Cookie Truffles
Mix crushed cookies with cream cheese until smooth. Roll into bite-size balls and chill.
Tips:
- Use different cookie flavors for variety
- Roll in cocoa powder, coconut, or sprinkles
- Chill for at least 15 minutes before serving
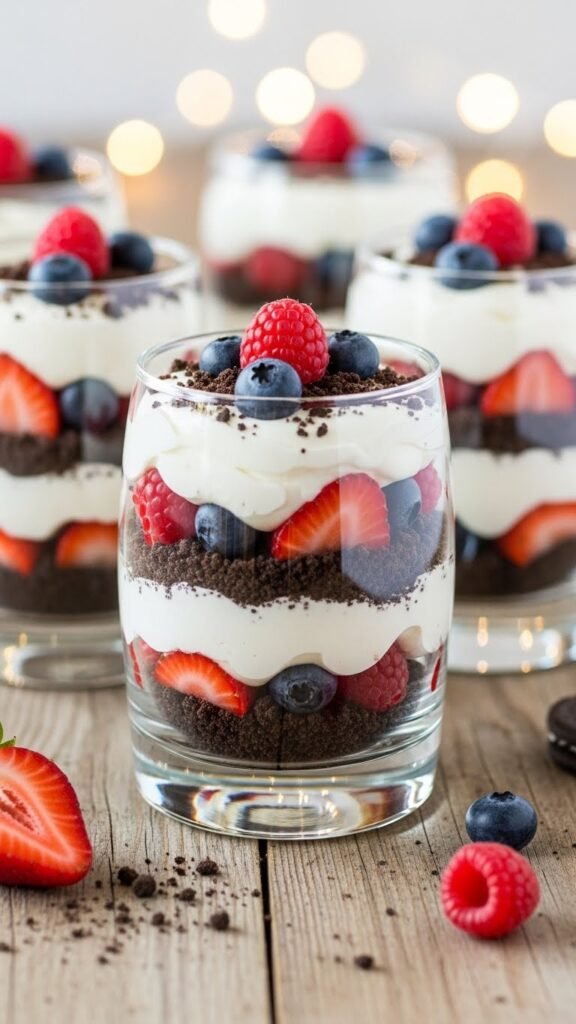
Layered Dessert Cups
Layer crushed cookies, whipped cream, and fruit in clear cups.
Why they work:
- No slicing or serving mess
- Perfect for portion control
- Look elegant with minimal effort
How to Melt and Mix Without Baking
Melting ingredients properly is key to smooth no-bake desserts.
Easy melting methods:
- Microwave in short bursts, stirring often
- Use a heat-safe bowl over warm water
- Let warm ingredients soften naturally
Mix gently to avoid overworking the texture. The goal is creamy, not dense.
Helpful tip:
- Let melted ingredients cool slightly before combining with whipped elements to keep things light.
Chill Time: The Secret Step You Shouldn’t Skip
Chilling helps no-bake desserts set and hold their shape. Even quick recipes benefit from a short rest in the fridge.
General guidelines:
- Truffles: 15–30 minutes
- Layered desserts: 20–40 minutes
- Bars or slices: 1–2 hours
If you’re short on time, the freezer can speed things up—just don’t forget them.
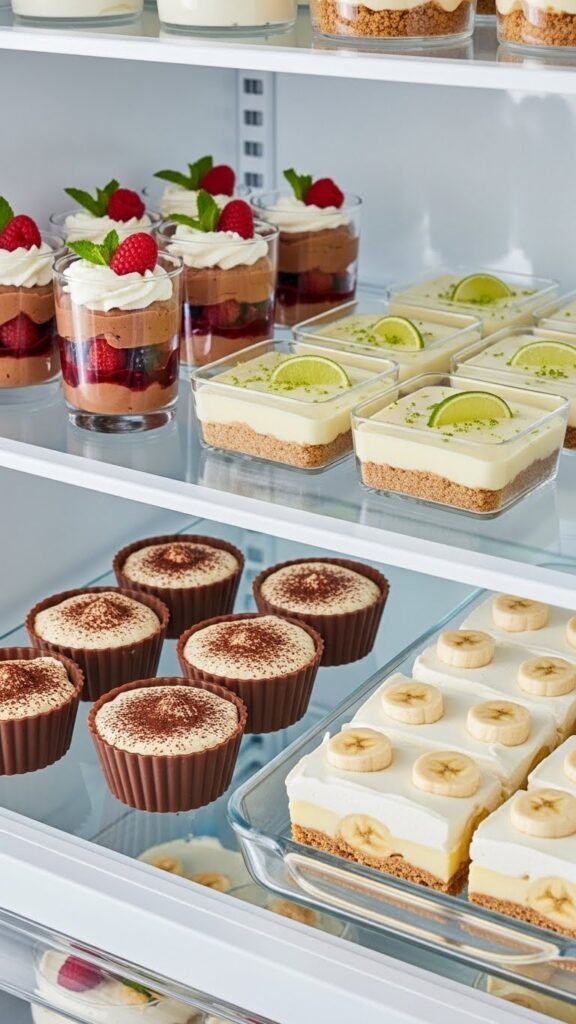
Make No-Bake Desserts Look Bakery-Worthy
Presentation matters, especially if you’re sharing photos or serving guests.
Simple upgrades:
- Use glass jars or clear cups
- Add a final swirl of whipped topping
- Sprinkle crushed cookies or shaved chocolate on top
- Garnish with fruit right before serving
Small touches go a long way and make even the simplest dessert feel special.
Store and Serve With Confidence
Most no-bake desserts store well when covered and chilled.
Storage tips:
- Keep in airtight containers
- Store layered desserts separately if possible
- Add crunchy toppings just before serving
They’re perfect for making ahead, which makes hosting or meal prep easier.
Final Takeaway: Sweet Treats Without the Stress
No-bake desserts prove that you don’t need complicated steps or long prep times to enjoy something delicious. With a few pantry staples and simple techniques, you can create desserts that feel thoughtful, indulgent, and totally doable—even on your busiest days.
Save this guide for later, and next time a sweet craving hits, skip the oven and whip up something easy in minutes

Leave a Reply