
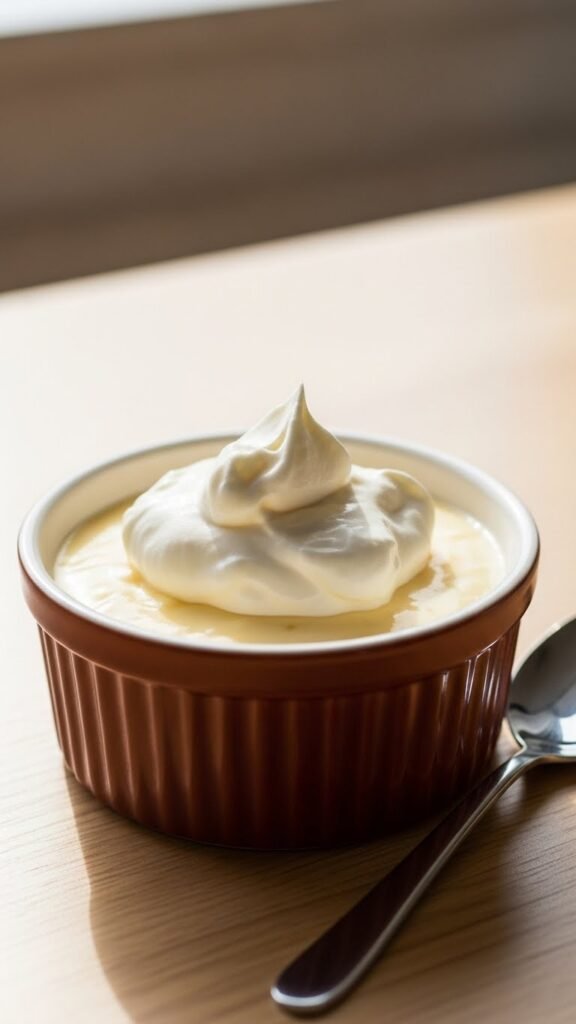
There’s something deeply comforting about a bowl of creamy pudding. It’s smooth, cozy, and feels a little nostalgic—yet it can still be dressed up to feel modern and special. The best part? You don’t need fancy tools or complicated steps to make pudding desserts at home. With a few pantry staples and the right technique, you can create rich, silky pudding that tastes far better than store-bought cups.
Whether you’re craving a simple vanilla classic or a layered dessert for guests, this guide will walk you through everything you need to know.
What Makes a Pudding Truly Creamy?
Creamy pudding isn’t about heavy ingredients—it’s about balance and technique. The goal is a smooth texture that coats the spoon without feeling thick or rubbery.
Here’s what creates that perfect consistency:
- Milk or cream for richness
- Starch (like cornstarch) to thicken gently
- Egg yolks (optional) for extra silkiness
- Low, steady heat to prevent lumps
Rushing is the most common mistake. Pudding rewards patience.
Essential Ingredients You’ll Need
Before you start, gather everything so the process feels relaxed and fun.
Common pudding ingredients include:
- Milk (whole milk works best)
- Sugar (white or light brown)
- Cornstarch or another starch
- Egg yolks (optional but recommended)
- Butter for a glossy finish
- Flavorings like vanilla, cocoa powder, or citrus zest
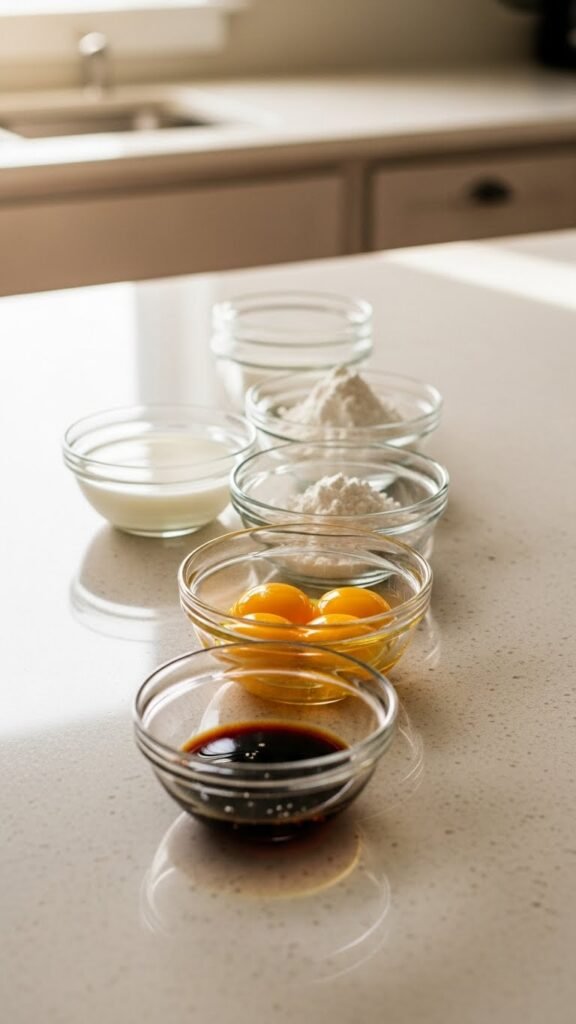
Having everything measured ahead of time helps you focus on texture instead of scrambling mid-recipe.
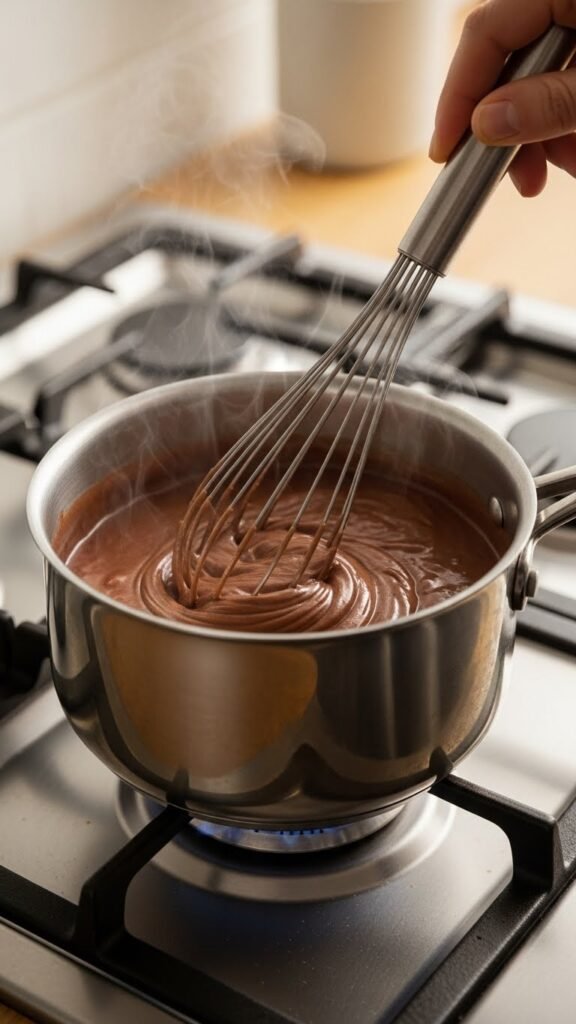
Step-by-Step: How to Cook Pudding Without Lumps
This is where the magic happens. Don’t worry—it’s easier than it sounds.
1. Mix the dry ingredients first
In a saucepan, whisk sugar and cornstarch together. This prevents clumps later.
2. Slowly add the milk
Pour in the milk gradually while whisking. The mixture should look smooth and thin.
3. Cook over medium-low heat
Stir constantly with a whisk or silicone spatula. As it heats, the pudding will slowly thicken.
4. Temper the egg yolks (if using)
Scoop some hot pudding into the yolks, whisking quickly, then return everything to the pan.
5. Finish with butter and flavoring
Once thick, remove from heat and stir in butter and vanilla for shine and flavor.
Your pudding is done when it coats the back of a spoon and holds its shape briefly when stirred.
Popular Creamy Pudding Flavor Ideas
Once you’ve mastered the base, flavors are where you can get creative.
Try these crowd favorites:
- Classic Vanilla – clean, smooth, and perfect for layering
- Chocolate – add cocoa powder and a little extra sugar
- Butterscotch-style – use brown sugar and butter
- Banana Cream – layer pudding with fresh banana slices
- Lemon – add zest for a bright, fresh finish
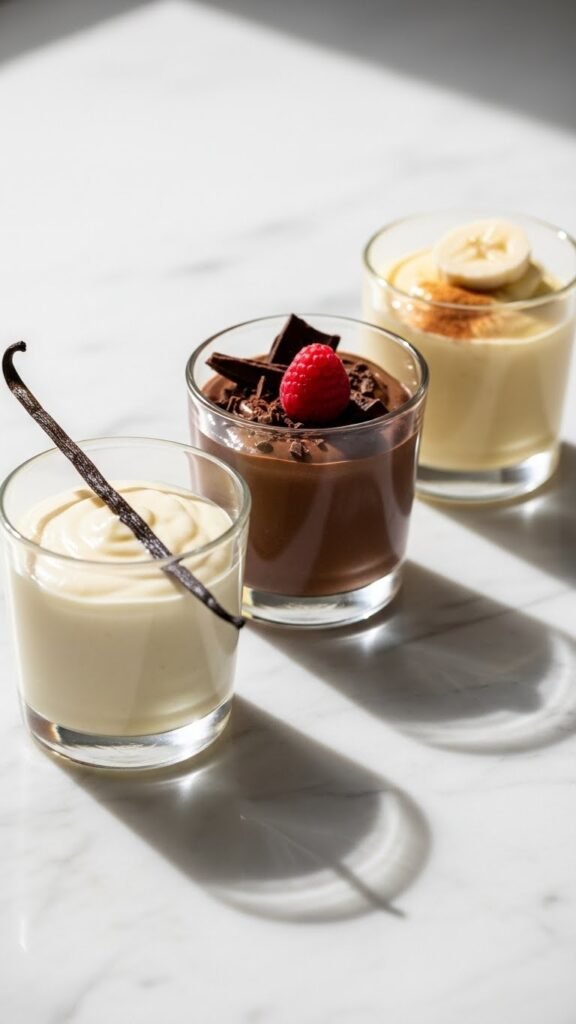
You can also mix flavors within one dessert for visual impact.
How to Serve and Layer Pudding Desserts
Pudding is great on its own, but layering turns it into a showstopper.
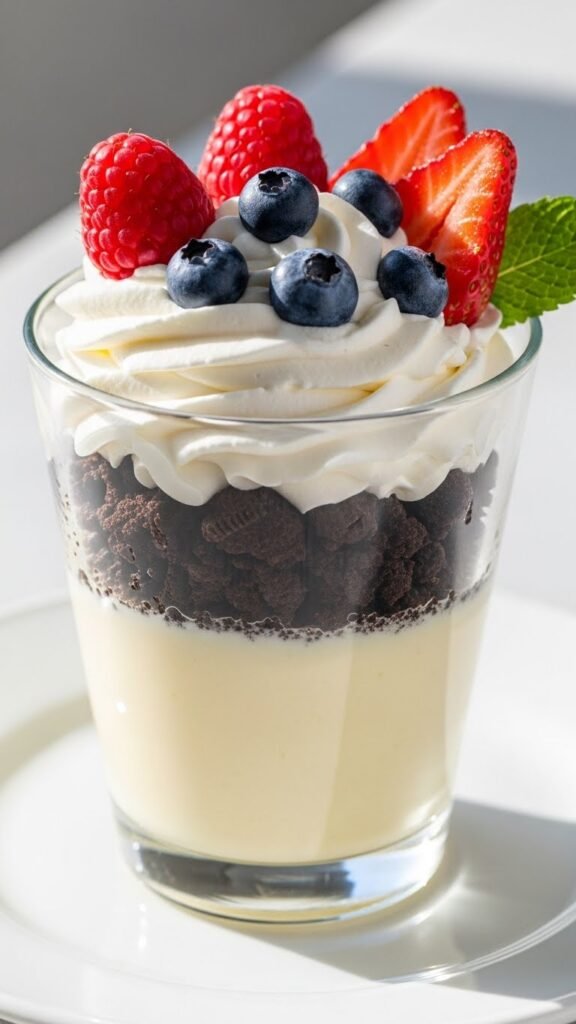
Easy layering ideas:
- Pudding + crushed cookies or biscuits
- Pudding + fresh fruit
- Pudding + whipped cream
- Pudding + sponge cake cubes
Use clear glasses so the layers shine. Chill for at least one hour before serving so everything sets nicely.
These make beautiful make-ahead desserts for gatherings.
Storage Tips for Perfect Texture
Homemade pudding stores well if you handle it correctly.
- Press plastic wrap directly onto the surface to prevent skin
- Refrigerate for up to 3 days
- Stir gently before serving to refresh texture
If pudding thickens too much, whisk in a splash of cold milk to loosen it.
Final Thoughts: Make It Once, Love It Forever
Creamy pudding desserts are simple, affordable, and endlessly customizable. Once you learn the basic method, you’ll find yourself making them for quick treats, family dinners, and special occasions alike. They’re comforting, flexible, and always satisfying.
Save this recipe idea for later—and the next time you want a dessert that feels homemade and special, pudding is waiting for you

Leave a Reply