
There’s something irresistible about a red velvet cake that’s perfectly tender, richly colored, and unbelievably moist. Too often, though, homemade versions turn out dry or crumbly after just a day. The good news? With the right techniques and a few simple ingredient choices, you can bake a red velvet cake that stays soft and luscious from the first slice to the last crumb.
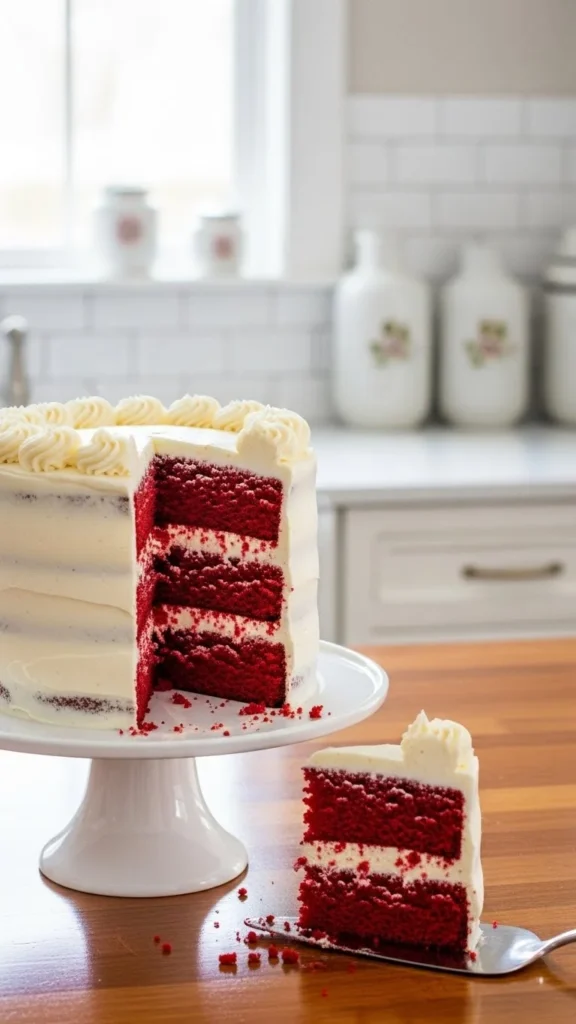
This guide walks you through exactly how to lock in moisture, step by step, using approachable tips that work for home bakers. Let’s get baking.
Understand What Makes Red Velvet Cake Moist
Before jumping into the recipe, it helps to know why red velvet cake can dry out.
Red velvet isn’t just a chocolate cake with food coloring. It relies on a balance of:
- Mild cocoa powder
- Acidic ingredients
- Fat and liquid working together
When one element is off, moisture suffers. The goal is to create a batter that stays hydrated while baking and resists drying as it cools.
Key moisture keepers include:
- Oil instead of only butter
- Buttermilk or a similar acidic dairy
- Gentle mixing to avoid overworking the batter
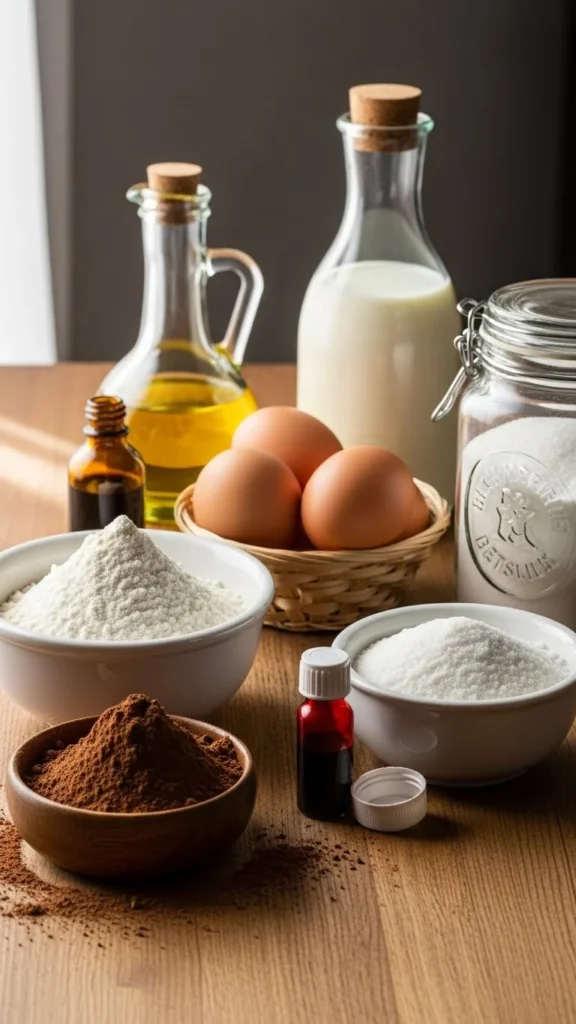
Choose Ingredients That Lock in Moisture
Ingredient selection matters more than fancy equipment. Stick with these tried-and-true choices.
Dry Ingredients
- Cake flour or all-purpose flour (cake flour gives a softer crumb)
- Natural cocoa powder (not dark or Dutch-style)
- Granulated sugar for sweetness and moisture retention
Wet Ingredients
- Neutral oil for lasting softness
- Eggs at room temperature
- Buttermilk for tenderness and subtle tang
- Vanilla extract for depth
Color & Lift
- Red food coloring (gel or liquid)
- Baking soda activated by acidity
Tip: Avoid swapping buttermilk with plain milk unless you add an acid like vinegar or lemon juice.
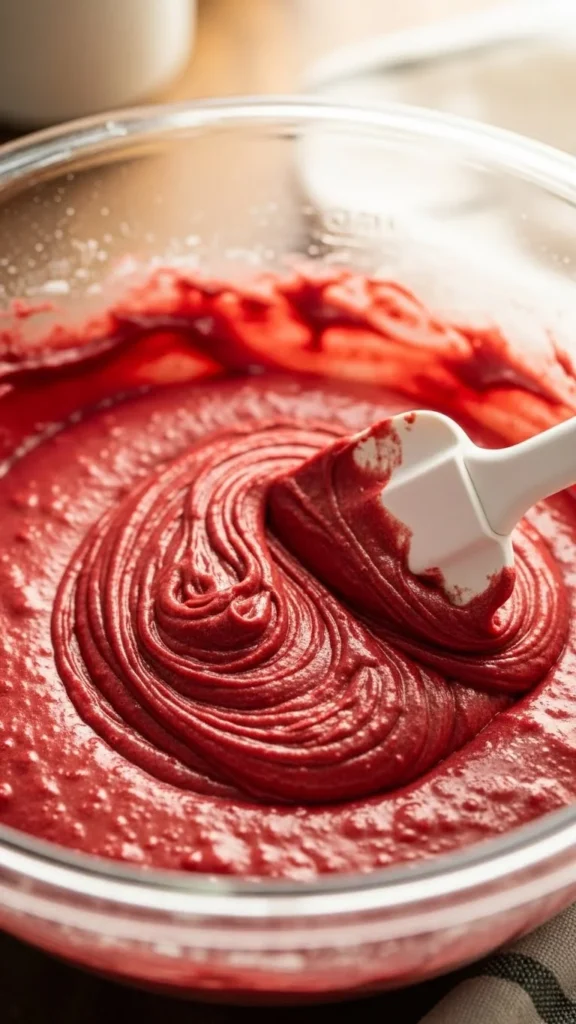
Mix the Batter the Right Way
Overmixing is one of the fastest ways to end up with a dry cake. Follow a calm, gentle approach.
Best Mixing Method
- Whisk dry ingredients separately
- Mix wet ingredients until just combined
- Add dry ingredients in stages
- Stop mixing as soon as the batter looks smooth
Signs you’ve mixed enough:
- Batter flows slowly off the spatula
- No visible streaks of flour
- Texture looks velvety, not thick or elastic
Pro tip: Use a spatula for the final mix instead of a mixer.
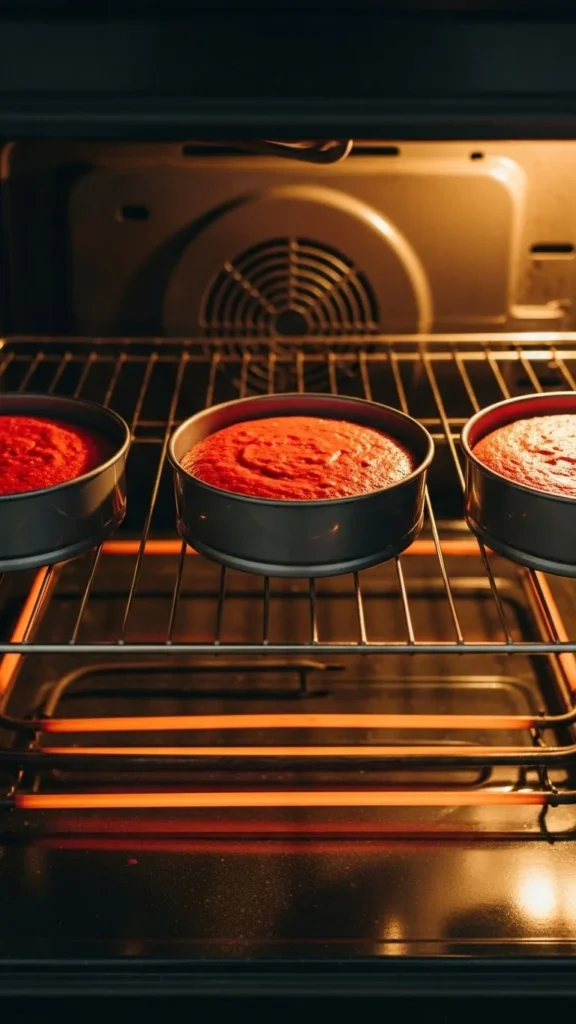
Bake at the Right Temperature (And Don’t Rush It)
Temperature control is crucial for moisture retention.
Baking Tips
- Preheat the oven fully before baking
- Bake at 325–350°F (165–175°C)
- Place pans on the center rack
- Rotate once halfway through if needed
How to Check Doneness
- Toothpick comes out with a few moist crumbs
- Cake springs back lightly when touched
- Edges just start pulling from the pan
Overbaking—even by a few minutes—pulls moisture out fast. Set a timer and check early.
Cool and Frost Without Drying It Out
Cooling matters just as much as baking.
Cooling Steps
- Let cakes cool in pans for 10 minutes
- Turn out onto a rack to cool completely
- Never frost a warm cake
Warm cakes release steam, which turns into dryness if trapped incorrectly.
Frosting for Moisture
A classic cream-style frosting helps seal in softness.
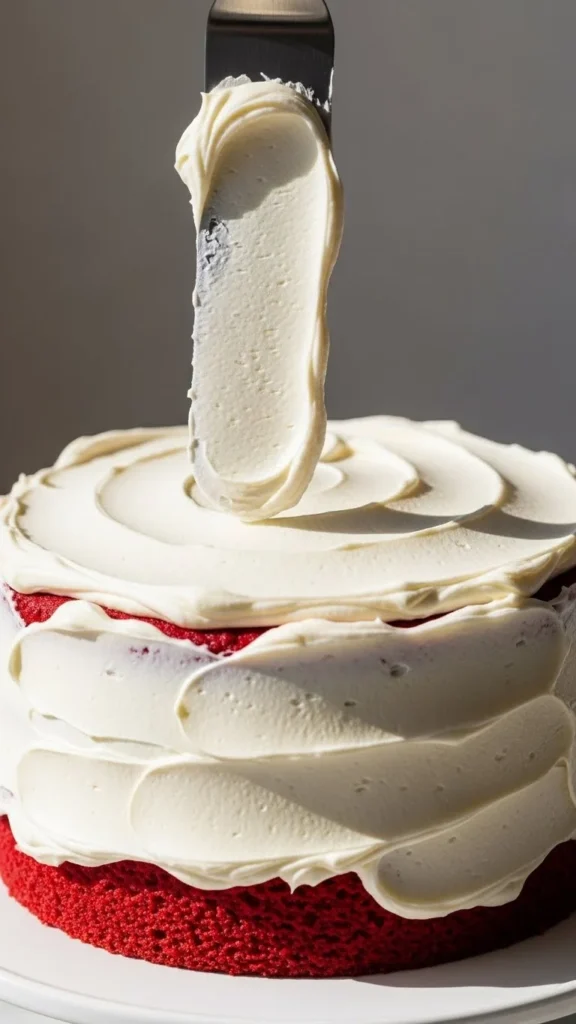
Frosting tips:
- Apply a thin crumb coat first
- Chill briefly, then add final layer
- Cover sides fully to protect edges
Storage Tips to Keep It Moist for Days
Red velvet cake actually improves after resting—if stored properly.
Best Storage Practices
- Store covered at room temperature for 1–2 days
- Refrigerate only if needed, tightly wrapped
- Bring chilled cake to room temperature before serving
To prevent dryness:
- Use an airtight container
- Avoid slicing until ready to serve
- Press plastic wrap gently against cut edges
Common Mistakes to Avoid
Even experienced bakers slip up. Watch out for these moisture killers:
- Using too much flour
- Skipping acidic ingredients
- Overmixing the batter
- Baking too long
- Leaving cake uncovered
Fixing just one of these can dramatically improve results.
Final Takeaway
A moist red velvet cake isn’t about luck—it’s about balance, timing, and gentle handling. When you choose the right ingredients, mix with care, bake thoughtfully, and store it properly, you’ll get that signature soft crumb every time.
Save this recipe for later, and the next time you bake red velvet cake, expect slices that stay just as moist on day three as they were fresh from the oven.

Leave a Reply