
There’s something magical about homemade chocolates — glossy finishes, perfect shapes, and that satisfying snap when you bite into them. The secret behind those bakery-style treats isn’t expensive equipment or professional training. It’s mastering one simple tool: chocolate molds.
Whether you want elegant gift chocolates, cute party treats, or creative dessert decorations, learning how to use molds properly can instantly upgrade your results from homemade to professional-looking.
Let’s walk through the exact steps, tips, and insider tricks that make all the difference.
Choosing the Right Chocolate Mold
Not all molds are created equal. The type you choose affects shine, ease of release, and final appearance.
Common mold materials:
- Silicone molds – Flexible and beginner-friendly; easy to remove chocolates.
- Plastic (polycarbonate) molds – Give the glossiest, professional finish.
- Metal molds – Durable but less common for detailed shapes.
What to look for:
- Smooth interior surfaces (for shine)
- Deep cavities for filled chocolates
- Sturdy construction that won’t bend easily
If you’re just starting, silicone molds are forgiving. But if you want that luxury chocolate-shop look, rigid plastic molds are worth trying.
Picking the Best Chocolate for Molding
Your chocolate choice matters more than you think. Chocolate chips often contain stabilizers that prevent smooth melting.
Best options:
- Baking chocolate bars
- Couverture chocolate
- High-quality compound chocolate (good for beginners)
Avoid:
- Old chocolate (causes dull texture)
- Chocolate exposed to moisture
For beginners, compound chocolate melts easily and doesn’t require tempering — making it a stress-free starting point.
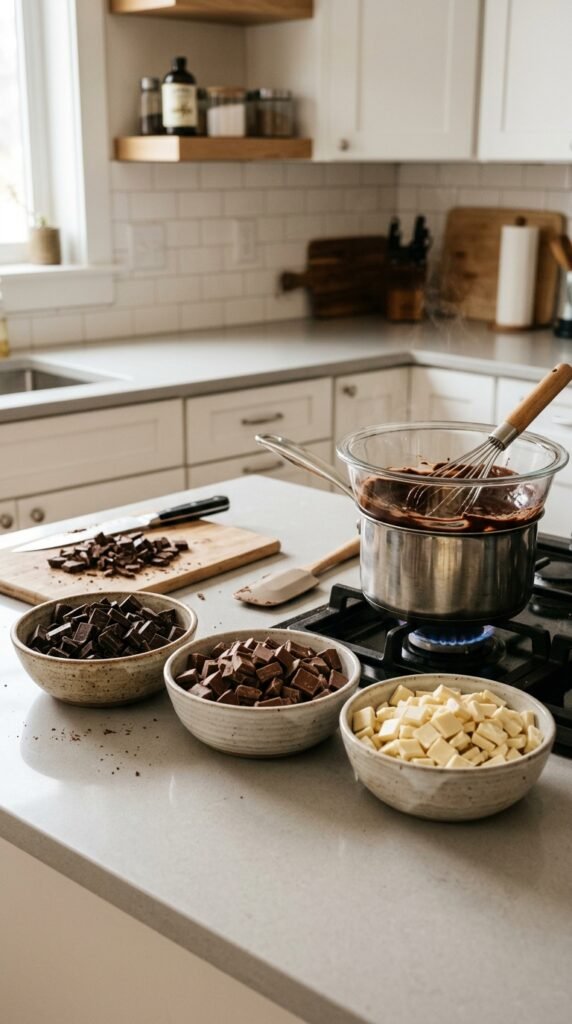
Melting Chocolate the Right Way
This step determines whether your chocolates look silky or streaky.
Method 1: Double Boiler (Best Control)
- Heat water in a pan (do not boil).
- Place a heatproof bowl on top.
- Stir chocolate slowly until melted.
Method 2: Microwave (Quick Option)
- Heat in 20–30 second intervals.
- Stir between each round.
- Stop when mostly melted — residual heat finishes the job.
Pro Tips:
- Keep water away from chocolate (even a drop can ruin it).
- Stir gently to avoid air bubbles.
- Use dry utensils only.
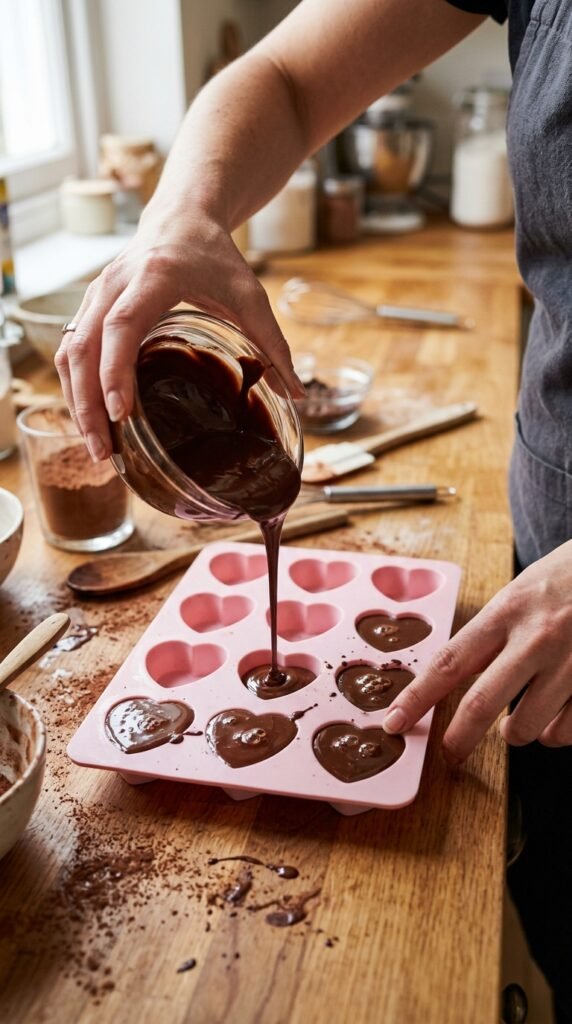
Filling the Molds Like a Professional
Now comes the fun part — shaping your chocolates.
- Place molds on a flat tray.
- Pour melted chocolate into each cavity.
- Tap the tray lightly on the counter.
Tapping removes trapped air bubbles and helps chocolate settle evenly.
For filled chocolates:
- Coat the mold with chocolate first.
- Chill briefly.
- Add filling (caramel, nuts, or ganache).
- Seal with another layer of chocolate.
The Secret to Easy Chocolate Release
Many beginners struggle when chocolates stick to molds. The solution is patience — and proper cooling.
Cooling tips:
- Let molds sit at room temperature for 5–10 minutes first.
- Refrigerate for 15–20 minutes.
- Avoid freezing (causes condensation and dull surfaces).
You’ll know chocolates are ready when:
- They slightly pull away from mold edges.
- The underside looks matte instead of wet.
To release:
- Gently twist silicone molds, or
- Turn plastic molds upside down and tap lightly.
Perfectly molded chocolates should fall out cleanly.
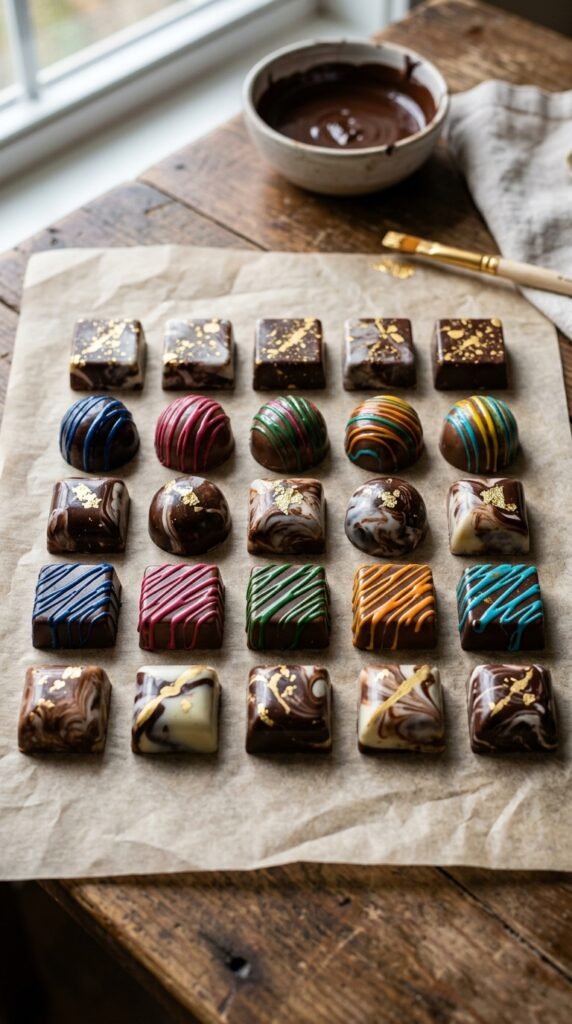
Creating a Glossy, Professional Finish
Want that mirror-like shine you see in chocolate shops? Here’s how:
- Temper real chocolate if possible (controls cocoa butter crystals).
- Polish molds with a soft dry cloth before filling.
- Avoid touching chocolate surfaces with warm fingers.
- Work in a cool room (around 18–22°C).
Even small improvements in temperature control dramatically improve results.
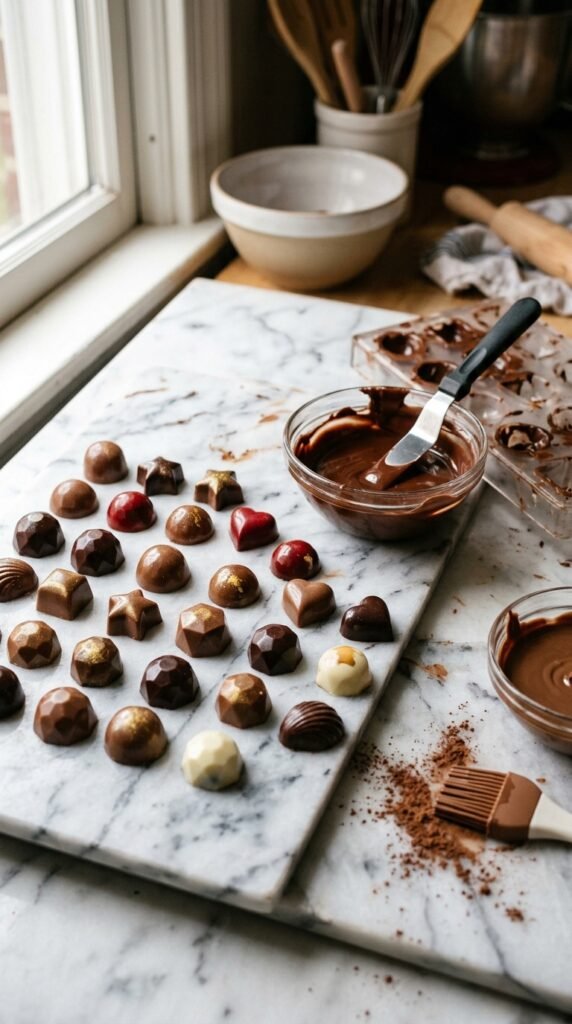
Decorating and Customizing Your Chocolates
Once you master molding, creativity takes over.
Easy decoration ideas:
- Brush edible gold dust inside molds before filling.
- Drizzle contrasting chocolate colors.
- Add crushed nuts or sprinkles.
- Layer dark and white chocolate for marbled effects.
You can also paint molds with colored cocoa butter for stunning designs that look store-bought.
Common Mistakes to Avoid
Even experienced bakers run into these issues — but they’re easy to fix.
- Cloudy chocolate: Chocolate overheated or not tempered.
- Air bubbles: Forgot to tap molds.
- Sticking chocolates: Removed before fully set.
- White streaks: Temperature changes caused fat bloom.
Remember: slow and steady wins when working with chocolate.
Final Thoughts: Practice Makes Perfect
Using chocolate molds like a pro isn’t about perfection on your first try — it’s about learning how chocolate behaves. Once you understand melting, filling, and cooling, you’ll be able to create stunning treats for gifts, celebrations, or just a cozy night at home.
Start simple, experiment with designs, and don’t be afraid to make a delicious mess along the way.
Save this guide for later and try your first batch this week — your homemade chocolates might just look better than store-bought.

Leave a Reply